Discover the joy of capturing memories in a way that combines both nostalgia and modern convenience. This guide is designed to help you make the most out of your new device, allowing you to preserve moments instantly, with just the click of a button. Whether you’re new to this type of photography or simply need a refresher, you’ll find everything you need right here.
In the following sections, we will cover essential aspects such as basic setup, optimal usage techniques, and how to achieve the best results in various lighting conditions. By understanding these key points, you’ll be well-equipped to enjoy a seamless and rewarding experience.
Prepare yourself for a journey into the world of immediate photo printing, where each picture tells a story, and every click creates a keepsake. Let’s dive into the features and functions that will help you make the most out of your new camera.
Getting Started with Your Instax Mini 8
When you first unpack your new camera, it’s important to become familiar with its features and how to use them effectively. This section will guide you through the essential steps to ensure that your device is set up correctly and ready to capture memories from the very first shot.
Unpacking and Preparing the Camera

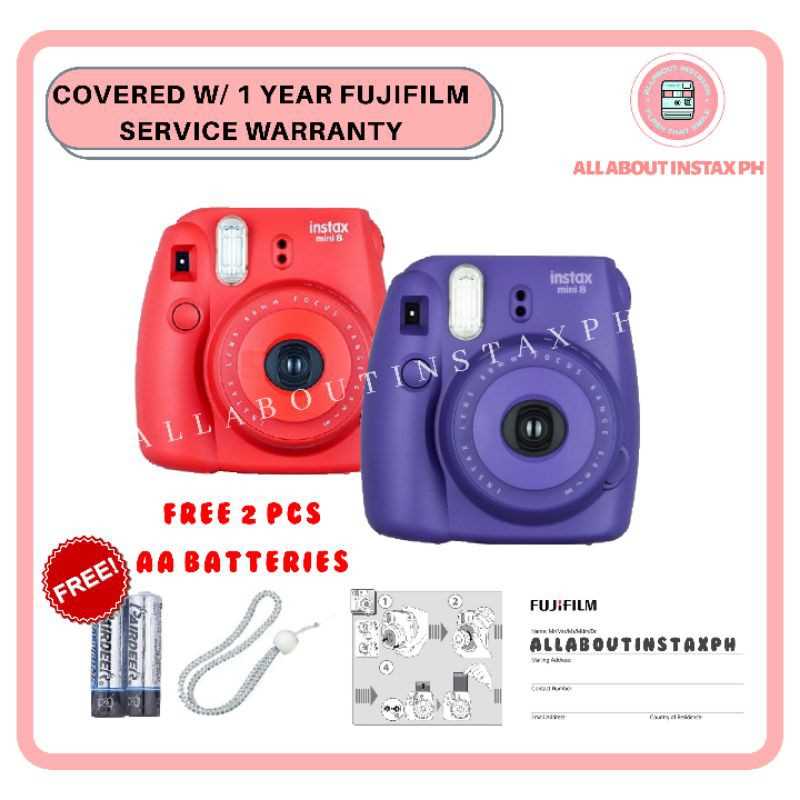
- Carefully remove the camera from its packaging, along with any included accessories such as straps, batteries, and the user guide.
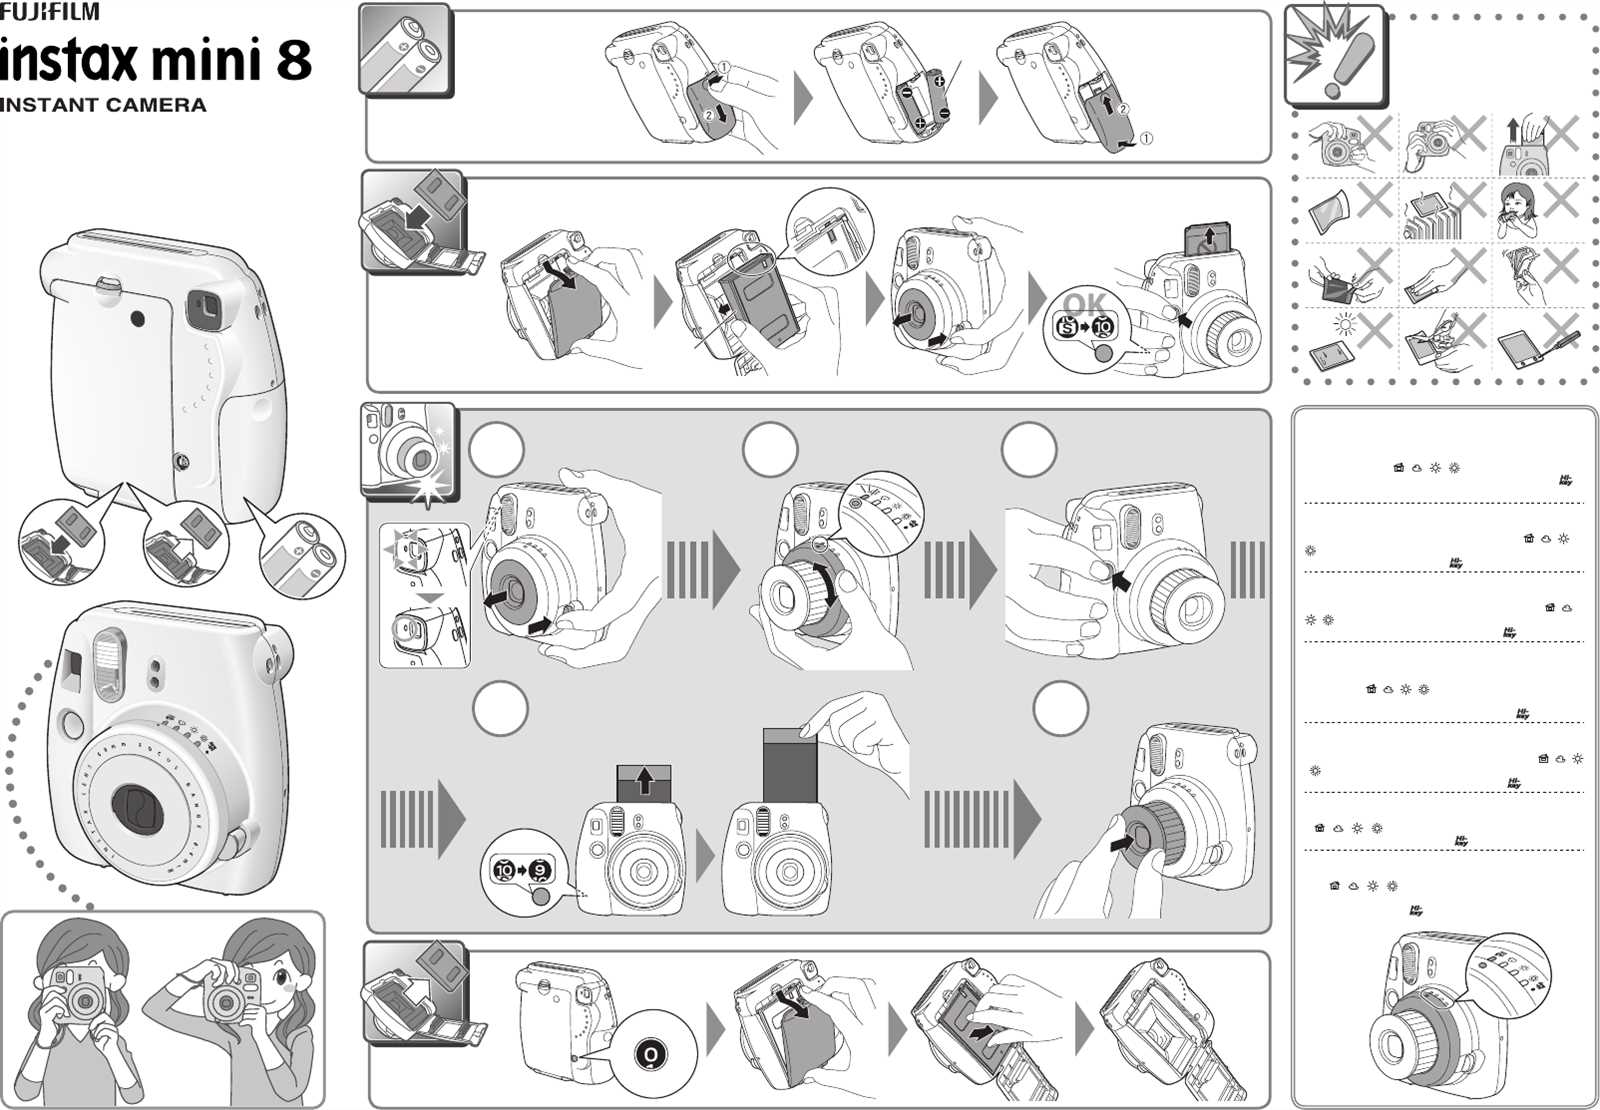
- Insert the batteries into the designated compartment, ensuring they are oriented correctly.
- Attach the wrist strap to the side of the device for added security during use.
Loading the Film
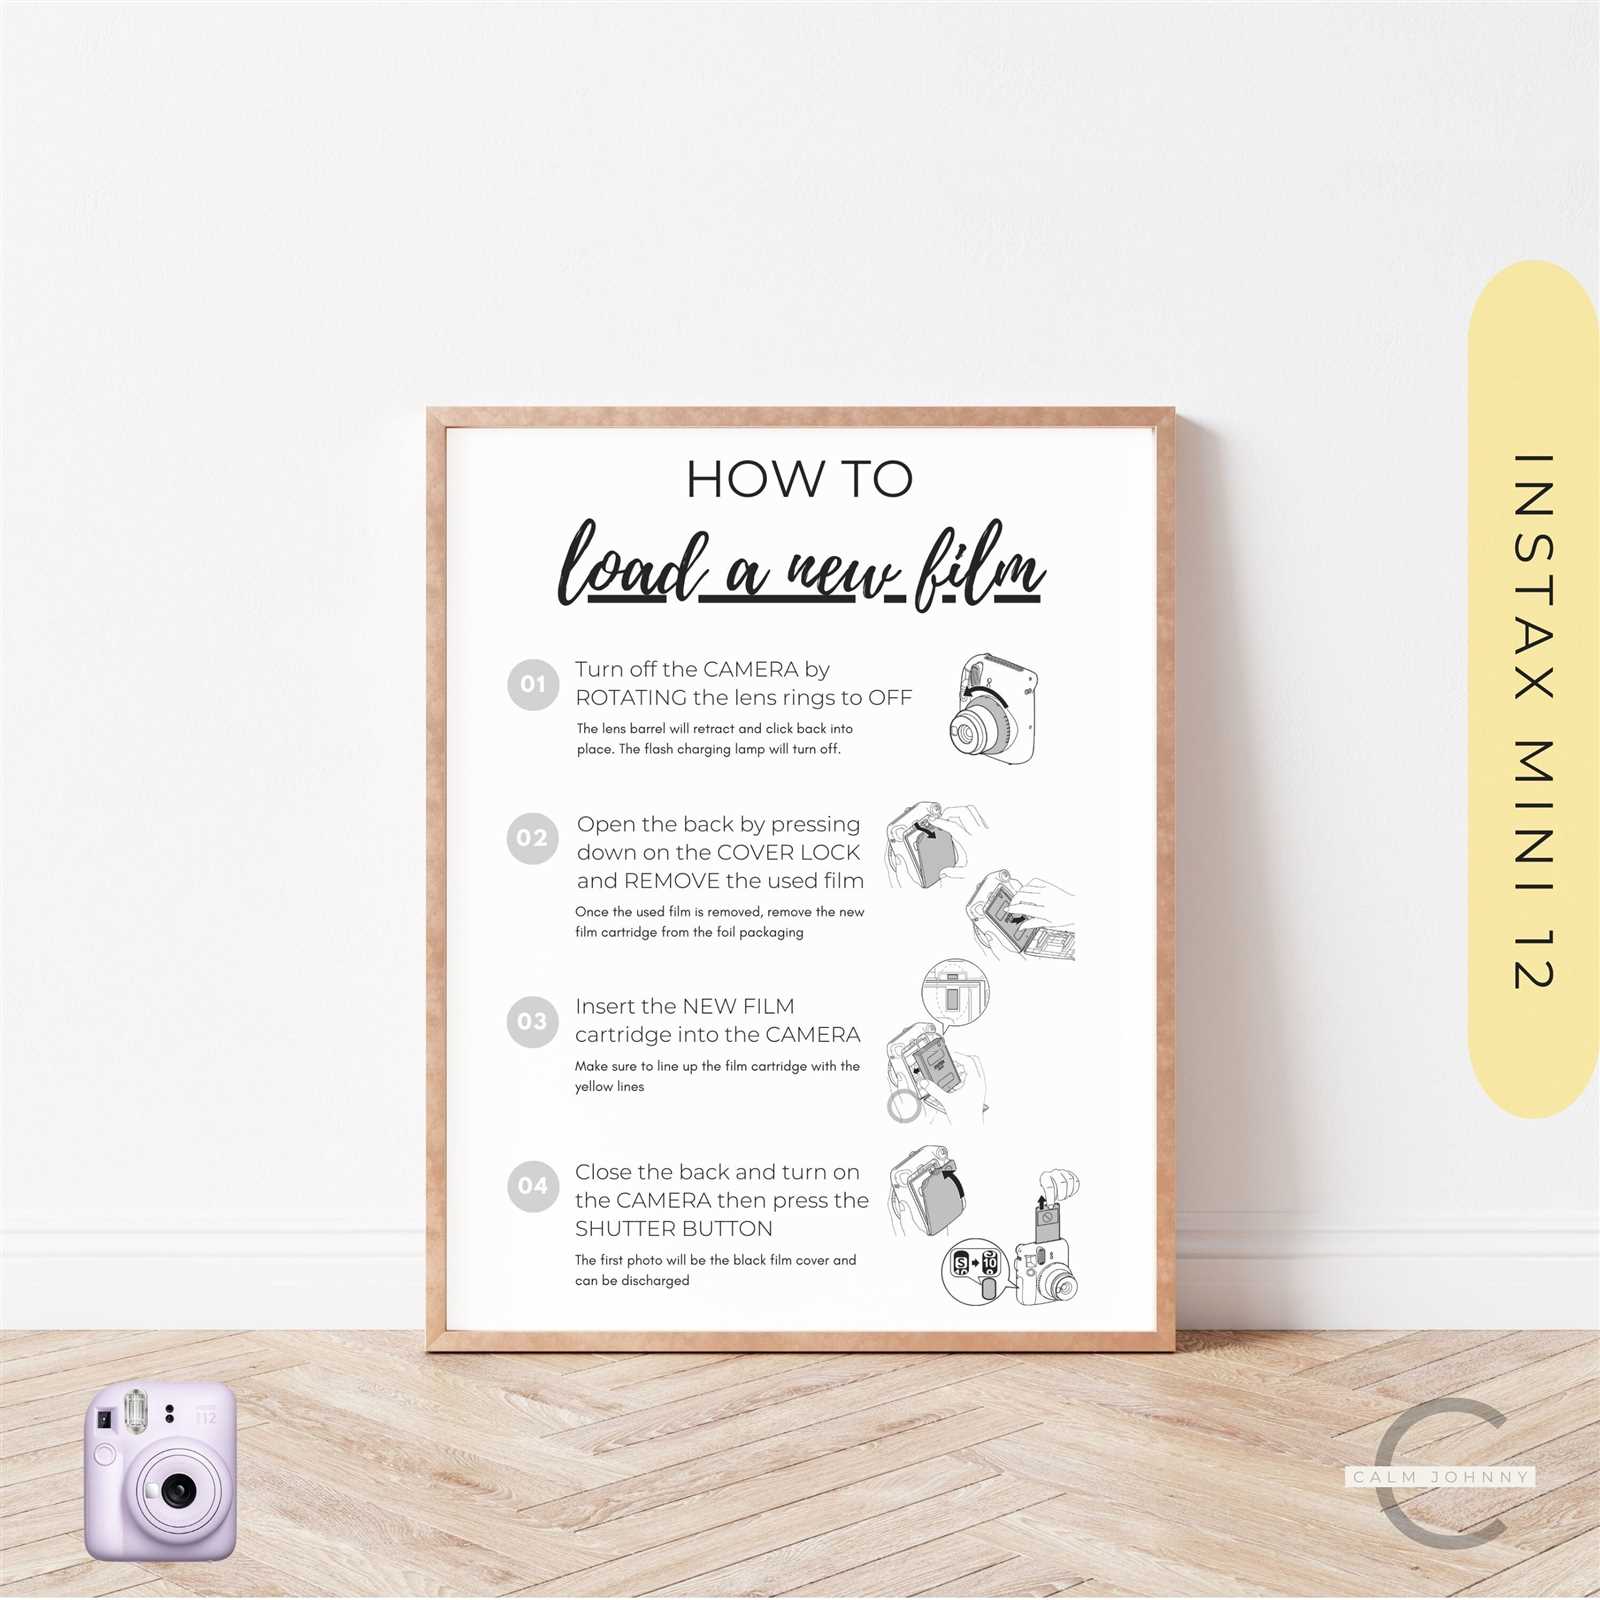
- Open the film compartment located on the back of the camera.
- Insert a new pack of film, ensuring the yellow markers on both the film and the compartment align.
- Close the compartment securely, then press the shutter button once to eject the protective cover from the film pack.
Powering On and Adjusting Settings
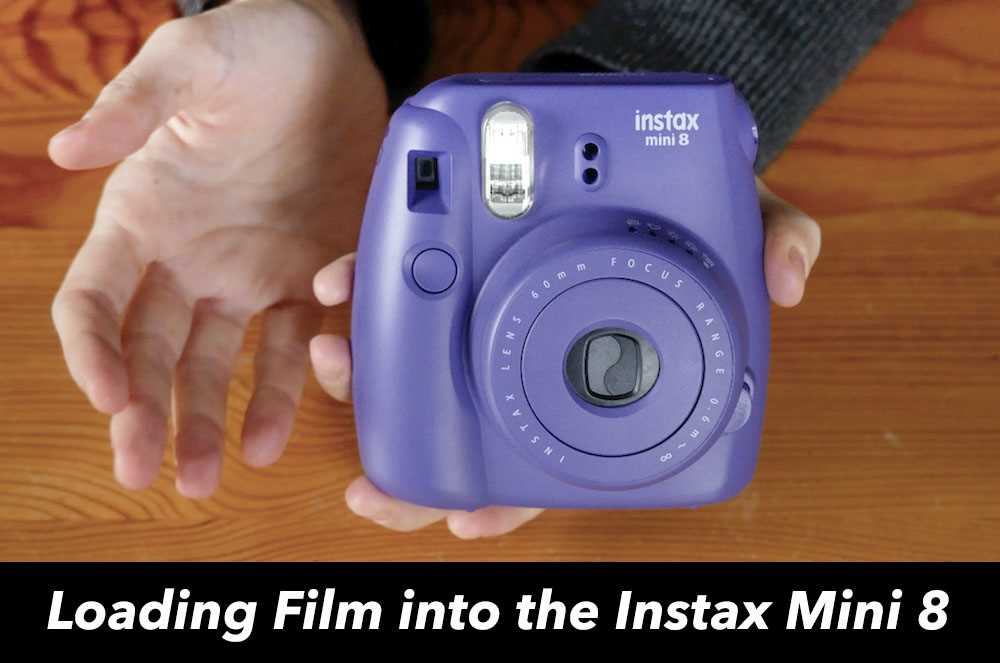
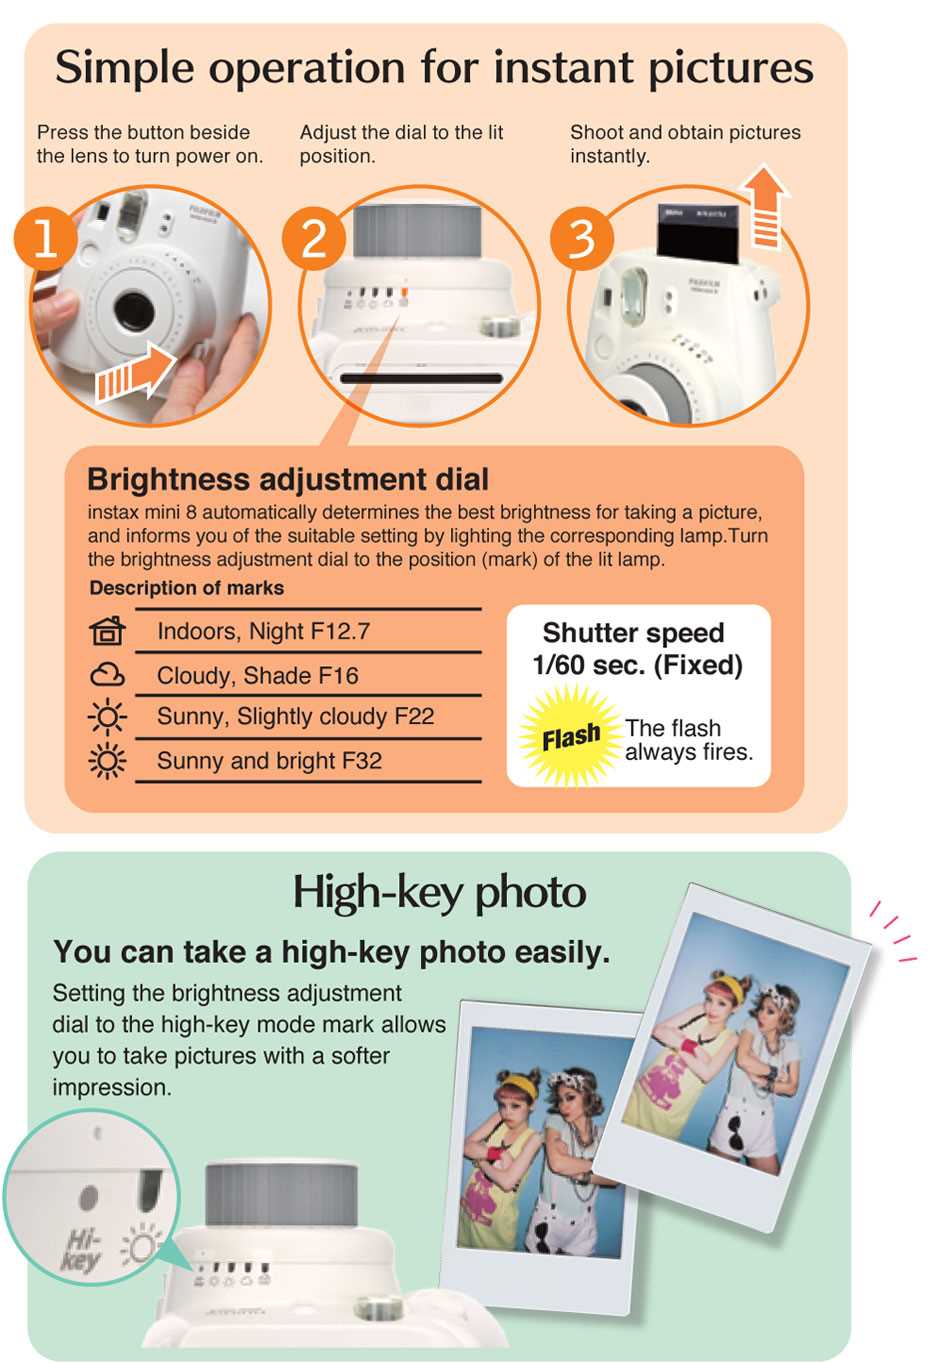
- Turn on the camera by pressing the power button located near the lens.
- Once powered, the camera automatically adjusts to the optimal brightness setting based on your environment. You can manually adjust this by rotating the brightness dial to your preferred setting.
Taking Your First Photo
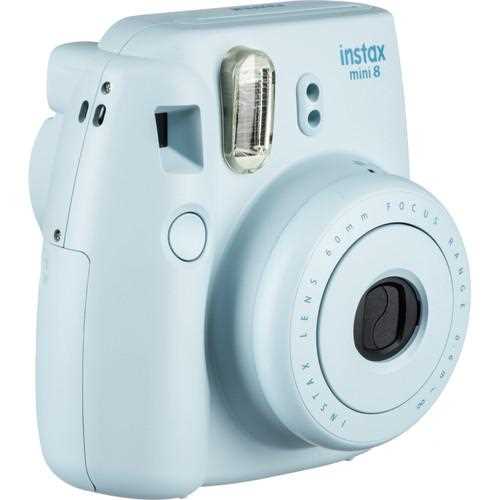
- Hold the camera up to your eye, using the viewfinder to frame your shot.
- Ensure your subject is within the frame and the lighting is adequate.
- Press the shutter button to capture the image. The photo will be ejected from the top of the device; allow it to develop for a few minutes.
Now that you’ve completed these initial steps, you’re ready to start capturing moments with your new camera. Remember to experiment with different settings and angles to achieve the best results.
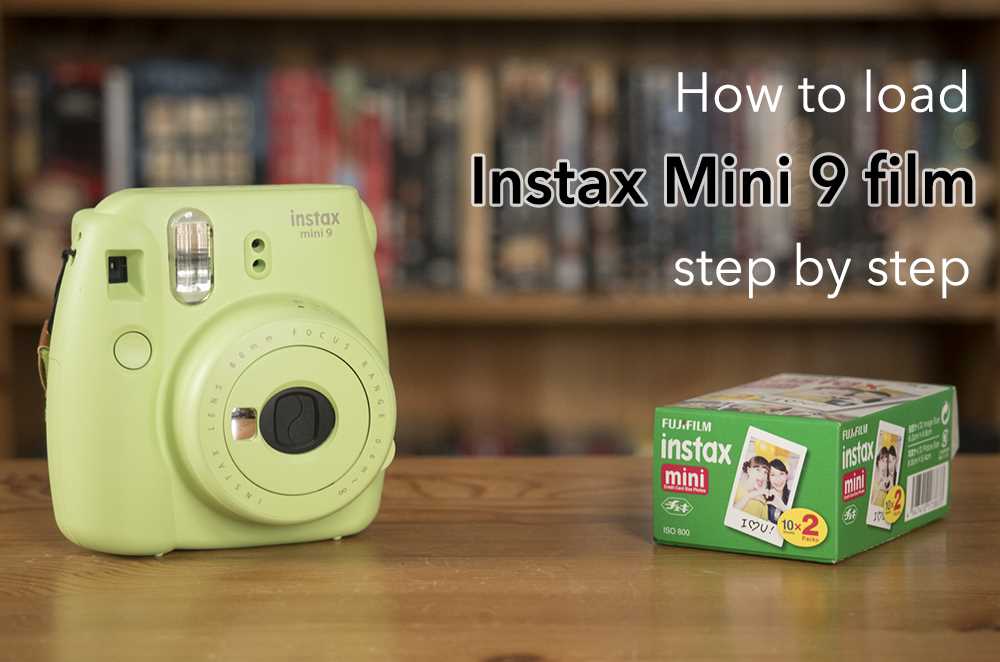
Loading Film into Instax Mini 8
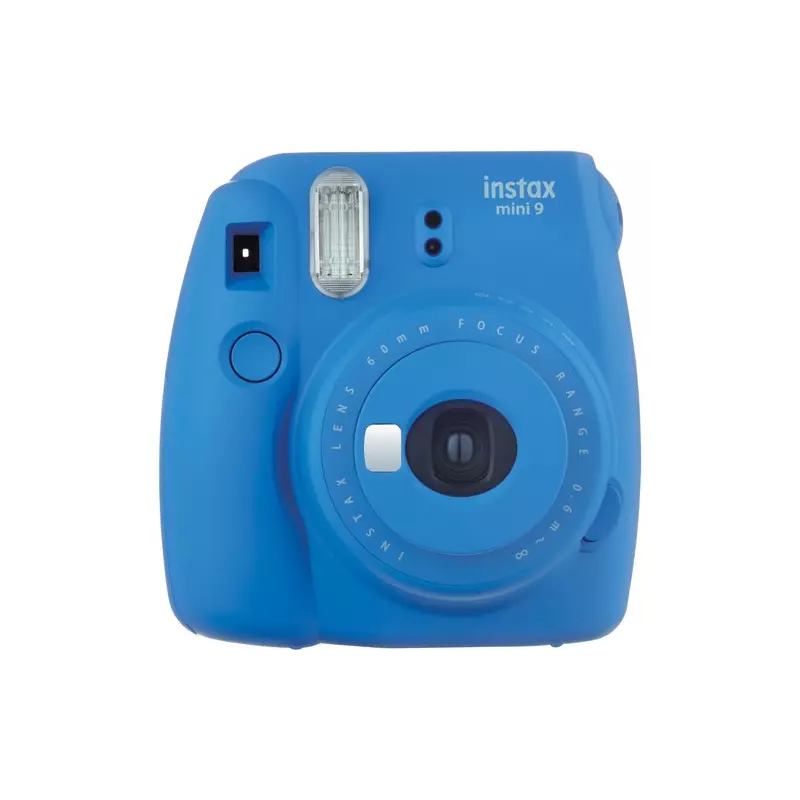
Properly preparing your camera for use is crucial for capturing memories. One of the key steps involves placing the photographic material inside the device. This ensures that your camera is ready to take pictures immediately when you need it.
Follow these steps to securely load the film pack:
| Step 1: | Open the back compartment of your camera by sliding the latch or pressing the designated button. This will reveal the film chamber. |
| Step 2: | Carefully align the yellow markers on the film pack with those inside the chamber. This alignment is essential for the proper functioning of the camera. |
| Step 3: | Place the pack into the chamber without touching the exposed film, as fingerprints or dirt could affect picture quality. |
| Step 4: | Close the back cover securely until you hear a click, ensuring the pack is properly installed. |
| Step 5: | Turn on your camera. The first photo ejected will be the protective cover of the pack. After this, the device is ready for shooting. |
By following these instructions, you ensure that your camera is properly set up for capturing high-quality photos.
Basic Shooting Techniques and Tips
Photography is an art that requires understanding light, composition, and the unique capabilities of your camera. With a few essential techniques, you can capture images that truly stand out. This guide will help you make the most of your camera, offering practical advice to improve your photography skills.
Understanding Lighting
Lighting plays a critical role in photography. Natural light, especially during the golden hours of sunrise and sunset, can add warmth and depth to your photos. When shooting indoors, position your subject near a window for soft, diffused light. Avoid harsh lighting or direct sunlight, which can create unwanted shadows and overexposure.
- Avoid backlighting unless you want to create a silhouette effect.
- Experiment with side lighting to add depth and texture to your subjects.
- Use reflectors or white surfaces to bounce light back onto your subject.
Mastering Composition
Composition is about arranging elements within your frame in a way that is pleasing to the eye. A well-composed image draws the viewer’s attention and conveys a story. Follow these simple rules to enhance your compositions:
- Rule of Thirds: Imagine your frame divided into nine equal parts by two horizontal and two vertical lines. Place the key elements of your scene along these lines or at their intersections for balanced and dynamic photos.
- Leading Lines: Use natural lines, like roads or pathways, to guide the viewer’s eye towards the main subject.
- Simplify the Scene: Eliminate distracting elements from your frame. A clean, uncluttered background helps the subject stand out.
- Frame Your Subject: Use elements like doorways or tree branches to create a natural frame around your subject.
By understanding these techniques and applying them thoughtfully, you can significantly improve the quality of your photos, capturing moments with clarity and creativity.
Understanding Light Settings for Better Photos
Achieving high-quality photographs involves understanding how to adjust the camera’s light settings. Proper exposure, influenced by lighting conditions, plays a crucial role in capturing vibrant and detailed images. By mastering the art of light adjustment, photographers can ensure their photos reflect the true essence of the moment.
Key Light Settings

To enhance your photography, it’s essential to understand the key settings that control the light entering the camera. Below are the main options:
- Brightness: Adjusts the amount of light in the environment, making the image either brighter or darker.
- Shutter Speed: Determines the duration the camera’s sensor is exposed to light. A faster speed is suitable for bright environments, while a slower speed works best in low light.
- Aperture: Controls the size of the lens opening. A larger aperture lets in more light, creating a brighter image, whereas a smaller aperture limits light for a darker, more detailed photo.
Optimizing Light for Different Conditions
Different lighting conditions require specific adjustments to your settings. Below are tips for common scenarios:
- Bright Sunlight: Reduce brightness and increase shutter speed to avoid overexposure.
- Cloudy Days: Use a larger aperture to compensate for the lack of direct light, and consider slowing the shutter speed.
- Indoor Settings: Opt for a higher brightness setting and a slower shutter speed to capture more light.
- Nighttime: Utilize the maximum aperture and the slowest possible shutter speed, and consider adding external light sources if necessary.
By carefully adjusting these settings according to your environment, you can consistently produce well-lit, high-quality photographs that capture every detail of your subject.
Troubleshooting Common Camera Issues

When using your camera, you may occasionally encounter challenges that affect its performance. Understanding how to identify and resolve these issues can ensure smooth operation and help you capture the perfect shot every time. Below are some common problems you might face and tips on how to address them effectively.
1. Blurry Photos
If your photos are coming out blurry, the most likely cause is camera shake or improper focus. Make sure to hold the camera steady while pressing the shutter button. Additionally, ensure that the subject is within the correct focus range of the lens. If the environment is too dim, consider using the flash or moving to a brighter area.
2. Overexposed or Underexposed Images
Lighting plays a crucial role in photography. If your images are too bright or too dark, check the exposure settings. For overly bright photos, adjust the camera’s exposure compensation to a lower setting or switch to a different lighting mode. If the photos are too dark, increase the exposure compensation or find a better-lit location.
3. Film Not Ejecting
When film fails to eject, it could be due to a low battery or an issue with the film cartridge. First, try replacing the batteries to see if that resolves the problem. If not, carefully inspect the film compartment to ensure the cartridge is properly inserted and that there are no obstructions.
4. Flash Not Firing
If the flash is not firing when needed, check whether the flash is turned on and the batteries are adequately charged. In some cases, the flash may take a few seconds to recharge between shots. Wait for the indicator light to show that the flash is ready before taking another picture.
5. Unusual Noises
Unfamiliar sounds during operation may indicate a mechanical issue. If you hear a grinding noise or anything out of the ordinary, turn off the camera and inspect it for any visible damage. If the problem persists, it may require professional servicing.
By addressing these common issues, you can maintain your camera’s performance and enjoy capturing clear, well-exposed images. Regularly check and maintain your camera to prevent problems and ensure its longevity.
Maintenance and Care for Your Instax Mini 8
To ensure the longevity and optimal performance of your instant camera, proper upkeep and attention are essential. Routine maintenance helps prevent issues and keeps your device functioning smoothly. By following a few simple guidelines, you can enjoy consistently high-quality prints and extend the life of your camera.
General Cleaning

Regularly clean the exterior of your camera with a soft, dry cloth to remove dust and smudges. Avoid using abrasive materials or chemical cleaners, as these can damage the surface. For the lens, use a lens cleaning brush or a microfiber cloth to gently remove any dirt or fingerprints. Ensure that no cleaning agents get into the camera’s internal components.
Battery Care
Keep your camera’s batteries in good condition by removing them if you won’t be using the device for an extended period. Store batteries in a cool, dry place and avoid exposing them to extreme temperatures. Always use the correct type of battery as specified in the user guide to avoid potential damage or malfunctions.