In this section, we delve into the comprehensive guide designed to help users fully understand and utilize the features of this advanced photography device. Whether you’re a novice or an experienced photographer, this guide provides essential insights that will enhance your experience with the equipment.
By following the steps outlined, you will learn how to navigate through various settings, making the most of your device’s capabilities. From capturing stunning images to mastering video recording, this guide ensures you get the best performance from your photography tool.
As you explore the functions and options available, you’ll gain confidence in using the device effectively, ensuring every shot is a success. This section serves as a valuable resource for anyone looking to elevate their photography skills with this exceptional piece of equipment.
Canon M6 Mark II Overview
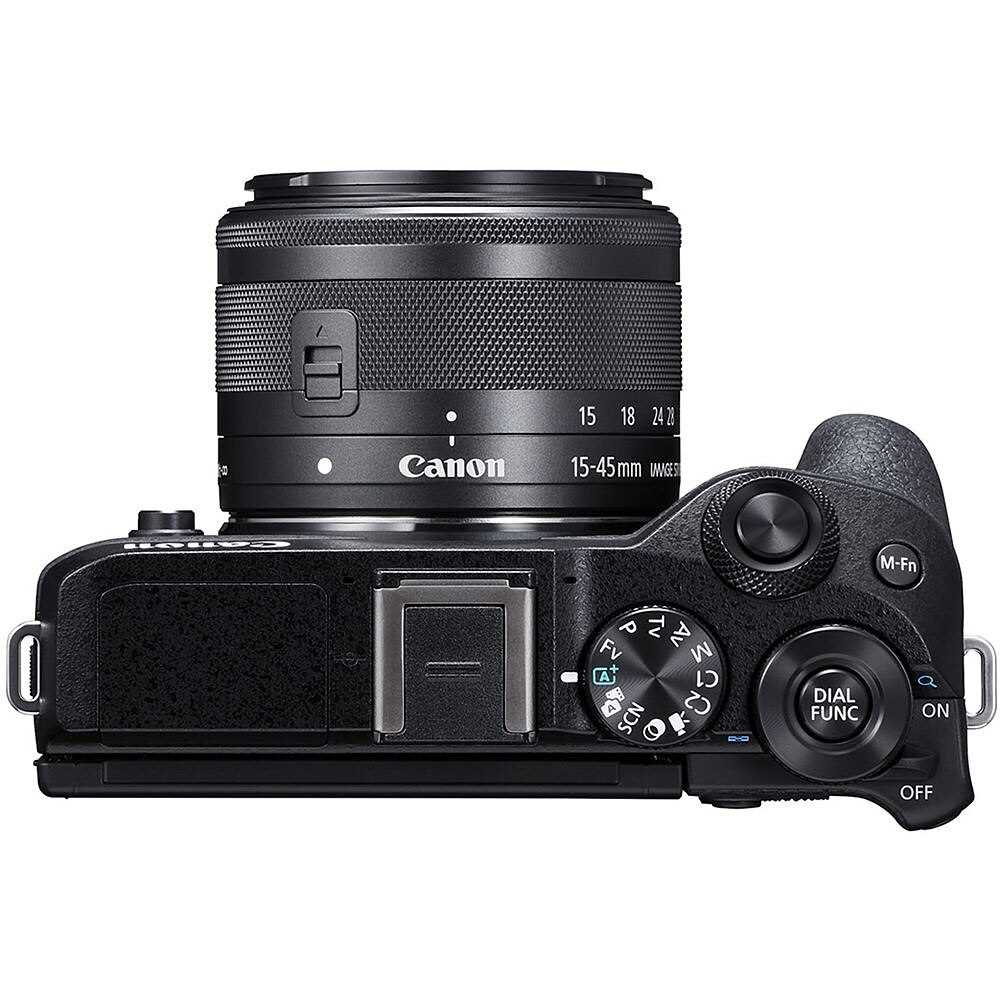
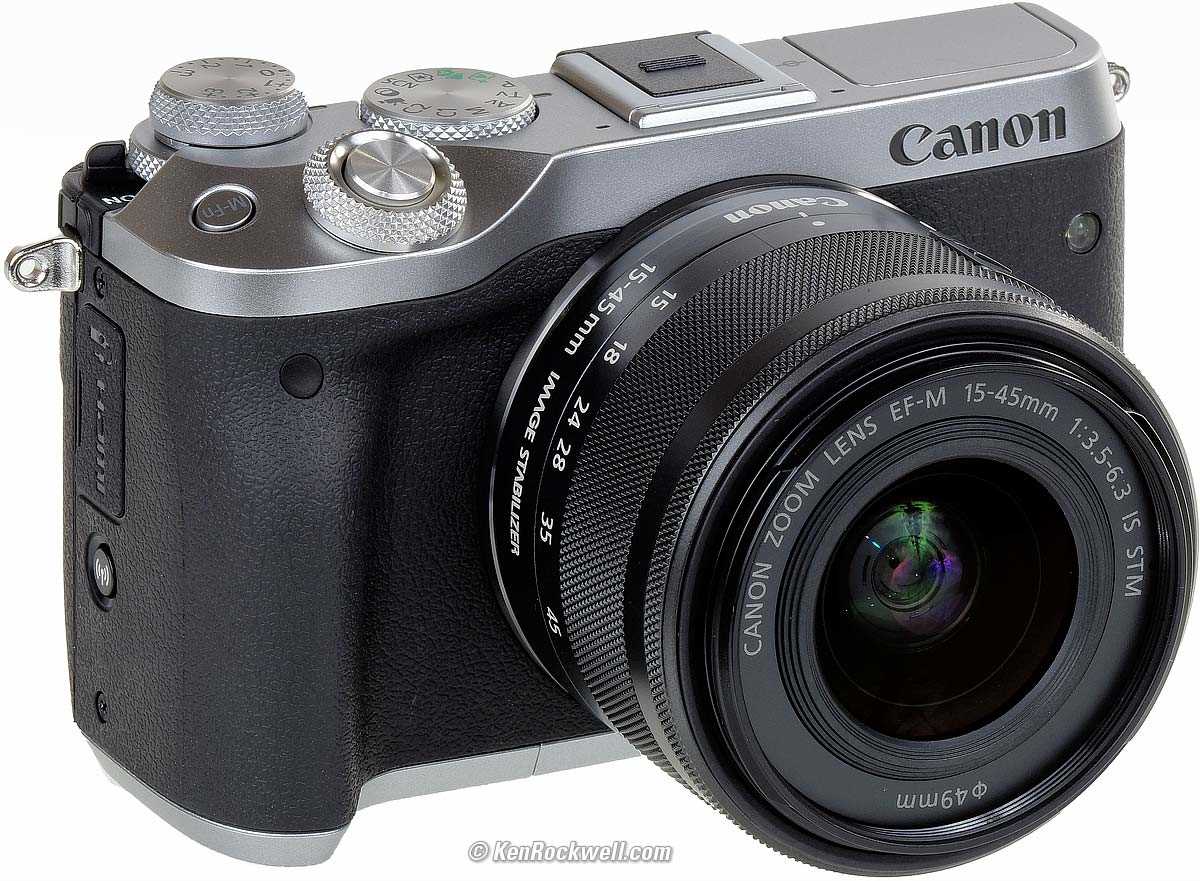
The M6 Mark II camera is a versatile and advanced piece of technology, designed to meet the needs of both amateur and professional photographers. It offers a compact design paired with powerful features, making it suitable for a wide range of photography styles. With a focus on high-resolution image capture and quick response times, this model delivers exceptional performance in various shooting conditions.
In the table below, we summarize some of the key specifications and features that highlight the capabilities of this device:
| Feature | Description |
|---|---|
| Resolution | 32.5 Megapixels |
| Image Processor | DIGIC 8 |
| Continuous Shooting | 14 frames per second |
| Autofocus System | Dual Pixel CMOS AF |
| Video Recording | 4K UHD at 30p |
Key Features and Specifications
This section provides an overview of the standout attributes and technical aspects that define the capabilities of the device. The features highlighted here represent the essential elements that contribute to its performance, usability, and versatility in various scenarios.
Main Attributes

- High-resolution imaging for detailed and sharp visuals
- Advanced autofocus system ensuring quick and precise focus
- Rapid burst shooting capability to capture fast-moving subjects
- Integrated wireless connectivity for seamless sharing and control
- Customizable controls for a tailored user experience
Technical Specifications
- Resolution: Up to 32.5 megapixels
- Autofocus Points: 143 phase-detection points
- Continuous Shooting Speed: Up to 14 frames per second
- Connectivity: Wi-Fi and Bluetooth built-in
- Battery Life: Approximately 305 shots per charge
Getting Started with Setup
Starting your new device can be an exciting experience, but it’s essential to ensure everything is correctly prepared for optimal use. In this section, we’ll guide you through the necessary steps to get your equipment ready for action, focusing on initial setup and essential configurations.
Unboxing and Initial Preparations
Begin by carefully unpacking all components from the box, making sure nothing is missing. Place each item on a clean surface, so everything is easily accessible. Verify that all parts are included, such as cables, chargers, and accessories, which are crucial for the initial setup.
Powering Up and Basic Configuration
Once you’ve unpacked and organized the components, the next step is to power up the device. Connect the power source and turn it on. Follow the on-screen instructions to complete the basic configuration, including setting up preferences like language, date, and time. This ensures that your device is ready for the next steps in the setup process.
Essential Shooting Modes Explained
Understanding the various shooting modes is crucial for capturing the best possible images in any situation. Each mode offers unique settings tailored to different environments and subjects, making it easier to achieve desired results. In this section, we’ll explore the key modes available and how they can enhance your photography.
Automatic Mode

Automatic mode is ideal for beginners or when you need a quick shot without worrying about the settings. The camera makes all the decisions for you, adjusting focus, exposure, and white balance to produce a well-balanced image. This mode is perfect for casual snapshots and situations where you want to concentrate on composition rather than technical details.
Aperture Priority Mode
Aperture Priority mode allows you to control the depth of field by selecting the aperture, while the camera handles the shutter speed. This mode is especially useful for portrait photography, where you might want to blur the background to highlight the subject, or for landscape shots where you need everything in focus. It offers a balance between creative control and ease of use.
Understanding the Menu System

The menu interface of this advanced camera provides a comprehensive platform for customizing various settings to suit your photography needs. Navigating through the different options allows you to adjust the camera’s performance, enabling you to achieve your desired results in various shooting conditions.
Within the menu, you will find multiple categories, each containing specific functions related to image quality, focus settings, exposure, and more. Exploring these categories will enhance your ability to fine-tune the device according to the specific requirements of each photo session.
By familiarizing yourself with the menu system, you can take full advantage of the camera’s features, ensuring that you are prepared to capture the perfect shot in any scenario.
Maintenance and Cleaning Tips
Proper upkeep and cleanliness are essential for ensuring optimal performance and longevity of your photographic equipment. Regular maintenance not only enhances the device’s functionality but also preserves its aesthetic appeal. Below are some practical suggestions for maintaining and cleaning your gear effectively.
Routine Care
- Always use a soft, lint-free cloth to wipe the exterior surfaces, preventing dust and smudges from accumulating.
- Check and clean the lens regularly to avoid image distortion caused by dirt or fingerprints.
- Ensure that all buttons and dials operate smoothly by periodically checking for any debris.
Deep Cleaning Steps

- Detach the lens before cleaning to access the body and the sensor safely.
- Use a blower to remove loose dust from both the body and lens.
- For stubborn marks on the lens, use a specialized lens cleaning solution and a microfiber cloth.
- Clean the sensor carefully using appropriate tools designed for sensor maintenance.
- Store the equipment in a cool, dry place to prevent moisture build-up.
Troubleshooting Common Issues
This section provides solutions for frequent challenges encountered while using your camera. Understanding common problems and their fixes can enhance your shooting experience and help you avoid frustration.
Here are some typical issues and recommended steps to resolve them:
-
Camera Won’t Turn On:
- Check if the battery is charged and properly inserted.
- Ensure the power switch is in the “On” position.
- If the camera still doesn’t respond, try using a different battery.
-
Focus Problems:
- Make sure the lens is clean and free from obstructions.
- Verify that the autofocus mode is enabled in the settings.
- Check if the subject is within the focus range of the lens.
-
Image Quality Issues:
- Adjust the ISO settings according to the lighting conditions.
- Check if the lens is correctly attached to the camera body.
- Ensure that you are using the appropriate shooting mode for your environment.
-
Memory Card Errors:
- Remove the card and reinsert it to ensure proper contact.
- Format the memory card using the camera settings if necessary.
- Replace the memory card if errors persist, as it may be damaged.
By following these guidelines, you can quickly address common issues and get back to capturing memorable moments.