For those who are passionate about cycling, a reliable and efficient tracking device is essential to monitor performance and ensure a smooth ride. Understanding the features and functionalities of your device can greatly enhance your biking experience, allowing you to optimize your workouts and track your progress with precision.
This guide is designed to provide clear and concise instructions on how to set up, operate, and get the most out of your two-wheel companion’s advanced tracking features. Whether you’re a seasoned cyclist or just beginning, this resource will help you navigate through the various options available on your device, ensuring you can tailor it to meet your specific needs.
In the following sections, you’ll discover detailed explanations of each feature, step-by-step setup processes, and tips on how to maintain and troubleshoot your device. With this knowledge at your fingertips, you’ll be well-equipped to make the most of your cycling adventures.
Overview of Cateye Velo 2 Features
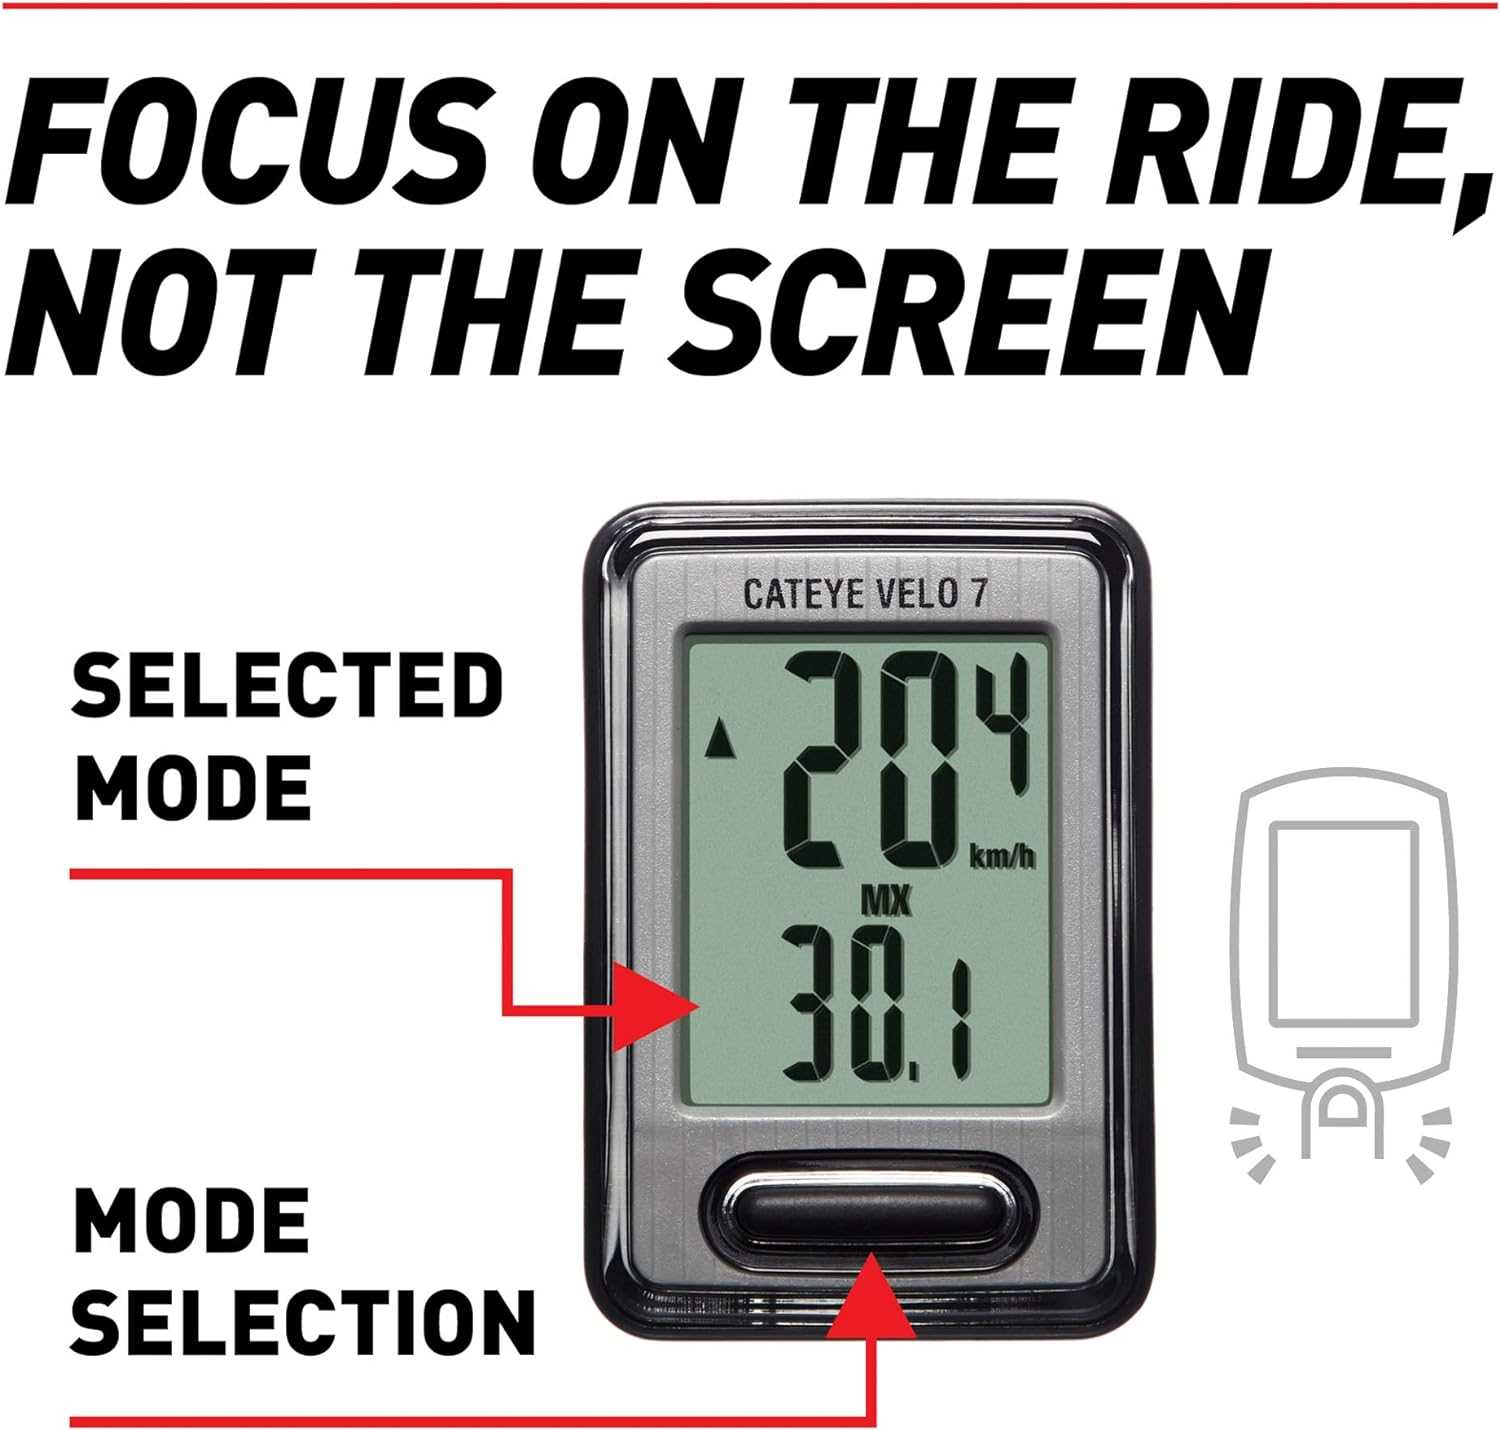
The device is a compact and efficient tool designed to enhance the cycling experience by providing essential data for riders of all levels. This section highlights its key features, which contribute to both performance tracking and overall ride enjoyment.
- Speed Measurement: Accurately records current, maximum, and average speeds, offering riders valuable insights into their performance.
- Distance Tracking: Monitors the total distance covered during a ride, as well as the cumulative distance over multiple sessions.
- Time Functions: Includes a stopwatch for timing individual segments and a clock to keep track of real-time during your rides.
- Simple Interface: The intuitive design makes it easy to switch between functions, allowing for quick access to desired information.
- Auto Start/Stop: Automatically begins and pauses data recording, ensuring accuracy without requiring manual input.
Setting Up Your Cateye Velo 2
Proper configuration is essential to ensure accurate data tracking and optimal performance of your cycling companion. Follow these steps to personalize and adjust the device to match your needs, ensuring it is fully prepared for use on the road.
Installing the Device
- Mount the Unit: Secure the main unit to your bike’s handlebars using the provided bracket. Ensure it is tightly fastened and easily visible while riding.
- Attach the Sensor: Position the sensor on the front fork of the bicycle. It should align with the magnet that will be attached to the wheel spokes.
- Fix the Magnet: Attach the magnet to one of the spokes of your front wheel, ensuring it passes close to the sensor with each rotation.
Calibrating the Device
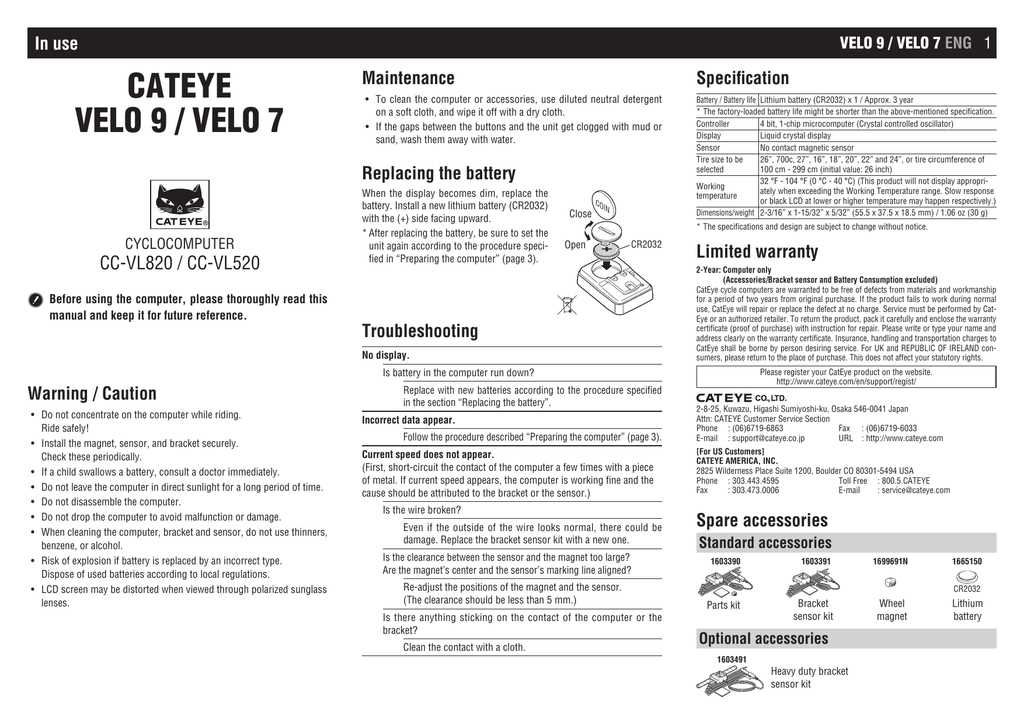
Once the hardware is correctly installed, follow these instructions to set the unit for precise tracking:
- Wheel Size Input: Enter the correct wheel size based on the dimensions of your bike tires. This ensures accurate distance and speed calculations.
- Time and Units: Set the clock and choose between kilometers or miles for distance measurements, depending on your preference.
- Test the Setup: Spin the front wheel and check if the sensor detects the magnet, confirming that all components are aligned properly.
After completing these steps, your device should be ready to provide reliable and accurate feedback during your cycling sessions.
Understanding the Display Functions
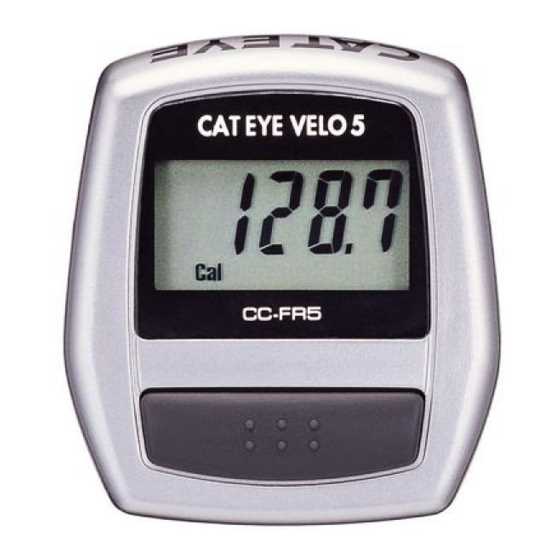
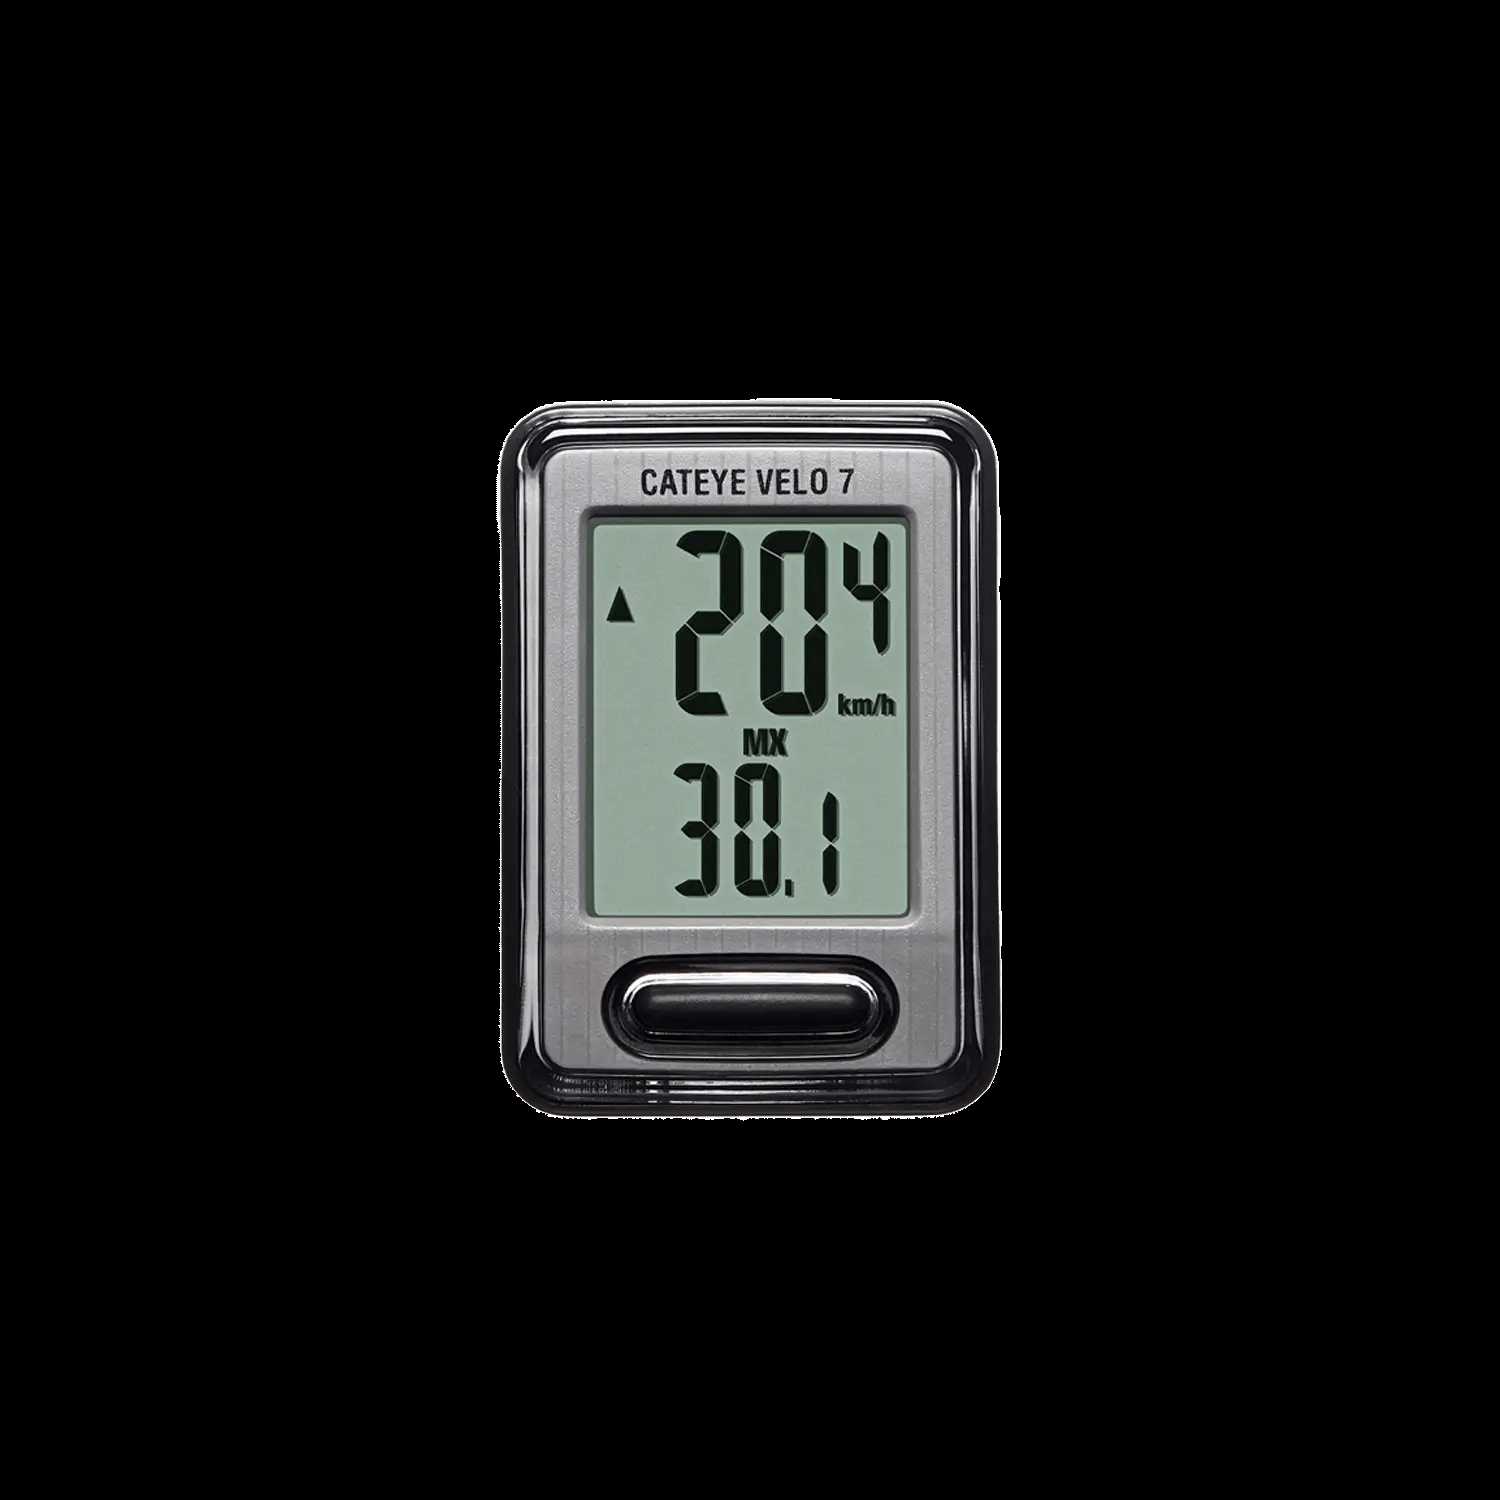
In this section, we’ll explore the various features and data points that your cycling device screen presents. Familiarizing yourself with these functions will help you better interpret the information displayed during your ride, allowing for a more informed and enjoyable cycling experience.
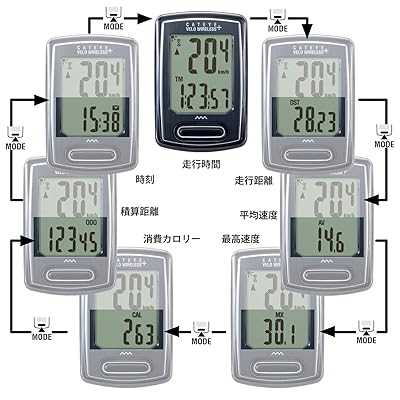
The device offers several key metrics that are essential for tracking your progress and performance. Below is a detailed overview of each display function:
| Function | Description |
|---|---|
| Current Speed | Shows your real-time speed, helping you monitor how fast you’re going at any given moment. |
| Odometer | Tracks the total distance you have covered since the device was first used or last reset. |
| Trip Distance | Records the distance traveled during a specific session, useful for single ride analysis. |
| Elapsed Time | Displays the total time spent on the current ride, allowing you to keep track of your journey duration. |
| Average Speed | Calculates and shows your average speed over the entire trip, offering insights into your overall performance. |
| Maximum Speed | Indicates the highest speed achieved during the ride, providing a peak performance reference. |
Understanding these display functions will enable you to maximize the benefits of your cycling device, giving you the information needed to enhance your training and track your progress effectively.
Installing the Speed Sensor and Magnet
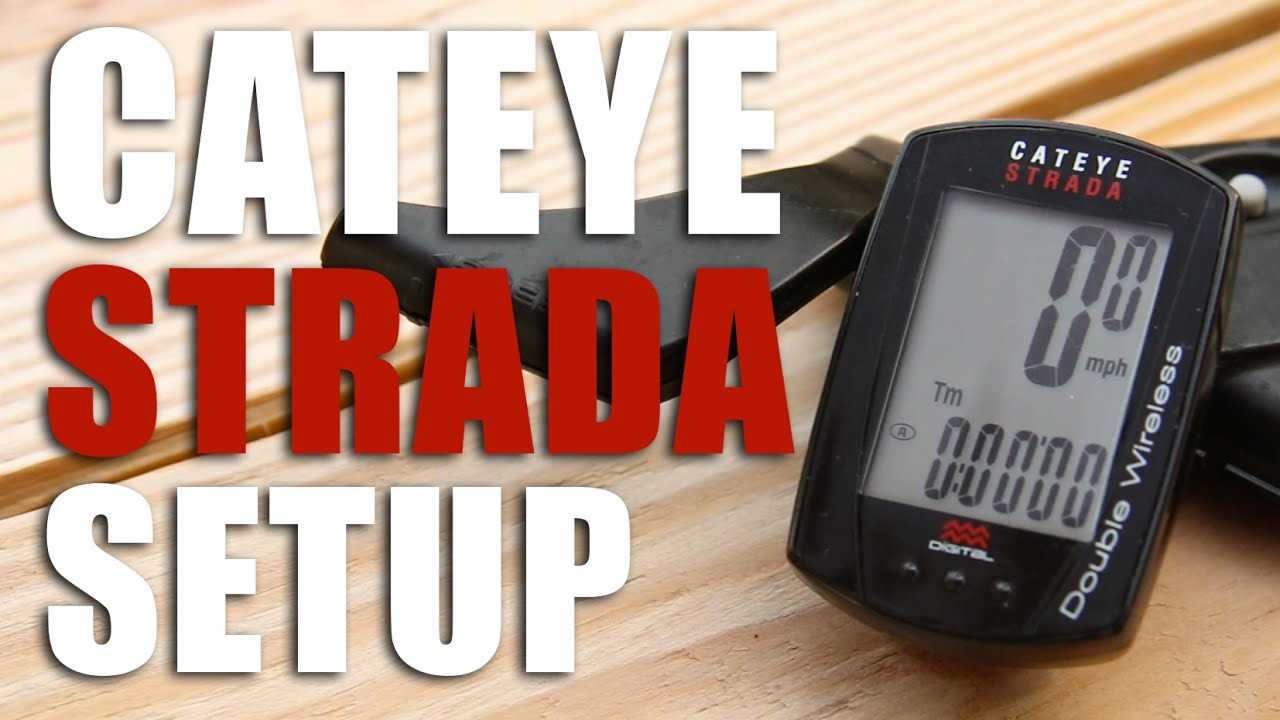
To accurately monitor your cycling performance, it is crucial to properly install the necessary components that measure wheel rotation. These components work together to transmit data, ensuring you receive real-time feedback on your speed and distance.
Positioning the Speed Sensor
Begin by securing the sensor to the fork of your bicycle. It should be placed near the wheel’s edge but with sufficient clearance to avoid any contact during rides. Ensure that the sensor is firmly attached and positioned in a way that aligns with the rotating magnet. This alignment is essential for accurate data collection.
Attaching the Magnet
Next, attach the magnet to one of the spokes of your bicycle wheel. Position it so that it passes close to the sensor with each rotation. The magnet should be securely fastened to prevent any movement, as any misalignment can lead to inaccurate readings. Double-check the gap between the sensor and magnet, ensuring it is within the recommended range for optimal performance.
Final Adjustments: Once both components are in place, spin the wheel to confirm that the sensor and magnet are interacting correctly. If necessary, make slight adjustments to their positions to ensure consistent data transmission during your rides.
How to Reset and Calibrate
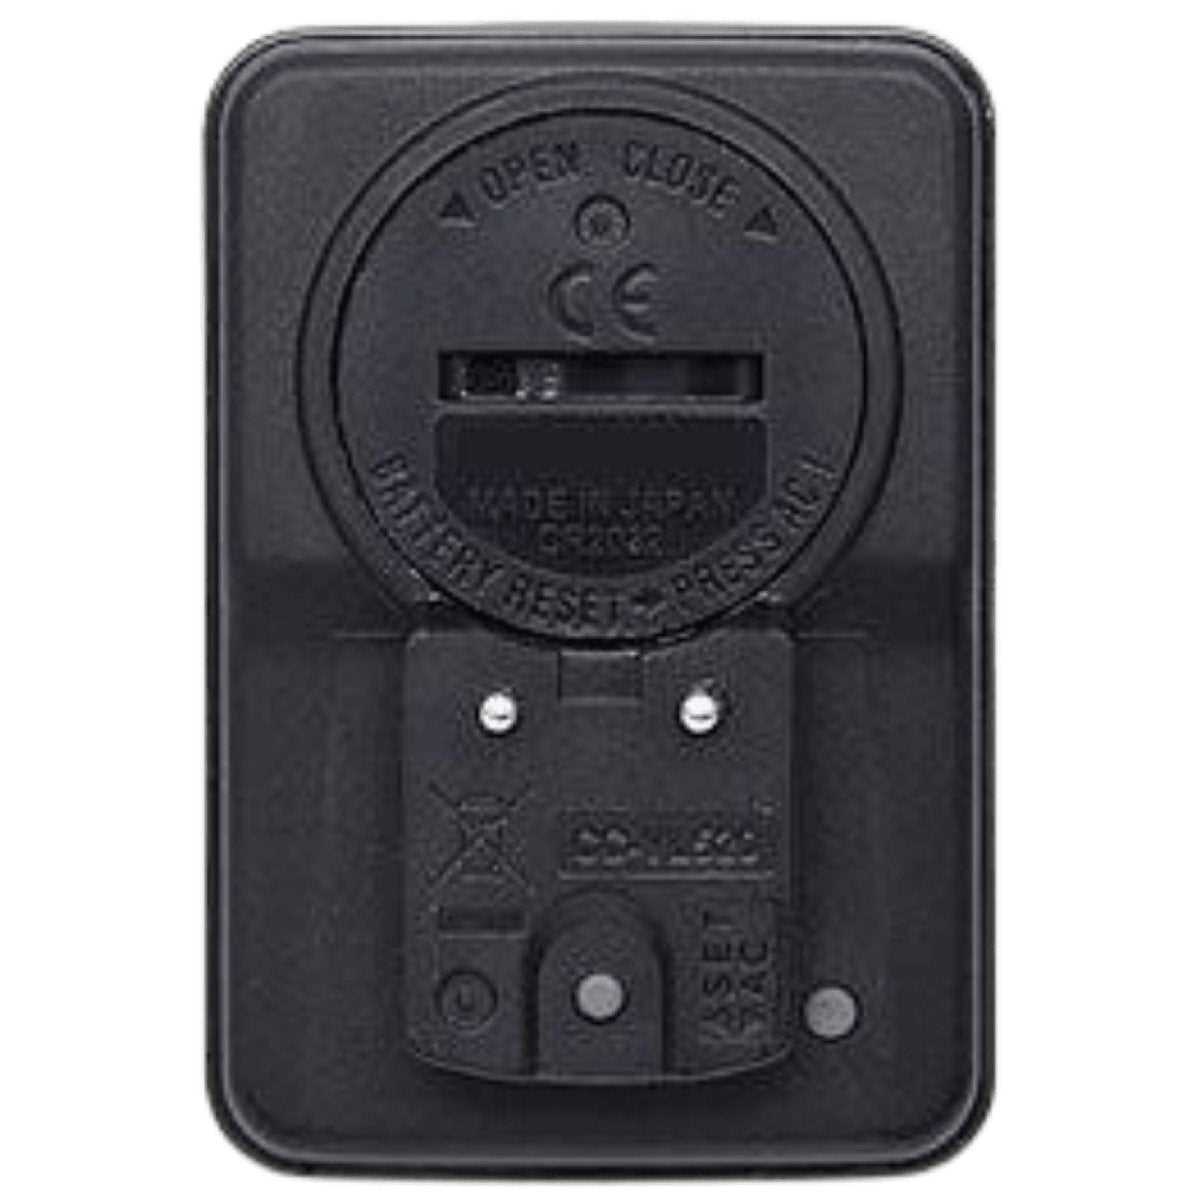
Ensuring accurate performance and data from your cycling device may sometimes require a reset and recalibration. These steps help in resolving issues and ensuring that the device operates with the correct settings. Whether you’re experiencing inaccuracies or just need to start fresh, following the outlined procedure will help restore and fine-tune your equipment.
To reset the device, follow these steps:
| Step | Action |
|---|---|
| 1 | Locate the reset button on your device. This is often found in a small, recessed area that requires a pin or a similar tool to access. |
| 2 | Press and hold the reset button for a few seconds until the display turns off and then back on. |
| 3 | Release the button and wait for the device to complete the reboot process. |
For calibration, follow these instructions:
| Step | Action |
|---|---|
| 1 | Enter the setup mode of your device, usually accessible via a menu or settings button. |
| 2 | Select the calibration option, which may be labeled as “Calibrate” or “Set Distance.” |
| 3 | Follow the on-screen instructions to input the correct wheel size or other relevant parameters. |
| 4 | Confirm and save your settings, then exit the setup mode. |
By performing these steps, you can restore and optimize your device’s functionality, ensuring accurate measurements and reliable performance during your rides.
Maintaining Your Cateye Velo 2
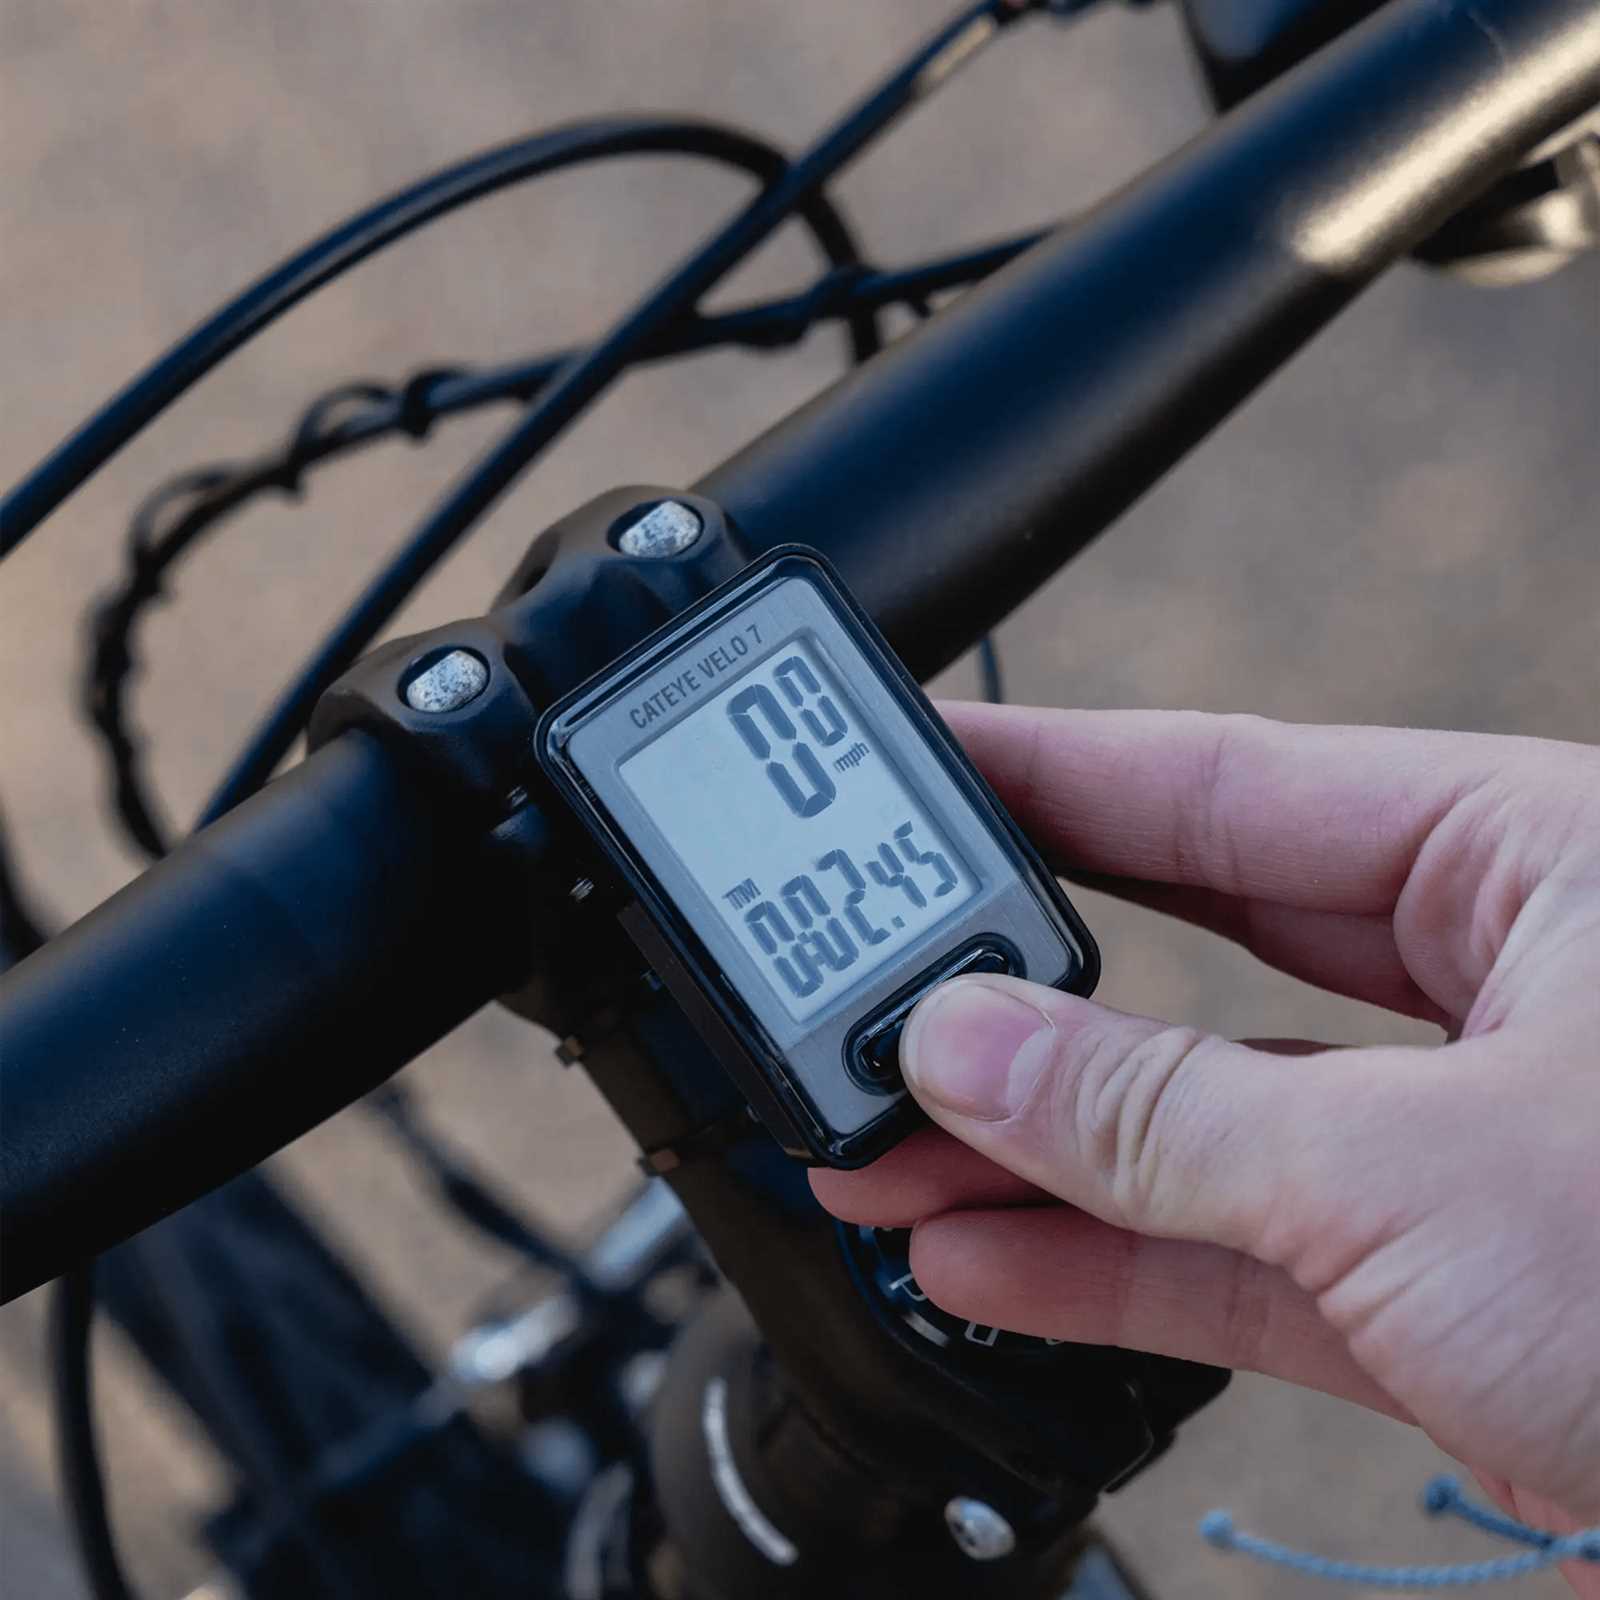
Regular upkeep of your cycling device is crucial for ensuring its optimal performance and longevity. Proper maintenance not only enhances accuracy but also extends the life of the equipment, preventing unnecessary malfunctions and ensuring that it operates smoothly under various conditions. This section will guide you through essential maintenance practices to keep your unit in excellent working condition.
To maintain your cycling computer effectively, follow these key steps:
| Task | Frequency | Description |
|---|---|---|
| Battery Check | Monthly | Inspect the battery level and replace if necessary to avoid sudden shutdowns during rides. |
| Cleaning | Bi-weekly | Wipe the screen and casing with a soft, dry cloth to remove dust and debris. |
| Mount Inspection | Monthly | Ensure that the mounting bracket is secure and adjust if needed to prevent vibrations and slippage. |
| Software Updates | As Available | Check for and install any available firmware updates to keep the device functioning with the latest features and improvements. |
By adhering to these maintenance tips, you will ensure that your cycling computer remains reliable and accurate, providing you with consistent performance and a better riding experience.