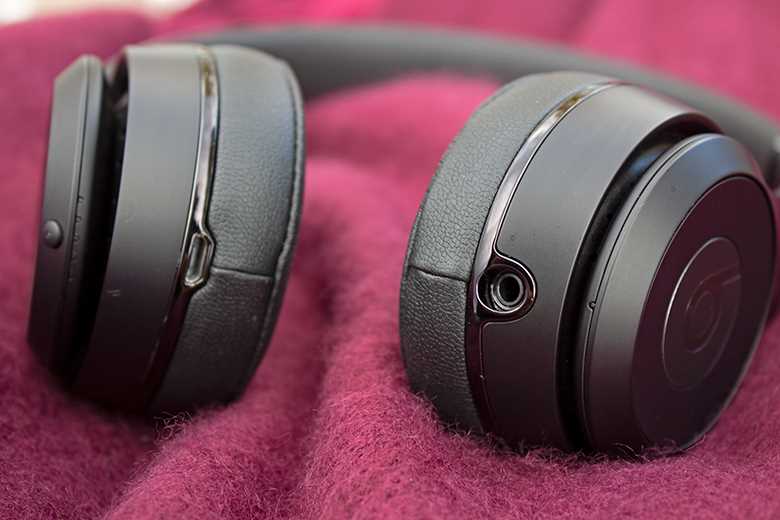
Welcome to the essential guide for mastering your new pair of high-performance wireless headphones. This section aims to provide you with a comprehensive overview of how to get the most out of your listening experience, ensuring you understand every feature and function these advanced audio devices offer.
In the following passages, you will discover detailed instructions on setting up and operating your headphones, from pairing them with your devices to utilizing all the innovative controls. Whether you are an audiophile or a casual listener, this guide will help you navigate through the functionalities with ease.
Embrace the full potential of your headphones as you learn how to optimize sound quality, manage battery life, and troubleshoot common issues. This information will empower you to enjoy uninterrupted and superior audio performance.
Overview of Beats Solo 3 Features
In this section, we will explore the primary attributes and capabilities of these popular wireless headphones. Designed to enhance the listening experience, these headphones are equipped with a range of features that cater to both casual listeners and audiophiles. Let’s delve into the key elements that define their performance and usability.
Design and Comfort
One of the standout aspects is the attention to design and comfort. These headphones offer:
- Adjustable Headband: Customizable for a secure and comfortable fit.
- Ergonomic Ear Cushions: Soft padding that provides extended comfort during long listening sessions.
- Compact Foldable Design: Convenient for portability and storage.
Audio Quality and Connectivity
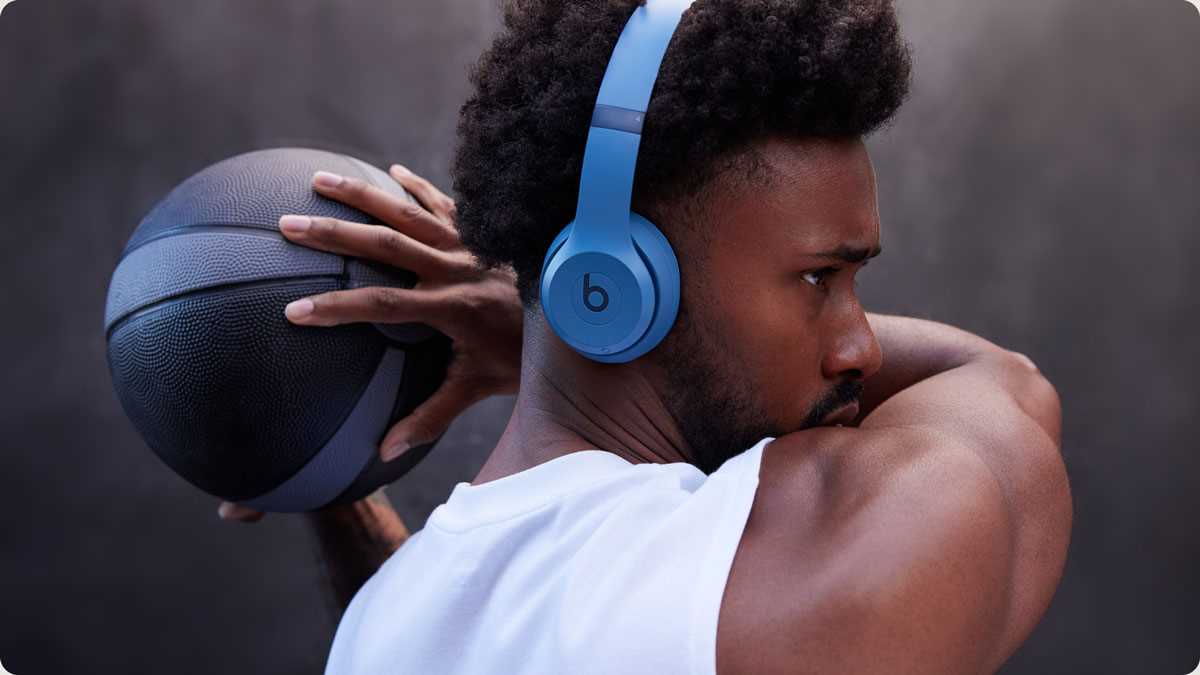
Audio performance and connectivity features contribute significantly to the overall user experience. Key highlights include:
- Wireless Technology: Bluetooth connectivity for seamless pairing with devices.
- High-Fidelity Sound: Enhanced audio quality with balanced sound reproduction.
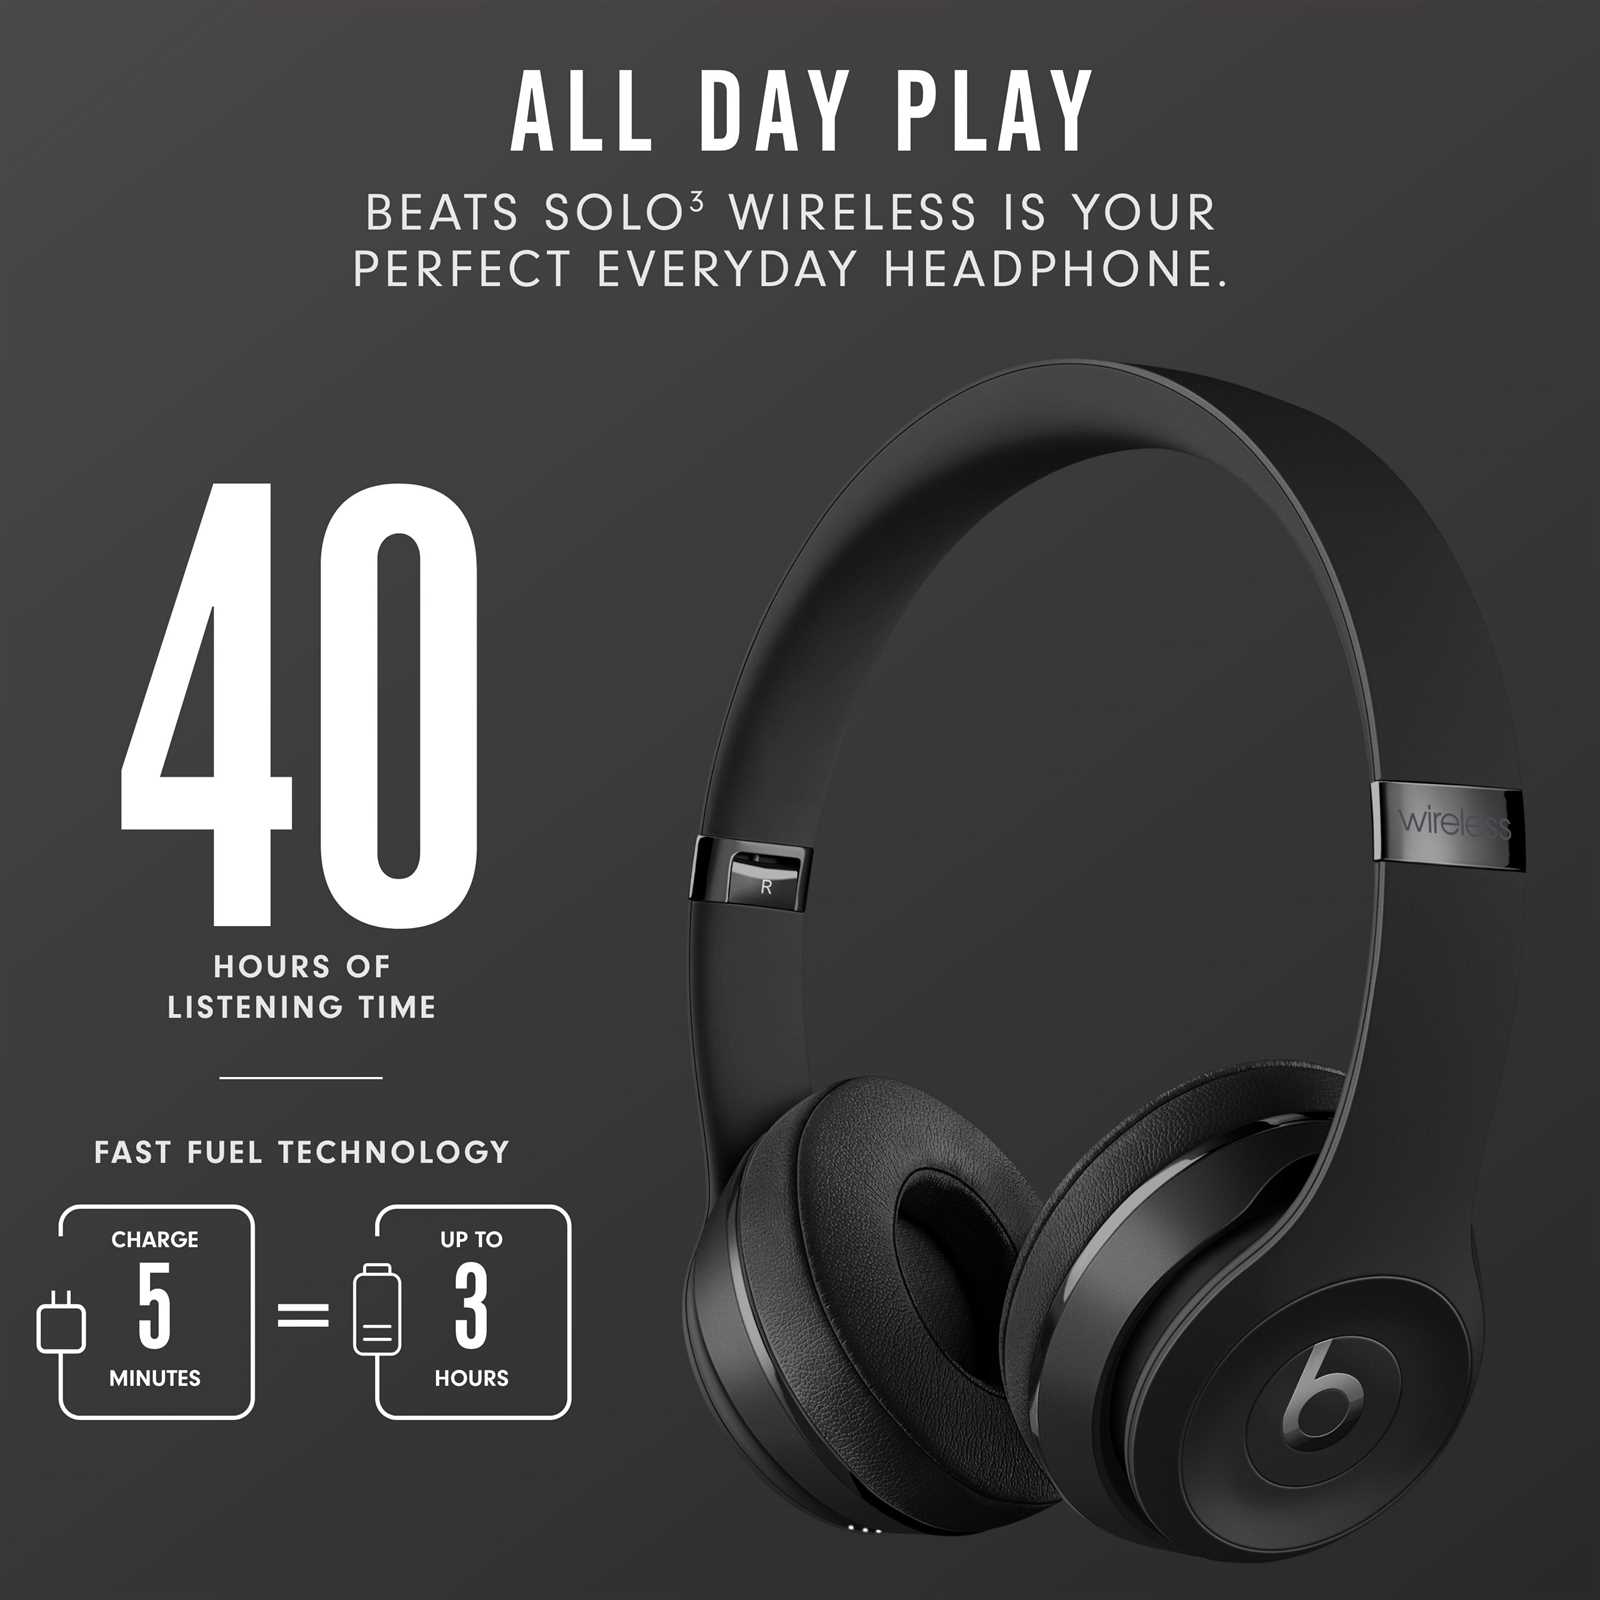
- Long Battery Life: Extended usage time with efficient power management.
How to Set Up Your Beats Solo 3
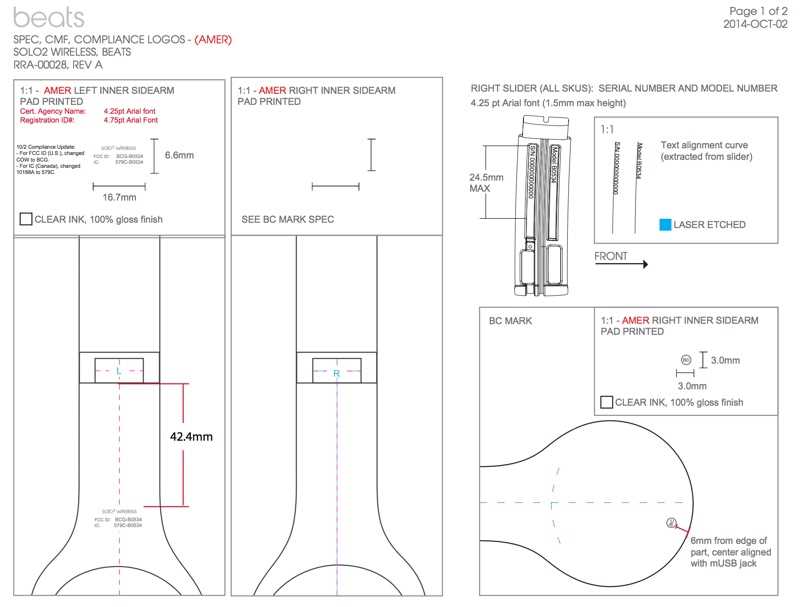
Getting your new wireless headphones ready for use is a simple process that enhances your listening experience. Follow these steps to ensure proper setup and seamless connection with your devices.
- Charge Your Headphones:
- Locate the charging port on your headphones.
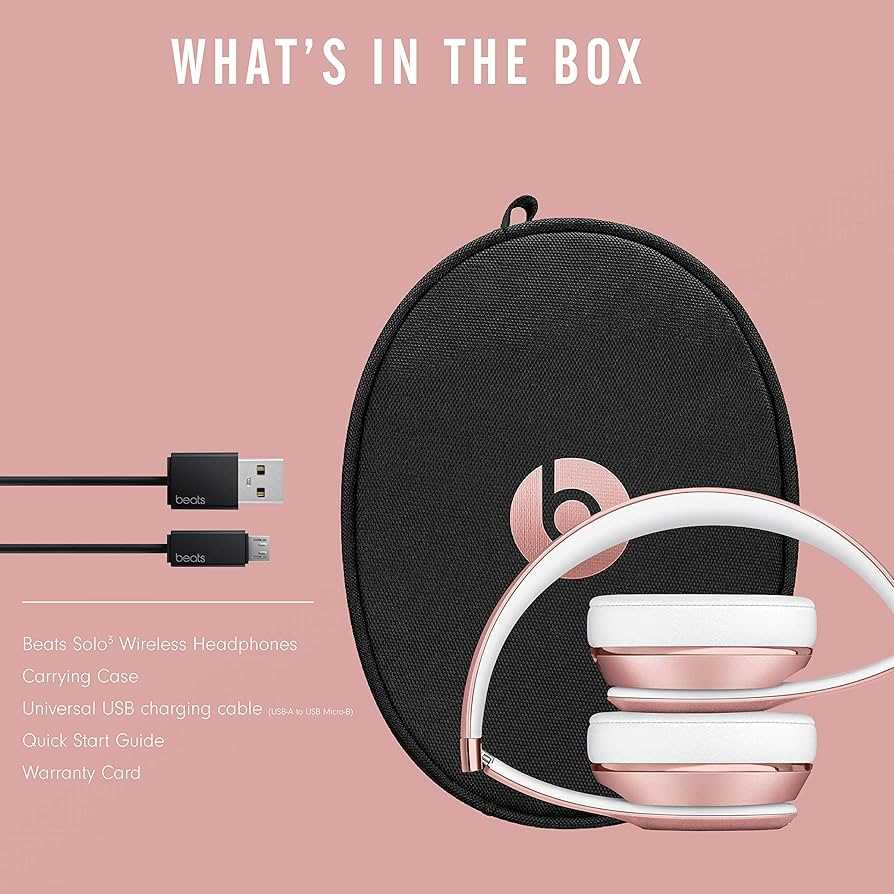
- Use the provided USB cable to connect the headphones to a power source.
- Allow the headphones to charge fully before the first use. The indicator light will show the charging status.
- Power On the Headphones:
- Press and hold the power button until the LED light turns on.
- Ensure the headphones are in pairing mode. The LED light should blink to indicate they are discoverable.
- Pair with Your Device:
- Open the Bluetooth settings on your smartphone, tablet, or computer.
- Search for available devices and select the headphones from the list.
- Follow any additional on-screen instructions to complete the pairing process.
- Adjust Settings:
- Once paired, you can adjust the sound settings to your preference using your device’s audio settings.
- Explore any additional features through the companion app, if available, for customized control.
With these steps completed, your headphones are ready to deliver high-quality sound tailored to your preferences. Enjoy your audio experience!
Pairing Beats Solo 3 with Devices
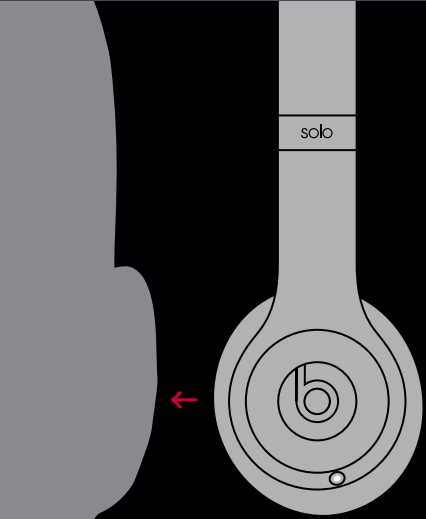
Connecting your headphones to various gadgets is a straightforward process that enhances your listening experience. By syncing these headphones with your devices, you enable seamless audio transmission, allowing you to enjoy high-quality sound without the hassle of cables. This connectivity ensures that whether you are using a smartphone, tablet, or computer, you can easily switch between different sources of audio with minimal effort.
To start the pairing process: ensure that your headphones are powered on and in pairing mode. Typically, this involves holding down a specific button until an indicator light signals that the device is ready to connect. On your device, navigate to the Bluetooth settings and search for available devices. Select your headphones from the list, and confirm the pairing request if necessary.
Once connected, your headphones will be ready to deliver exceptional sound from any paired gadget. If you encounter any issues, refer to the troubleshooting section to resolve common connectivity problems.
Adjusting Audio Settings and Controls
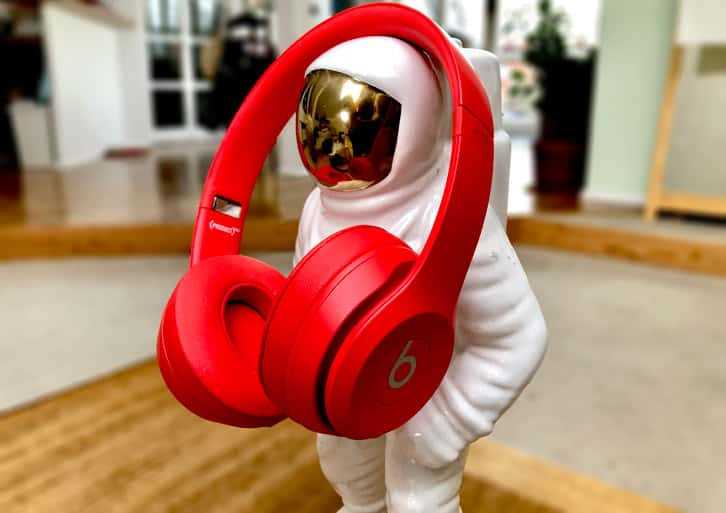
Optimizing your listening experience involves fine-tuning various audio parameters and control options available on your headphones. By understanding and utilizing these features, you can tailor the sound to match your preferences, ensuring the best possible audio performance.
Sound Customization
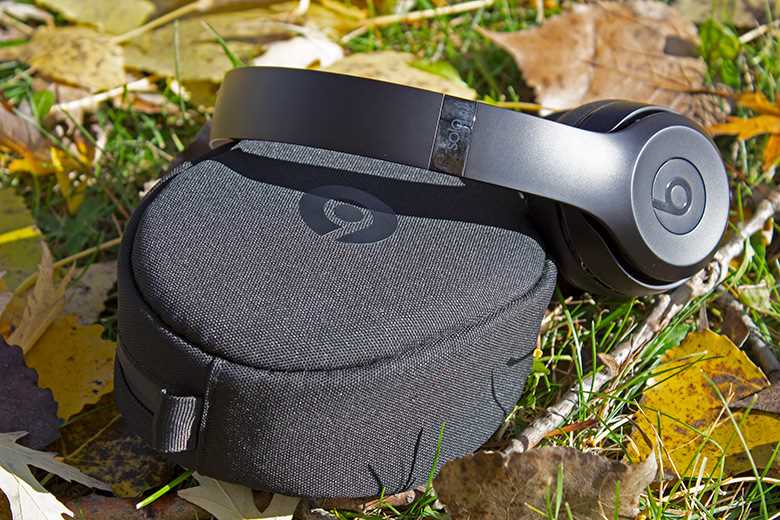
To enhance your audio experience, you can adjust several settings to suit your tastes:
- Volume Control: Adjust the volume to a comfortable level using the dedicated volume buttons. Ensure it is not too high to prevent hearing damage.
- Equalizer Settings: Access equalizer presets or customize the sound profile through your device’s settings or a companion app to emphasize specific frequencies.
- Noice Cancellation: Toggle noise-cancelling features to block out external sounds or enhance awareness of your surroundings based on your environment.
Control Options
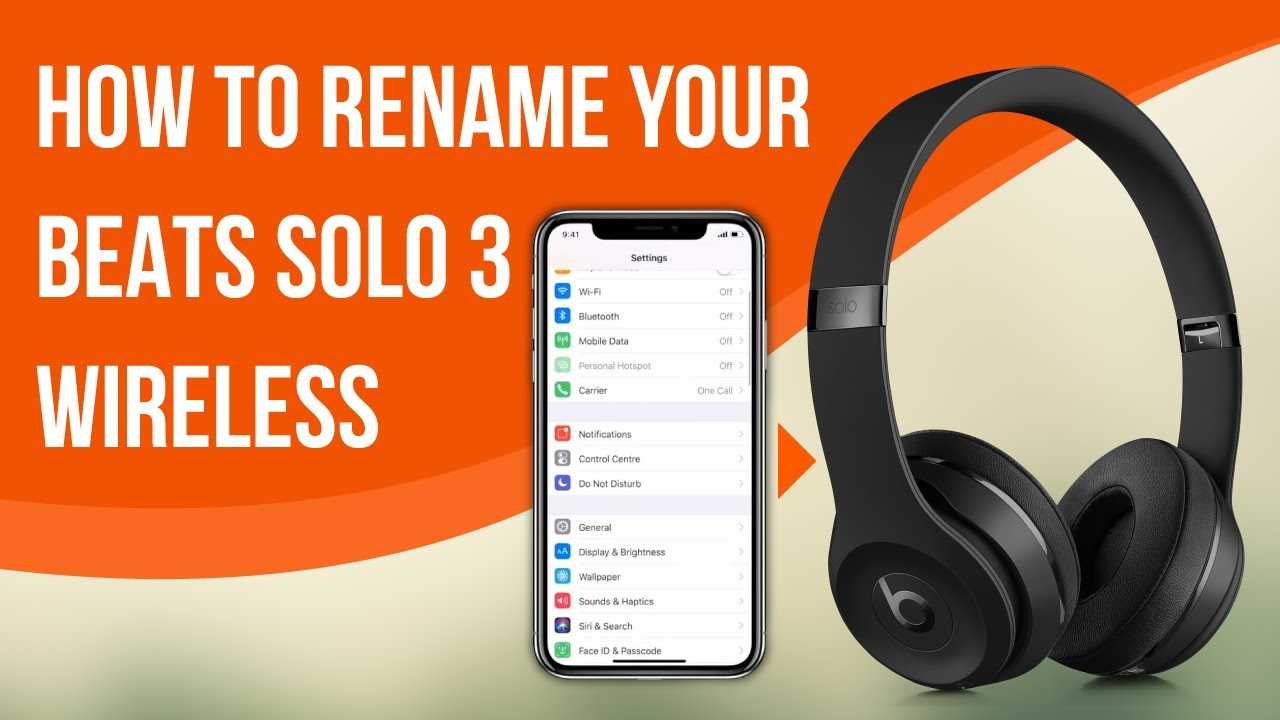
Familiarize yourself with the control options to efficiently manage playback and other functions:
- Playback Controls: Use the on-ear controls to play, pause, skip tracks, or go back to previous songs.
- Call Management: Answer or end calls using the integrated controls, and use voice commands for hands-free operation.
- Power Settings: Turn the headphones on or off and manage power-saving features to extend battery life.
Maintaining and Cleaning Your Headphones
To ensure the longevity and optimal performance of your audio equipment, regular upkeep and cleanliness are essential. Proper care not only extends the life of your headphones but also enhances your listening experience by keeping sound quality at its best. This section provides key guidelines on how to effectively maintain and clean your headphones.
Routine Maintenance
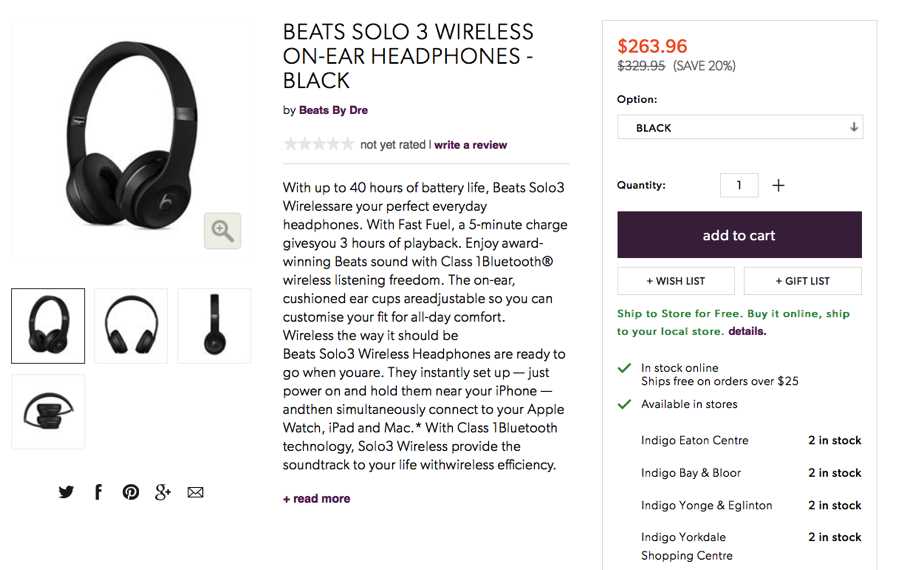
- Check for wear and tear: Regularly inspect the headband and ear cushions for signs of damage or fraying.
- Store properly: When not in use, keep your headphones in a protective case to avoid dust accumulation and physical damage.
- Avoid moisture: Keep your headphones away from water and humid environments to prevent internal damage.
Cleaning Procedures
For optimal hygiene and performance, clean your headphones periodically using the following steps:
- Ear Cushions: Gently remove the ear cushions and wipe them with a soft, damp cloth. Avoid using harsh chemicals or soaking them in water.
- Headband: Use a slightly dampened cloth to clean the headband. Ensure it is thoroughly dry before reassembling.
- Audio Jacks and Cables: Clean the connectors with a dry, lint-free cloth. Avoid inserting any objects into the jacks, as this could cause damage.
Adhering to these maintenance and cleaning practices will help keep your headphones functioning properly and looking their best.
Troubleshooting Common Issues
When using your wireless headphones, occasional challenges may arise that affect performance or connectivity. These can often be resolved through simple adjustments or by following a few basic steps.
Connectivity Problems: If you encounter difficulties with pairing or maintaining a stable connection, ensure that the device is fully charged and that there are no obstacles or interference between the headphones and your audio source.
Audio Quality Issues: In case of poor sound quality, check the settings on your audio device and ensure that the headphones are properly positioned. Cleaning the ear cushions and ensuring a secure fit can also enhance the listening experience.
Power and Charging Challenges: If the device isn’t charging or powering on, verify that the charging cable is functioning correctly and is properly connected. Sometimes, a simple reset can restore functionality.
Addressing these common problems can significantly improve your experience, ensuring that your wireless headphones continue to deliver high-quality sound and reliable performance.