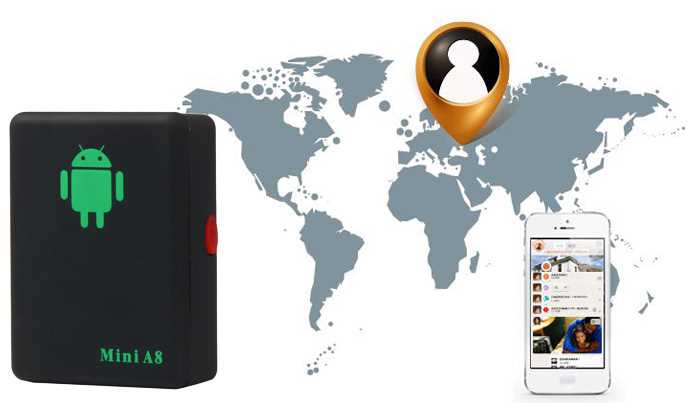
Unlock the full potential of your new technology by learning how to effectively operate and manage it. This guide provides a clear and thorough overview of all essential functions and features, ensuring you can make the most out of your device. Whether you are setting it up for the first time or seeking to optimize its use, this resource will serve as a reliable reference for all your needs.
Understanding the key capabilities of your A8 gadget is crucial for seamless operation. In this guide, we explore the various settings, functionalities, and practical applications, enabling you to maximize efficiency and security. From initial setup to advanced configurations, every aspect is covered in detail.
For those looking to enhance their experience, this guide offers insights into advanced features and customization options. By following the steps outlined here, you will gain confidence in using your device to its fullest potential, ensuring it serves you well in any scenario.
Overview of Mini A8 Features
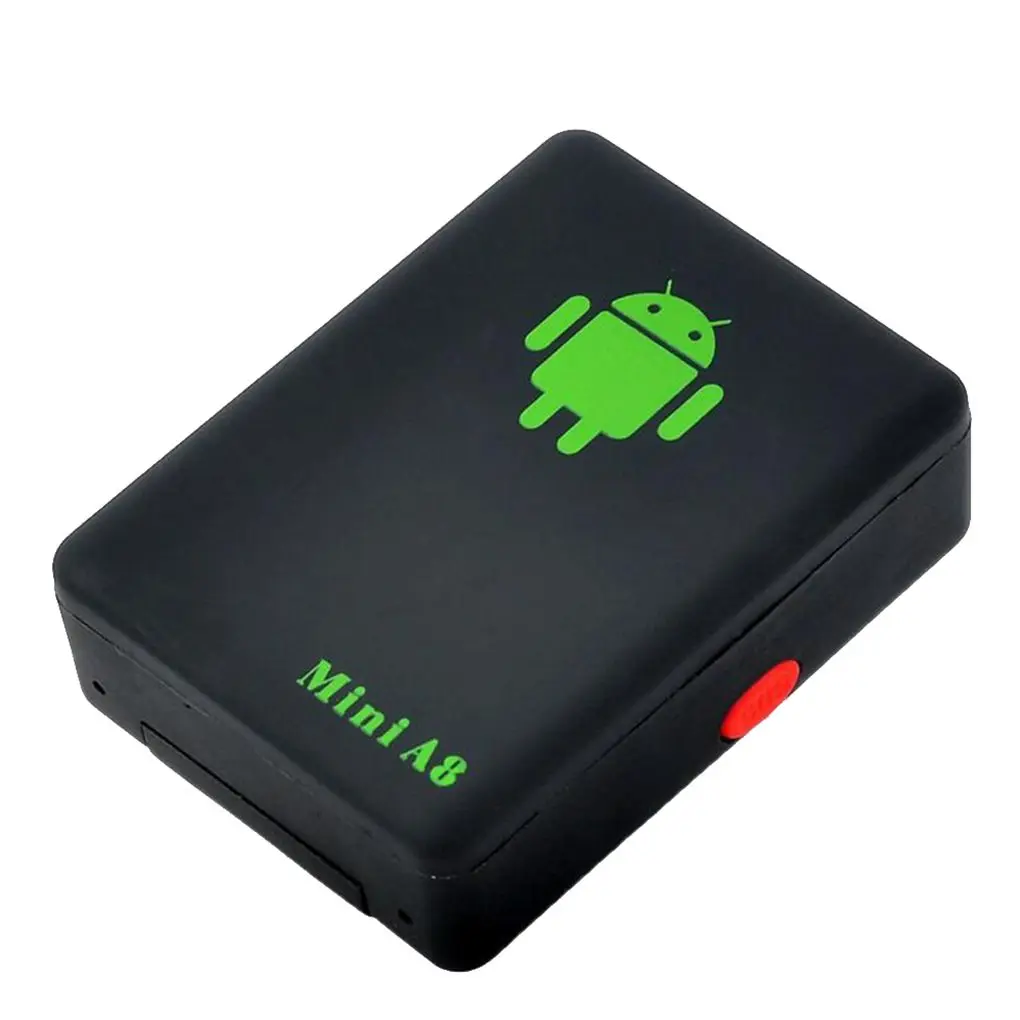
The device is a compact and versatile tool designed to enhance your experience with a range of advanced capabilities. It combines practical functions in a user-friendly package, making it an ideal choice for those who value efficiency and reliability. Below, we delve into the primary attributes that set this gadget apart.
Core Capabilities
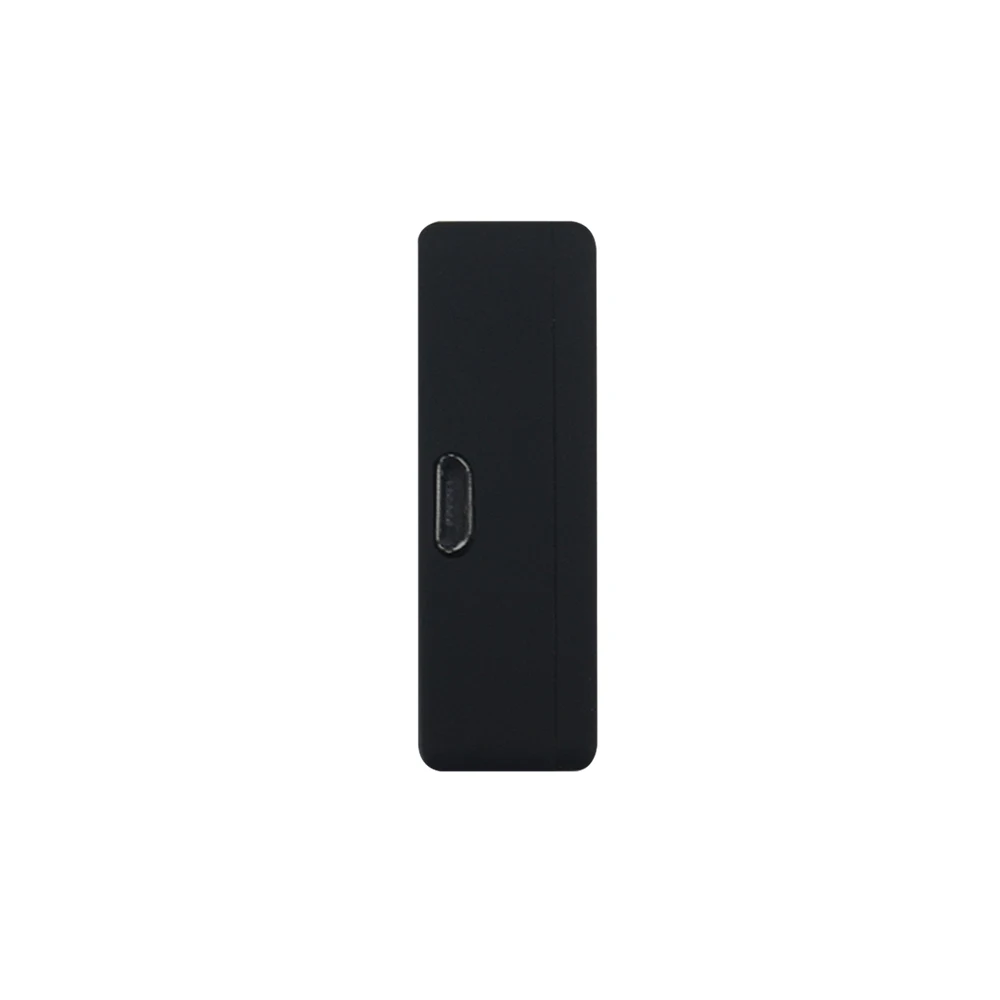
- Real-Time Tracking: The unit offers precise location tracking, ensuring you can monitor its position with high accuracy.
- GSM/GPRS Technology: It operates seamlessly on GSM/GPRS networks, providing wide coverage and stable connectivity.
- Two-Way Communication: The device supports voice communication, allowing you to listen to the surroundings or speak directly through it.
Additional Functionalities
- Remote Monitoring: Activate the microphone remotely to monitor the environment discreetly.
- Geo-Fencing: Set up predefined boundaries, and receive alerts when the device crosses these limits.
- Battery Efficiency: The power management system ensures extended operational periods, reducing the need for frequent recharging.
Getting Started with Your A8 Tracker
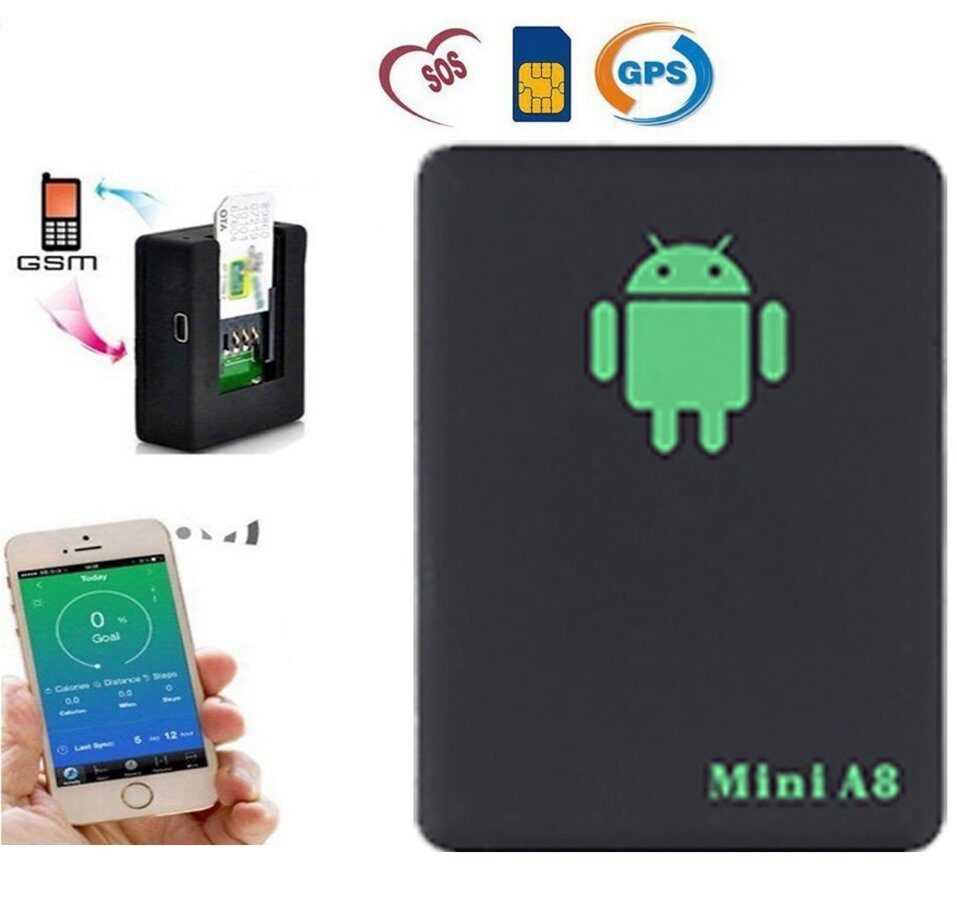
Setting up your A8 tracking device is straightforward, allowing you to quickly begin using it for monitoring purposes. This guide will walk you through the essential steps needed to get your device ready for use, ensuring you can take full advantage of its features.
Before you begin, make sure you have all necessary accessories, including a SIM card and a charger. Once you have everything ready, follow these steps:
- Insert the SIM Card: Open the back cover of your tracker and carefully insert the SIM card into the designated slot. Ensure it clicks into place securely.
- Charge the Device: Connect the tracker to a power source using the provided USB cable. Charge it until the indicator light shows that the battery is fully charged.
- Power On: Once charged, press and hold the power button until the device powers on. You should see a status light indicating that it’s operational.
- Configure Settings: Use the appropriate software or SMS commands to configure the device according to your needs. This includes setting up tracking intervals and any alerts you may need.
- Test the Device: Perform a quick test by sending a command to ensure it’s responding correctly and that the tracking functions are working as expected.
After completing these steps, your A8 tracking device will be ready to provide reliable monitoring and security. Ensure you regularly check the device for updates or required maintenance to keep it functioning optimally.
Step-by-Step Setup Guide
Getting started with your new device can be straightforward if you follow these clear and concise steps. This guide provides a detailed walk-through of the necessary procedures to ensure your device is ready for use. Each step is carefully outlined to make the process as simple and efficient as possible.
1. Unpack the Device: Carefully remove the device and all accessories from the packaging. Ensure that all components are present and undamaged.
2. Charge the Device: Connect the device to a power source using the provided cable. Allow it to charge fully before proceeding to ensure optimal performance.
3. Insert the SIM Card: Locate the SIM card slot, typically found on the side or back of the device. Gently insert the SIM card until it clicks into place. Ensure that it is properly aligned according to the diagram near the slot.
4. Power On the Device: Press and hold the power button until the device turns on. Wait for the device to boot up completely before continuing.
5. Configure Settings: Access the device settings through the application or control panel. Adjust preferences such as language, time zone, and notifications to suit your needs.
6. Test Connectivity: Verify that the device is properly connected to the network by checking the signal indicator. Test the connection by sending a test message or making a call.
7. Final Adjustments: Customize additional settings such as security features, alerts, and updates. Ensure that the device is fully operational and ready for regular use.
Once all steps are completed, your device is now configured and ready to serve its purpose. Refer to additional resources for advanced configurations or troubleshooting if needed.
Troubleshooting Common Issues
Even the most reliable devices can occasionally encounter problems. This section is designed to guide you through resolving some of the most frequent challenges you might face, ensuring your experience remains smooth and frustration-free.
Connectivity Problems
If you’re having trouble establishing or maintaining a connection, first ensure that all related settings are correctly configured. Check whether the device is within the recommended range of your network. If the issue persists, restarting the device and resetting the connection settings may help restore normal functionality. Always verify that your network is stable and that your password is entered correctly.
Battery and Power Issues
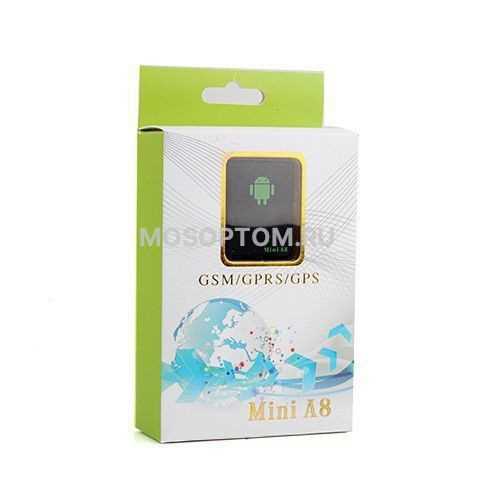
If your device is not powering on or the battery is draining quickly, start by checking the charge level and ensuring the charger is functioning properly. If the device fails to charge, try using a different power source or cable. In cases where the battery depletes faster than expected, disabling unnecessary features or reducing usage can extend battery life. Regularly inspect the device and charger for any signs of wear or damage.
Optimizing Performance and Battery Life
Enhancing the efficiency and longevity of your device is crucial for maintaining its functionality over time. This section provides practical tips to ensure that your device operates at peak performance while maximizing the battery’s lifespan.
Adjusting Settings for Efficiency
One of the key ways to improve performance is by adjusting device settings to match your usage patterns. Reducing the screen brightness, disabling unnecessary features, and managing background processes can significantly enhance battery life. Additionally, keeping your software updated ensures that you benefit from the latest performance optimizations and bug fixes.
Charging Habits and Battery Care
Proper charging habits play a critical role in extending the battery’s life. Avoid letting the battery drain completely before recharging, as this can reduce its capacity over time. Instead, aim to keep the charge level between 20% and 80% for optimal battery health. Regularly cleaning the charging port and using certified chargers can also prevent damage and improve charging efficiency.
By following these guidelines, you can ensure that your device remains reliable and efficient, providing you with consistent performance and longer battery life.
Safety and Maintenance Tips
Ensuring the long-lasting performance and safe operation of your device requires regular attention to both its physical condition and correct usage. By following basic safety guidelines and maintenance practices, you can significantly extend its lifespan and prevent potential hazards.
General Safety Precautions
- Keep the device away from water, moisture, and other liquids to prevent electrical hazards.
- Avoid exposing the device to extreme temperatures, both hot and cold, to maintain optimal functionality.
- Store the device in a secure place out of reach of children and pets to avoid accidental damage.
- Use only the power supply and accessories recommended by the manufacturer to prevent electrical malfunctions.
- Disconnect the device from the power source during thunderstorms or when not in use for extended periods.
Maintenance Guidelines
- Regularly inspect the device for any signs of wear or damage, especially the power cord and plug.
- Clean the device with a dry, soft cloth; avoid using abrasive materials or harsh chemicals.
- If the device requires software updates, ensure they are installed promptly to enhance security and performance.
- Periodically check for loose connections or unusual noises that might indicate a need for professional inspection.
- Replace any damaged components immediately to maintain safe operation and prevent further issues.
Following these safety and maintenance tips will help ensure that your device remains in good working condition, providing reliable performance for years to come.