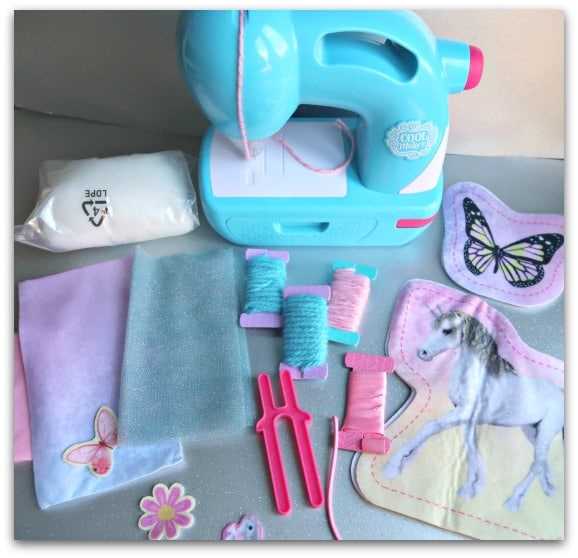
Embark on a journey into the world of fabric artistry, where the possibilities are endless and your imagination knows no bounds. This comprehensive guide is designed to help you navigate through the various techniques and methods needed to bring your creative visions to life. Whether you are a beginner or an experienced artisan, here you will find everything you need to refine your skills and achieve stunning results.
From the basics of selecting the right materials to the more intricate details of assembling your projects, this guide covers it all. We delve into every aspect of fabric craftsmanship, providing you with the knowledge and confidence to tackle any project. With clear explanations and helpful tips, you’ll soon be creating beautiful and functional pieces that you can be proud of.
Unlock your potential with a deeper understanding of the tools and techniques used by professionals. Each section of this guide has been carefully curated to ensure that you gain valuable insights and practical knowledge, empowering you to elevate your fabric projects to new heights. Get ready to transform your ideas into tangible, expertly crafted works of art.
Getting Started with Sewing Basics
Embarking on your journey into the world of textile crafting offers a rewarding experience. It involves a few essential steps to ensure that you are fully prepared to create your first fabric project. By familiarizing yourself with the foundational tools and techniques, you can approach your projects with confidence and creativity.
Essential Tools for Beginners
Before you start, gathering the right set of tools is crucial. Here’s a list of the basic items that will help you achieve professional-looking results:
| Tool | Purpose |
|---|---|
| Measuring Tape | Accurately measure fabric and pattern pieces. |
| Fabric Shears | Cut fabric smoothly without fraying edges. |
| Pins and Pincushion | Secure fabric pieces in place before stitching. |
| Needles | Hand needles for minor adjustments or detailed work. |
| Thread | Choose a high-quality thread that matches your fabric. |
Understanding Basic Techniques
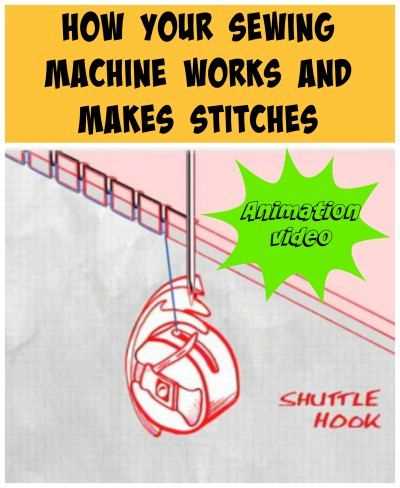
Starting with fundamental techniques lays the groundwork for more complex projects. Practice these to build your confidence:
- Threading a Needle: A key skill for both hand and machine stitching. Ensure the thread is securely in place before starting.
- Basic Stitches: Learn how to create straight stitches, backstitches, and finishing knots. These are the building blocks of all textile work.
- Reading Patterns: Understand how to interpret patterns, including symbols and instructions, to guide you through the creation process.
With these foundational tools and techniques, you’re ready to begin your crafting journey, creating beautiful and practical projects.
Essential Tools and Materials for Sewing
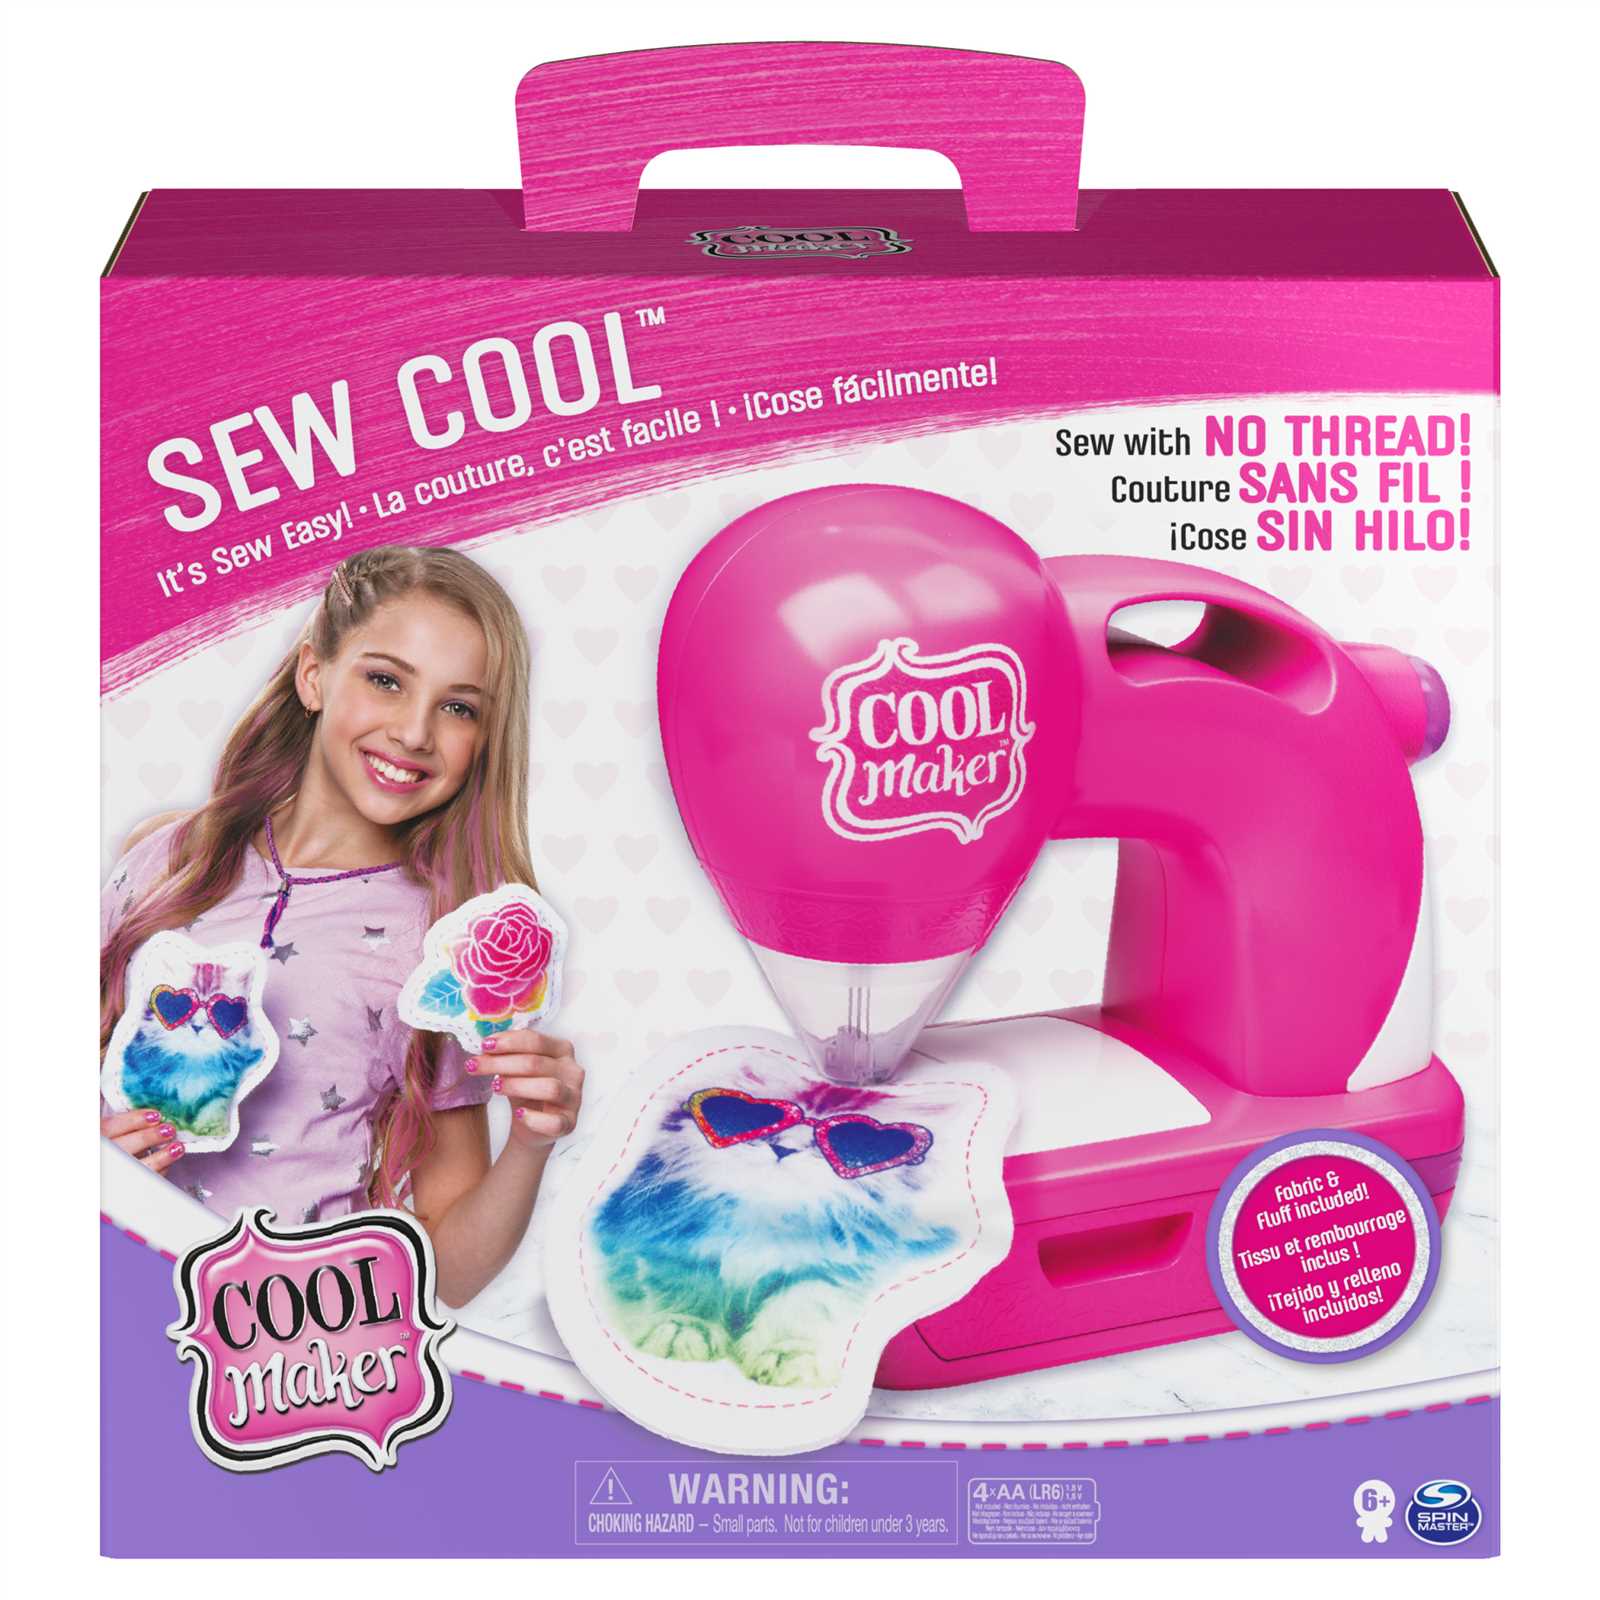
Creating garments and accessories requires a specific set of items that ensure precision and ease throughout the crafting process. Understanding the fundamental components is crucial for any successful project, whether you’re a beginner or an experienced artisan.
To achieve the best results, it’s important to have the right equipment at hand. Below is a list of indispensable items that will support every stage of your creative journey:
- Cutting Instruments: Precise tools designed for fabric allow you to achieve clean cuts, which are essential for accurate pattern construction.
- Measuring Devices: Accurate measurements are the backbone of any well-crafted item. Utilizing appropriate tools helps in maintaining consistency and fitting.
- Marking Tools: These are vital for transferring patterns and making necessary adjustments to the material without leaving permanent marks.
- Fasteners: Essential for securing pieces together, these items come in various forms, providing both functionality and aesthetic appeal.
- Thread and Needles: Choosing the right type of thread and needle is crucial, as they hold the entire project together and ensure durability.
By assembling these basic tools and materials, you are well-equipped to take on any project, ensuring both efficiency and quality in your work.
Step-by-Step Guide to First Stitching
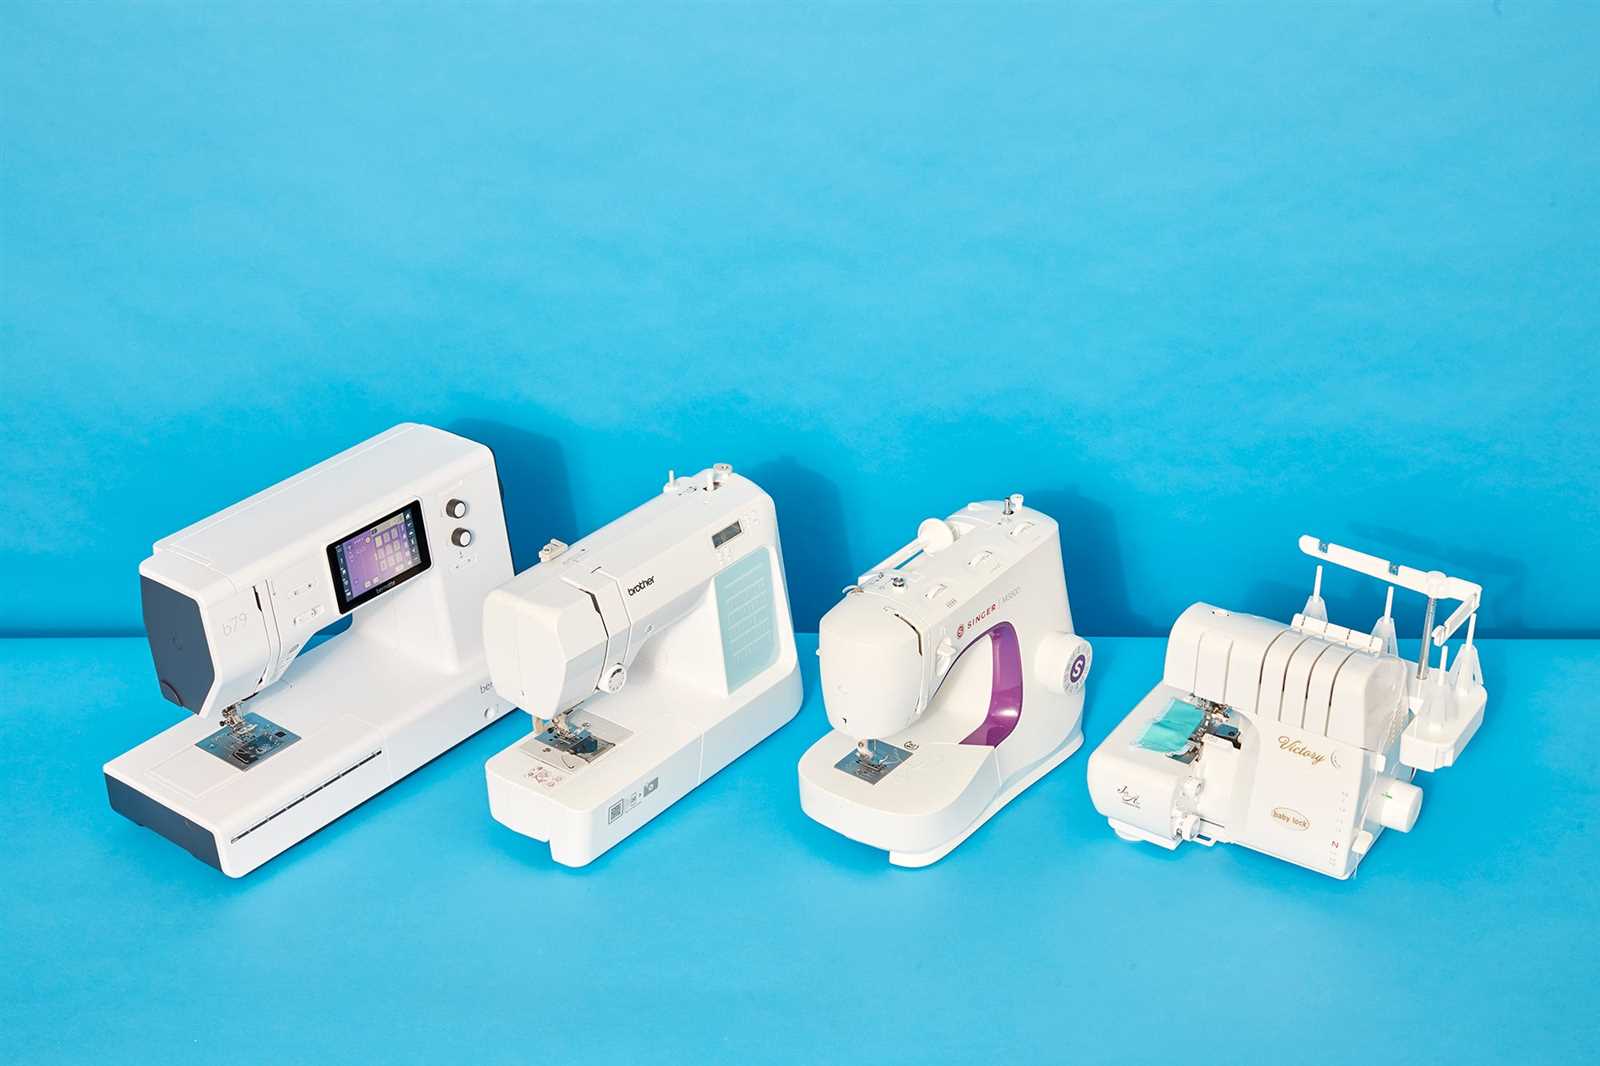
Embarking on your initial journey into the world of crafting with fabric requires patience, focus, and a basic understanding of the process. This guide will walk you through the foundational steps needed to begin your first project. Whether you’re working by hand or using a machine, mastering these basics will set you up for future success.
| Step | Description |
|---|---|
| 1. Gather Your Materials | Ensure you have all necessary tools and materials. These include fabric, thread, needles, and cutting tools. Having everything on hand before you start will make the process smoother. |
| 2. Prepare the Fabric | Start by measuring and cutting your fabric to the desired size. Ironing the fabric beforehand will help to remove any wrinkles, making it easier to work with. |
| 3. Thread the Needle | Carefully thread your needle, making sure to knot the end of the thread to prevent it from slipping through the fabric. For machines, ensure the bobbin and upper thread are correctly installed. |
| 4. Begin the First Stitch | Position your fabric and start stitching slowly. If working by hand, guide the needle through the fabric with even spacing. For machines, use a steady pace to maintain control. |
| 5. Check Your Work | After completing a few stitches, examine your work. Ensure the stitches are even and secure. Adjust your technique as necessary to achieve consistent results. |
| 6. Finish and Secure the Stitching | Once you’ve completed your line of stitching, tie off the thread securely to prevent unraveling. If using a machine, backstitch at the end to lock the stitches in place. |
Following these steps carefully will help you create neat and durable stitches, forming the foundation for all your future fabric creations.
Common Mistakes and How to Avoid Them

Creating any project requires attention to detail and a good understanding of the process. However, even experienced enthusiasts can make errors that compromise the final result. This section highlights some of the most frequent pitfalls and offers practical advice on how to prevent them.
Inaccurate Measurements: One of the most common mistakes is incorrect measurements. To avoid this, always double-check your figures before making any cuts. Using a ruler or tape measure designed for precision can help ensure that your measurements are exact.
Rushing the Process: Speed can often lead to errors. Taking your time to complete each step thoroughly will result in a higher quality outcome. Remember, patience is key to achieving the desired results.
Ignoring the Importance of Proper Tools: Using the wrong tool for a task can lead to mistakes and frustration. Ensure that you have the correct tools on hand and understand how to use them effectively. Proper tools not only make the task easier but also contribute to a more polished finish.
Skipping Steps: It can be tempting to skip certain steps, especially when you’re eager to see the final product. However, each step serves a purpose. Skipping them can lead to issues later on, so it’s important to follow the process as intended.
Overlooking Fabric Direction: The direction of your fabric plays a crucial role in the final look and function. Always pay attention to the grainline and ensure that pieces are aligned correctly before cutting. This will help maintain the structure and appearance of your project.
By being mindful of these common errors, you can improve your results and enjoy a more successful project experience. Careful planning and attention to detail are essential to achieving the best outcome.
Advanced Techniques for Intermediate Sewers
As you progress in your journey, mastering intricate methods becomes essential to elevating the quality and finish of your projects. This section will introduce more complex processes and approaches that will enhance your craftsmanship and provide greater control over the final outcome.
Precision Cutting and Marking
Accurate cutting and marking are crucial for achieving professional results. Consider using specialty tools like rotary cutters and clear rulers to ensure clean, straight edges. To transfer patterns or alignments, tailor’s chalk, disappearing ink pens, and tracing wheels can make a significant difference in the final look of your projects.
Complex Stitching Techniques
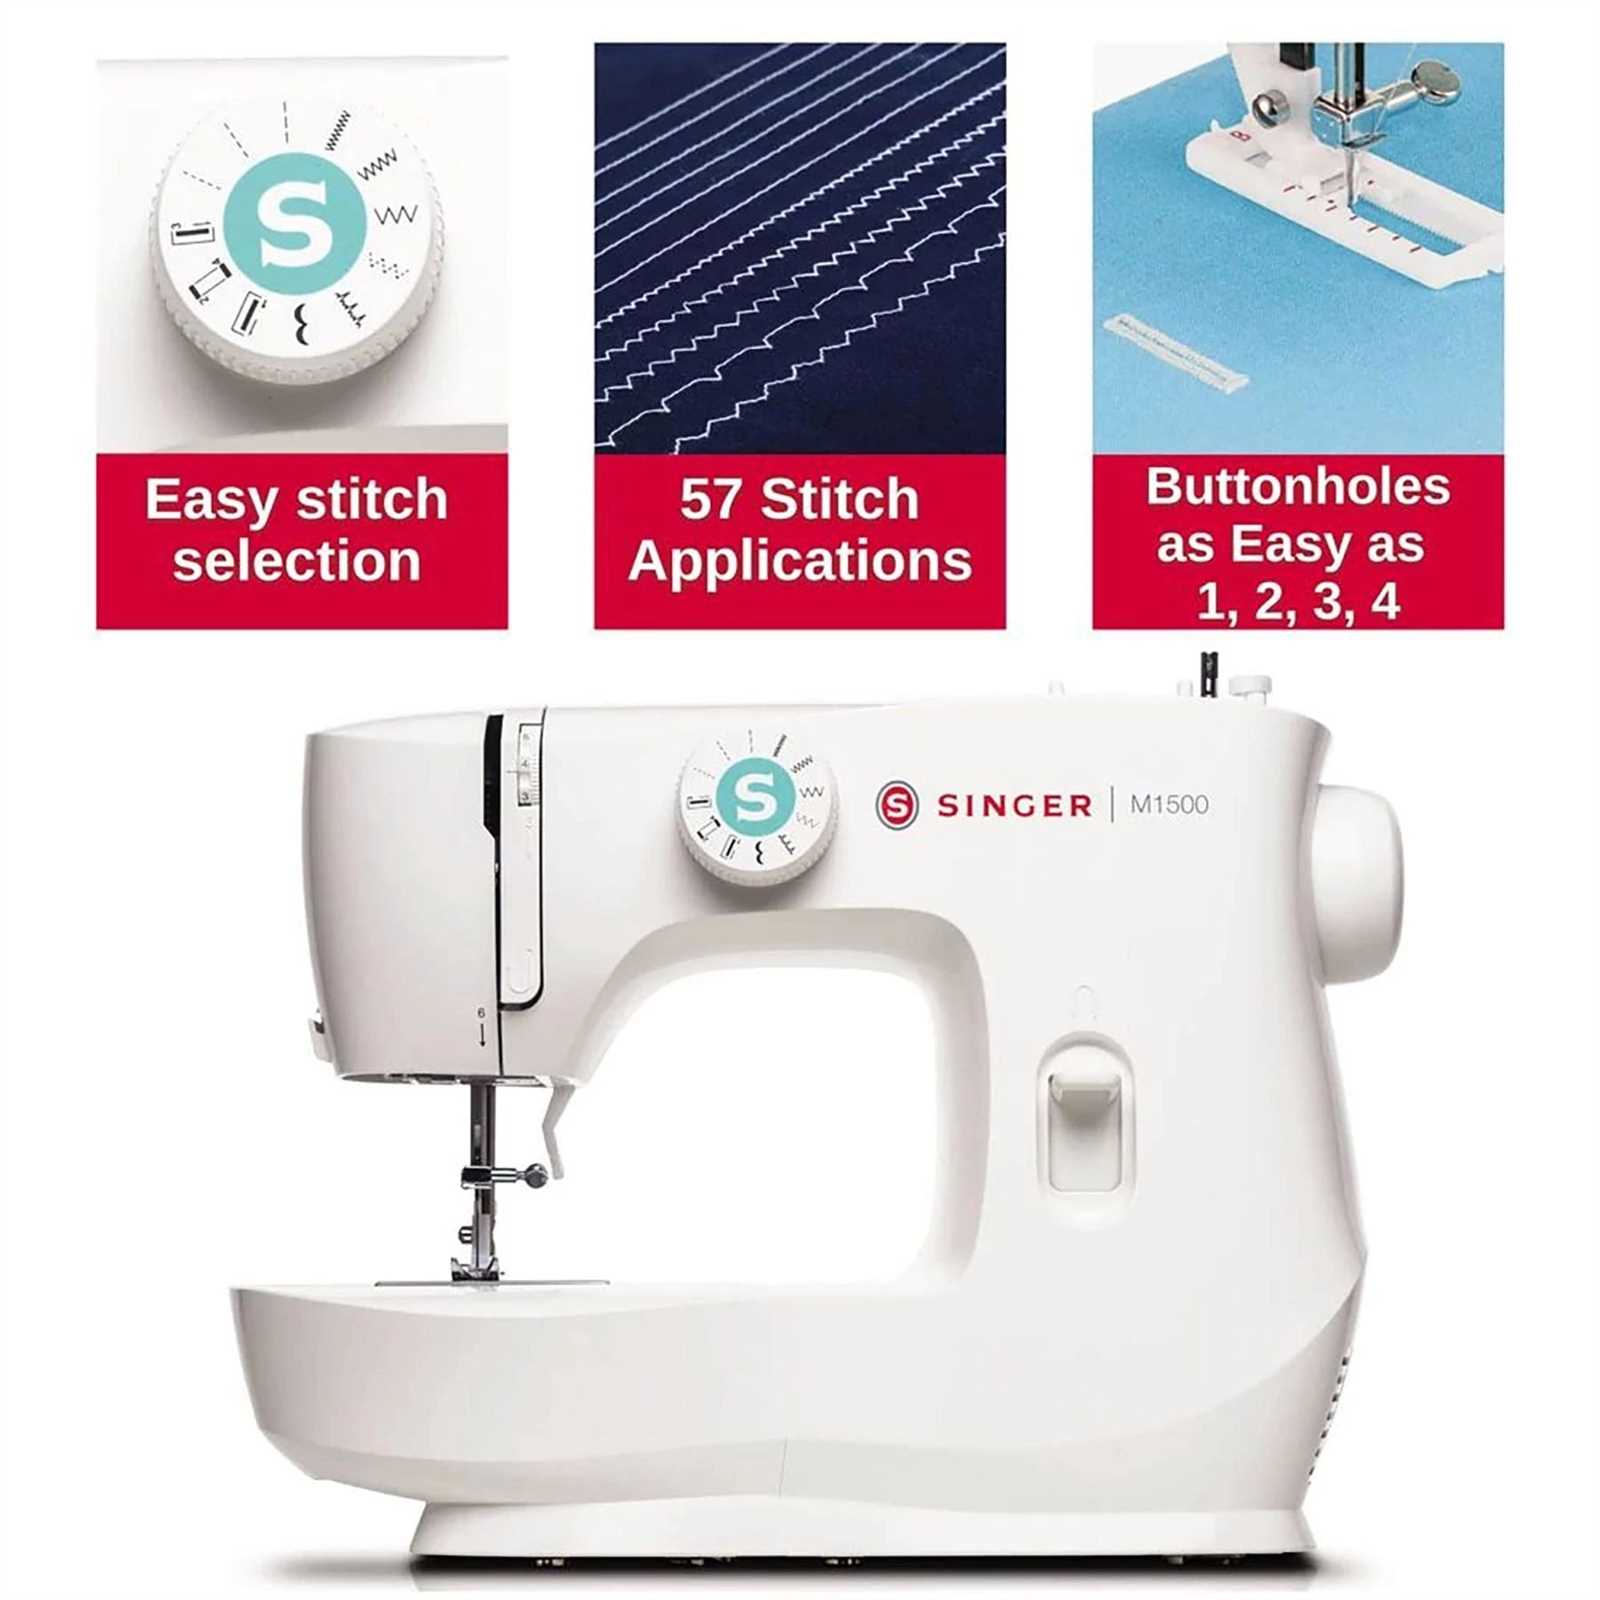
Moving beyond basic stitches, intermediate makers should explore advanced stitching techniques. French seams, blind hems, and topstitching not only add durability but also enhance the aesthetic appeal of your work. Understanding when and how to apply these techniques is key to creating polished, high-quality pieces.
| Technique | Description | Best Practices |
|---|---|---|
| French Seam | A method for enclosing raw edges within a seam, providing a clean finish inside garments. | Use for lightweight fabrics; ensure precise stitching alignment. |
| Blind Hem | A nearly invisible hem, ideal for formal wear and curtains. | Practice on scrap fabric to perfect stitch length and spacing. |
| Topstitching | Decorative stitching that also reinforces seams. | Choose thread that complements or contrasts with the fabric for visual impact. |
Care and Maintenance of Sewing Equipment
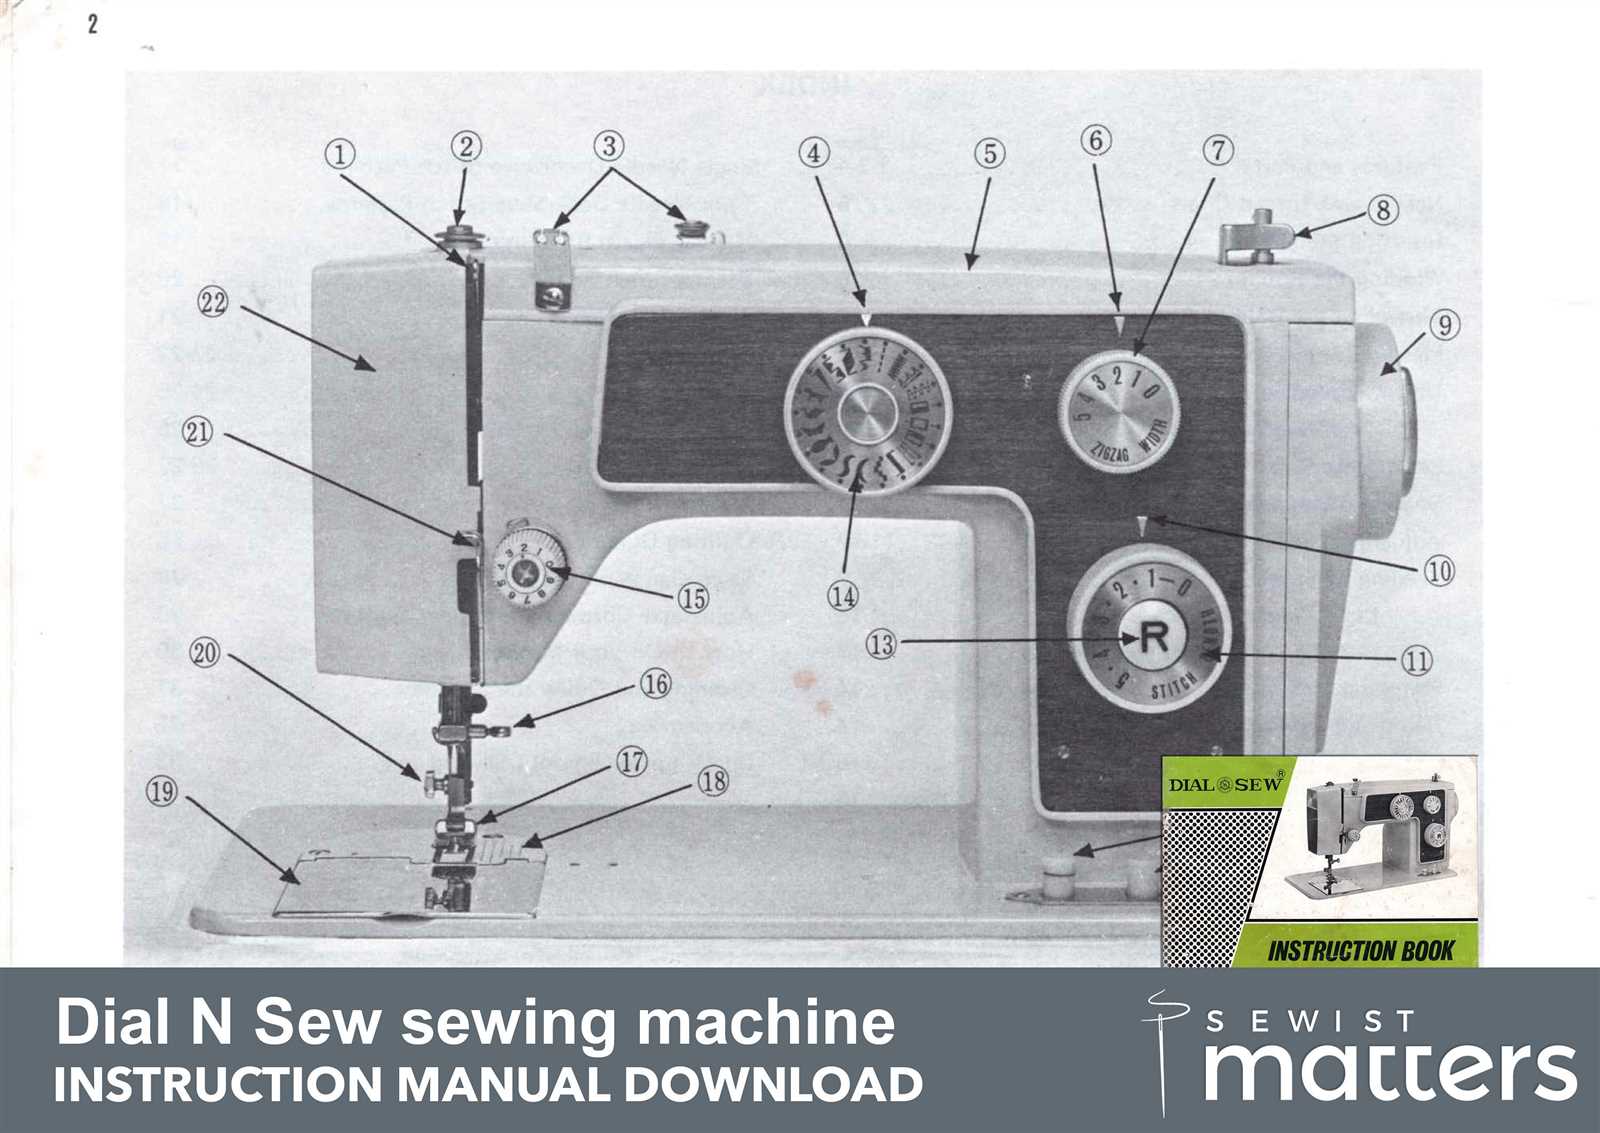
Proper attention to the upkeep of your stitching tools ensures their longevity and optimal performance. Regular maintenance prevents common issues and guarantees that your tools function smoothly, providing reliable results every time.
Cleaning and Lubrication
Regular cleaning is essential to remove lint, dust, and thread remnants from your tools. Use a soft brush to clean the accessible parts after each project. Lubricating moving parts according to the manufacturer’s guidelines reduces friction, prevents wear, and extends the life of the equipment.
Storage and Handling
Appropriate storage conditions are crucial for keeping your equipment in good condition. Store tools in a dry, dust-free environment. Avoid exposure to direct sunlight or high humidity, as these can cause damage. Handle all equipment with care, ensuring that sharp components are covered or protected when not in use.
| Maintenance Task | Frequency |
|---|---|
| Clean exterior and interior | After every project |
| Lubricate moving parts | Monthly or as recommended |
| Check and replace needles | Every 8 hours of use |
| Inspect and tighten screws | Every 6 months |