Setting up your television for optimal viewing requires careful attention to detail. Properly affixing your TV in the desired position can greatly enhance your home entertainment experience, offering both a stylish and functional addition to your living space. Whether you’re looking to save space or create a more immersive atmosphere, this process is crucial for achieving the best results.
In this comprehensive guide, we will walk you through the necessary steps to ensure your TV is securely and accurately positioned. We’ll cover the tools required, the process of selecting the ideal location, and how to make sure everything is aligned and stabilized for long-term use.
By following these steps, you’ll be able to enjoy your favorite shows and movies with peace of mind, knowing that your setup is both safe and visually appealing.
Choosing the Right TV Mount
When installing your television on the wall, selecting the appropriate fixture is crucial to ensure both safety and optimal viewing. The process involves understanding different aspects of your living space, television model, and your personal viewing preferences. Making an informed decision can greatly enhance your overall viewing experience.
Key Considerations
Before proceeding, consider several factors that will influence your choice. These include the weight and size of your television, the material and structure of the wall where it will be installed, and the ideal viewing angle and height. These elements will help you determine the best option to securely and conveniently position your screen.
Types of Wall Fixtures
There are various types of wall attachments available, each offering different levels of flexibility and stability. Understanding the differences will help you find the right fit for your needs.
| Type | Description | Best For |
|---|---|---|
| Fixed | Provides a close, stable position against the wall, with no movement. | Small spaces where a constant viewing angle is preferred. |
| Tilt | Allows the screen to tilt up or down, offering better viewing angles. | Rooms where the television is mounted higher than eye level. |
| Full-Motion | Enables the screen to extend, tilt, and swivel, providing maximum flexibility. | Spaces where different seating areas require variable viewing angles. |
By carefully considering these factors and options, you can select the most suitable fixture for your television, enhancing both the aesthetic and functionality of your space.
Understanding Mount Types and Styles

When setting up your television, selecting the appropriate support is crucial for both functionality and aesthetics. The right choice ensures stability, optimizes viewing angles, and enhances the overall appearance of your space. Different designs cater to various needs, offering a range of features that can adapt to specific room layouts and preferences.
Fixed Variants: These designs are ideal for those who prioritize a sleek, close-to-the-wall look. They are typically the most stable, offering a secure hold but with minimal flexibility in terms of positioning.
Tilting Versions: Perfect for scenarios where the screen needs to be mounted higher than eye level, these styles allow for vertical adjustments. This ensures you can reduce glare and achieve a comfortable viewing angle without moving the entire unit.
Full-Motion Options: For those seeking maximum flexibility, these designs allow for both horizontal and vertical adjustments. They can swivel, tilt, and extend, making them ideal for larger rooms or spaces where the seating arrangement may vary.
Artistic Designs: These supports not only hold the screen but also contribute to the room’s decor. Often designed with aesthetics in mind, they can serve as a statement piece while offering the functionality needed for everyday use.
Understanding the different options available can help you make an informed decision, ensuring your setup is both functional and visually pleasing.
Gathering Tools and Materials
Before starting any project, it is essential to ensure that you have all necessary equipment and resources at hand. Being well-prepared can save time and prevent unnecessary interruptions. This section will guide you through what you need to have readily available to complete the task efficiently.
Essential Tools
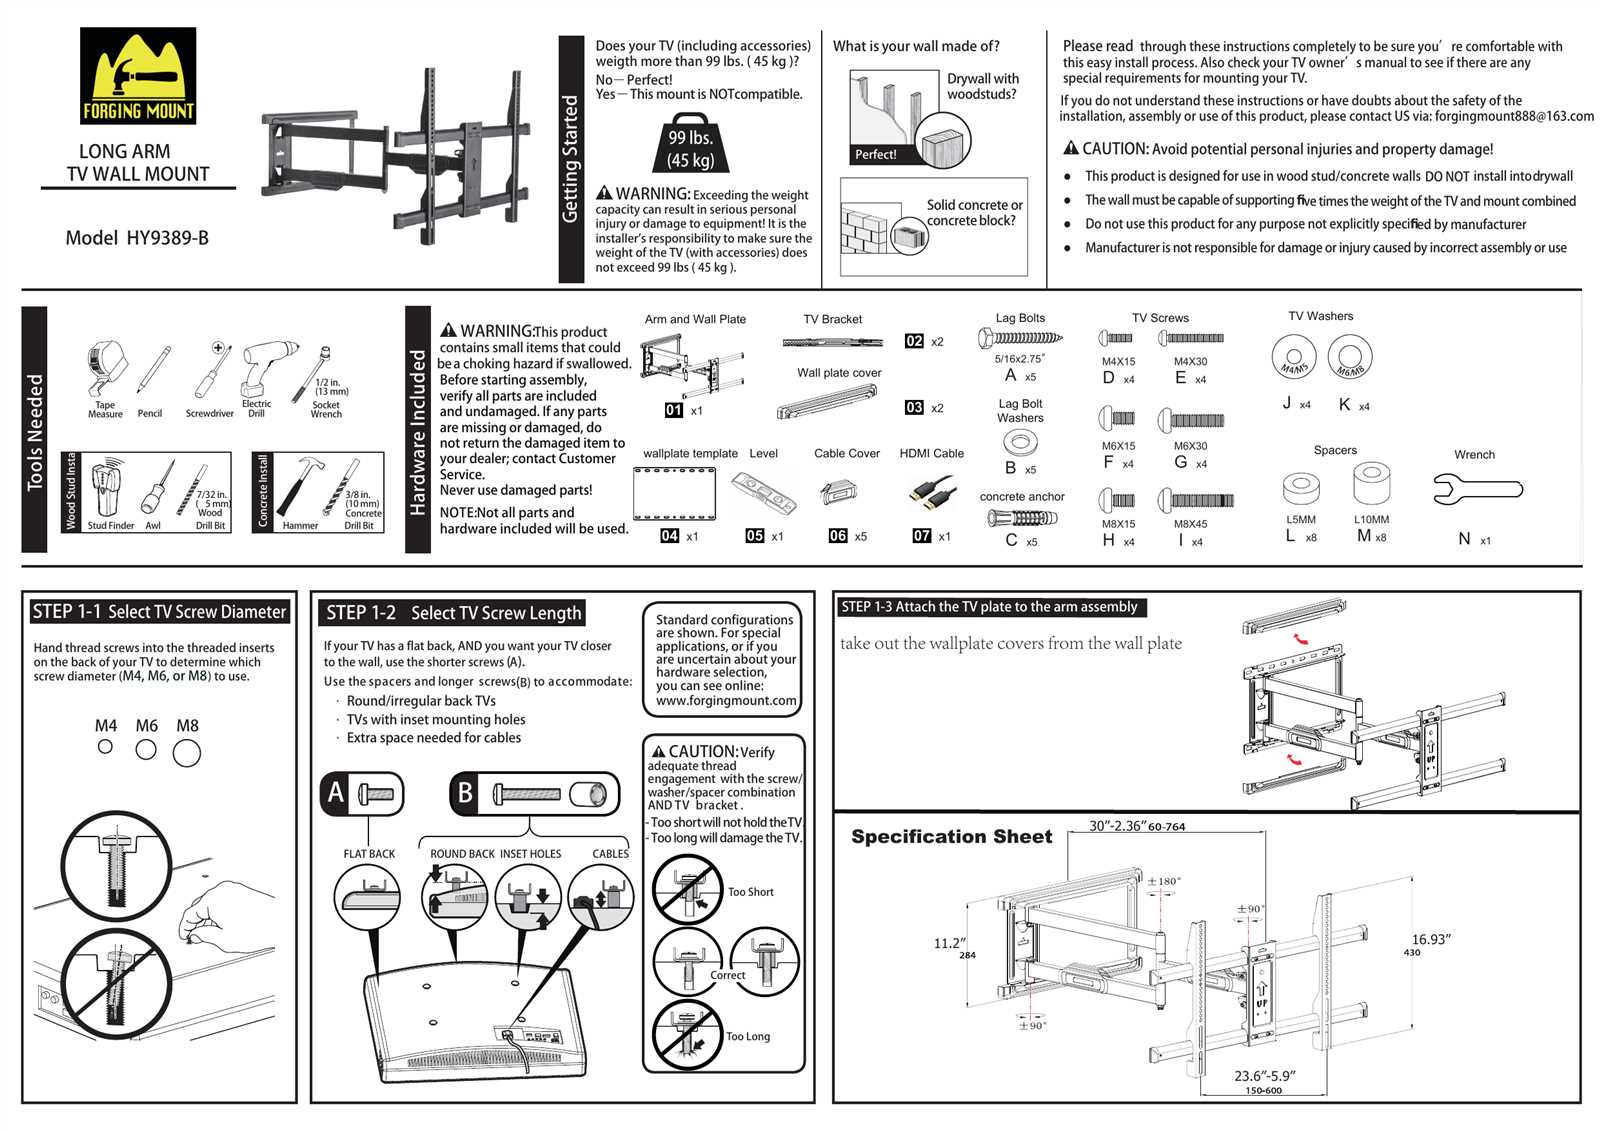
Make sure you have a basic set of tools that are crucial for assembly. Screwdrivers of various sizes and types, a sturdy measuring tape, and a level are indispensable. A power drill may also be necessary if you need to secure items more firmly.
Additional Materials
Along with tools, certain materials should be within reach. You might require anchors or specific screws tailored to the surface you’re working with. Additionally, a pencil for marking positions and some cleaning supplies to clear dust or debris will be useful to maintain a tidy workspace.
Essential Equipment for Installation
When embarking on the installation process, it’s crucial to have the right set of tools and devices at your disposal. Proper preparation ensures that the task is completed efficiently and safely, minimizing the risk of errors and complications.
- Drill: A power drill with appropriate bits is vital for creating precise holes in walls or other surfaces.
- Screwdriver: Both flathead and Phillips screwdrivers are needed for securing screws and making adjustments.
- Level: This tool is necessary to ensure that everything is perfectly aligned, preventing any tilting or imbalance.
- Measuring Tape: Accurate measurements are key to placing components in the correct position.
- Pencil: Marking points on the wall or surface allows for precise placement and alignment.
- Stud Finder: Essential for locating studs behind walls, which are critical for safely supporting the weight of the installation.
- Wrench: Adjustable wrenches are useful for tightening bolts and securing brackets in place.
Having these tools ready before beginning will help ensure a smooth and successful setup, saving time and reducing the likelihood of needing to redo any steps.
Preparing Your Wall for Installation
Before securing your device to the wall, it’s crucial to ensure that the surface is suitable for the task. The stability and safety of the setup depend significantly on the condition and structure of the wall. Taking the time to prepare the wall properly will help avoid any potential issues during or after the installation process.
Assess the Wall Type
Begin by identifying the type of wall where the device will be installed. Common wall types include drywall, plaster, brick, and concrete. Each material requires specific tools and techniques, so understanding your wall’s composition is essential for choosing the right approach.
Locate Studs and Structural Supports
For drywall and plaster walls, it’s important to find the studs, as they provide the necessary support for the weight of your device. Use a stud finder to accurately locate these supports. If your wall is made of brick or concrete, ensure that the surface is solid and free of any cracks or damage.
Check for Obstacles
Make sure there are no hidden pipes, electrical wiring, or other obstructions behind the wall that could interfere with the installation. Use a wire detector to scan the area, ensuring that the surface is clear of any hazards.
Prepare the Surface
Once the wall is confirmed as structurally sound, clean the surface where the installation will take place. Remove any dust, dirt, or loose materials that could affect the stability of the setup. If necessary, fill any holes or cracks with a suitable filler and allow it to dry completely before proceeding.
Proper wall preparation is a critical step that ensures your device will be securely and safely installed, providing peace of mind for years to come.
Assessing Wall Types and Stud Placement
Before you begin the process of affixing your equipment to the wall, it is crucial to evaluate the nature of the wall and the location of structural elements within it. Understanding these factors ensures that your installation is both secure and stable, preventing potential damage or failure.
Start by identifying the type of wall you are working with, as different materials require different approaches for optimal results. Common wall types include drywall, concrete, and masonry, each presenting its own set of challenges and solutions.
Next, locate the studs within the wall. These vertical wooden or metal supports are essential for providing the necessary strength to hold your equipment. Use a stud finder to pinpoint their positions accurately. Correctly positioning your hardware into these studs is critical for a safe and reliable setup.
Once you have identified the studs and wall type, you can choose the appropriate anchors and hardware to ensure a secure and lasting installation.
Step-by-Step Mounting Instructions
To ensure your television is securely and properly installed, follow these detailed steps. This process will guide you through each phase, from preparation to the final adjustments, making sure everything is set up correctly for optimal viewing.
- Gather Materials: Start by collecting all necessary tools and components. These usually include a drill, screws, wall anchors, a level, and the mounting bracket itself. Ensure you have everything before beginning.
- Select the Location: Choose the ideal spot on the wall where the TV will be placed. Consider factors such as viewing angle, distance from the seating area, and proximity to power outlets.
- Check Wall Type: Determine the type of wall you will be working with–drywall, concrete, or wood. This will influence the type of anchors and screws you will need.
- Mark Drill Points: Hold the mounting bracket against the wall and use a level to ensure it is straight. Mark the drill points through the bracket’s mounting holes.
- Drill Holes: Drill holes into the wall at the marked points. For drywall, use a drill bit suitable for anchors. For concrete or wood, use appropriate screws or anchors for the material.
- Install Anchors: If using wall anchors, insert them into the drilled holes. These will provide additional support and stability for the screws.
- Attach Bracket: Secure the mounting bracket to the wall by aligning it with the drilled holes and inserting screws into the anchors. Tighten the screws firmly to ensure the bracket is stable.
- Prepare the TV: Attach the corresponding mounting plate or brackets to the back of the television. Ensure they are aligned and securely fastened according to the TV’s specifications.
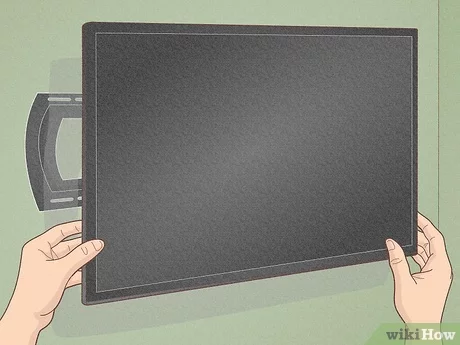
- Hang the TV: With assistance if necessary, lift the TV and carefully hang it on the mounted bracket. Double-check that it is level and securely attached.
- Adjust and Test: Make any final adjustments to ensure the TV is at the desired angle and height. Test the setup by gently shaking the TV to confirm it is stable and secure.
Following these steps will help ensure that your television is safely and correctly positioned, providing an enjoyable viewing experience for years to come.
Detailed Guide to Secure Mounting

Ensuring a safe and stable attachment of your television involves several key considerations to guarantee optimal performance and security. Proper preparation and attention to detail are crucial to prevent accidents and ensure a long-lasting setup. This guide provides essential steps and recommendations for achieving a robust and secure installation.
- Choose the Right Hardware: Select high-quality and compatible fixtures and fasteners based on the size and weight of your TV. Ensure that all components are rated to support the load.
- Identify the Ideal Location: Locate wall studs or a solid surface to anchor your installation. Use a stud finder to ensure that the chosen location provides adequate support.
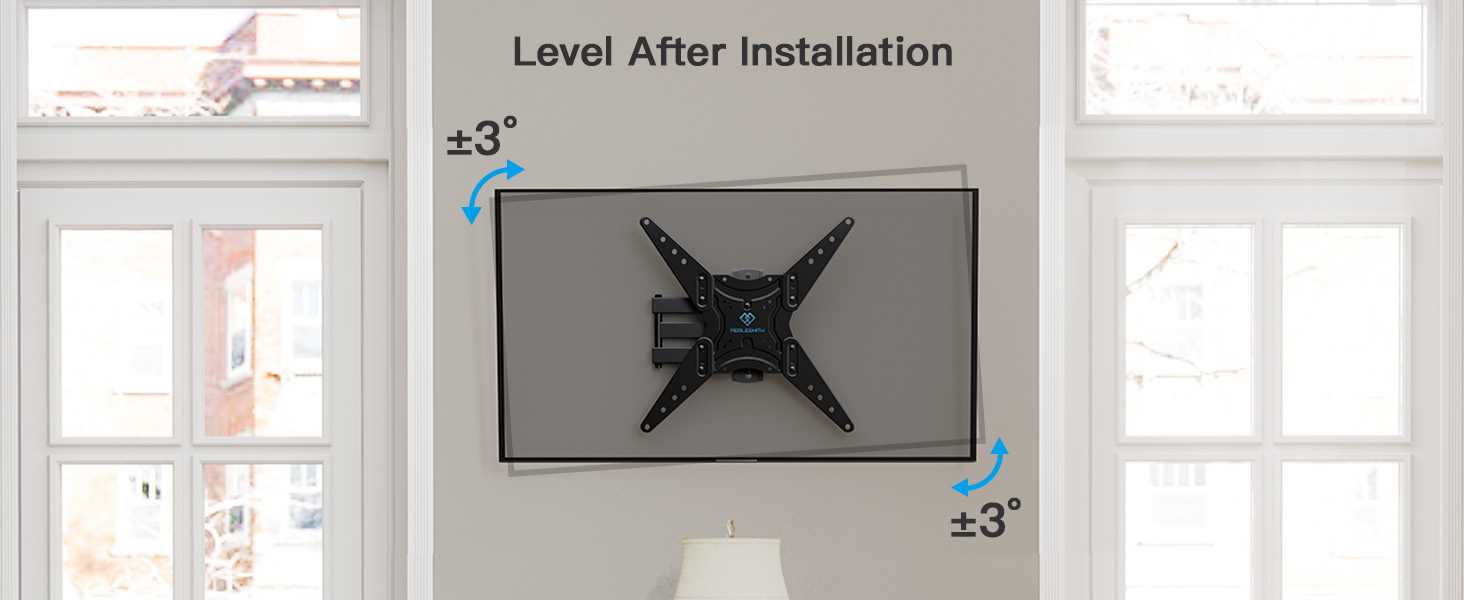
- Level the Bracket: Position the mounting bracket carefully and use a level tool to ensure it is perfectly horizontal. This step prevents misalignment and ensures that your television is straight.
- Secure the Bracket: Drill holes into the wall studs or solid surface and insert the provided anchors or screws. Tighten them firmly to ensure a solid grip, but avoid over-tightening, which can damage the wall.
- Attach the TV: Following the manufacturer’s guidelines, attach the television to the mounted bracket. Ensure that it is firmly secured and verify that all fasteners are tightened appropriately.
- Check Stability: After installation, gently shake the TV to ensure there is no movement or wobbling. Confirm that the setup is stable and securely fixed to the wall.
By following these steps, you can achieve a stable and secure installation, ensuring that your television is safely positioned and ready for use.