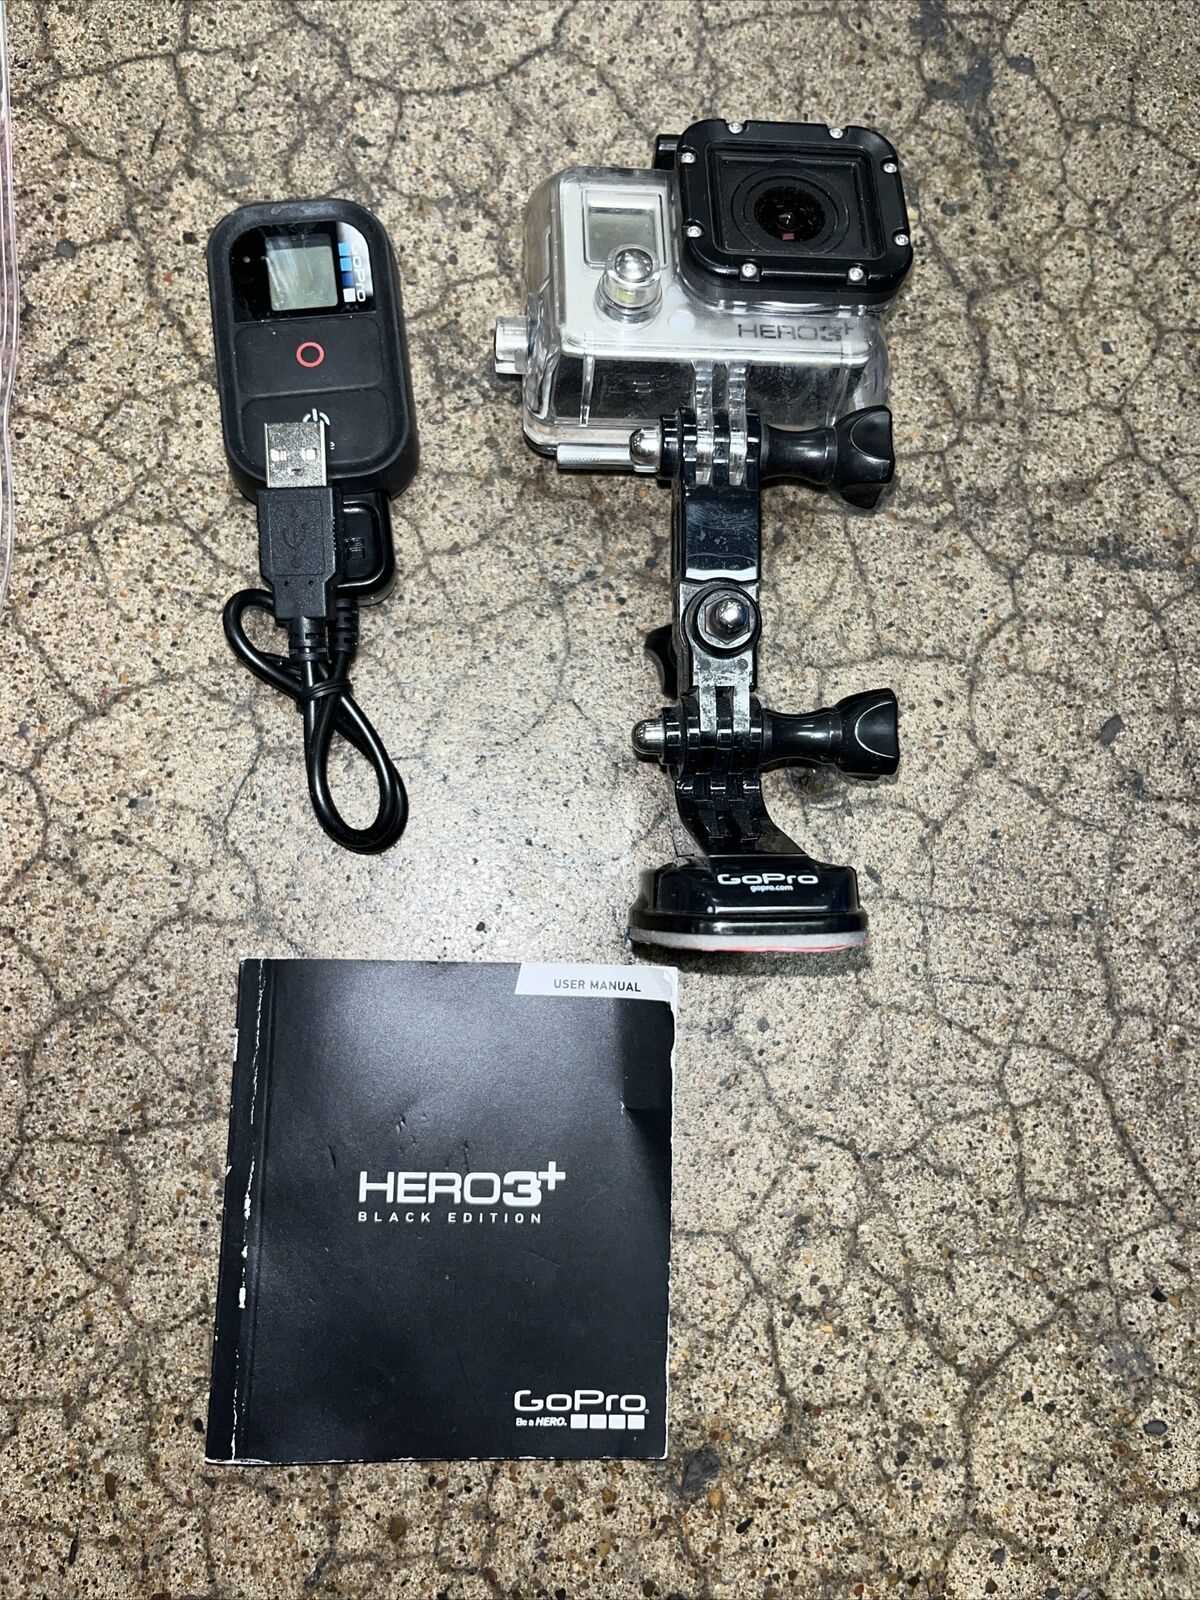
Welcome to the ultimate guide designed for those who seek to maximize the use of their high-performance action camera. This resource will delve into the various features and functionalities that make this device a favorite among adventure enthusiasts and content creators alike. Whether you’re capturing breathtaking landscapes or documenting extreme sports, this guide will provide you with all the necessary knowledge to harness the full potential of your camera.
Within these pages, you will discover step-by-step instructions on how to set up your camera, configure its settings for optimal performance, and utilize its advanced features. From capturing stunning visuals to recording high-quality videos, this guide will help you become familiar with every aspect of your device, ensuring that you never miss a moment worth capturing.
Furthermore, we will explore various tips and tricks that can enhance your filming experience, including how to extend battery life, manage storage efficiently, and use different mounting accessories for versatile shooting angles. By the end of this guide, you will feel confident in using your camera in any environment, ready to document your adventures with ease and precision.
Getting Started with GoPro Hero 3 Black

Embarking on your adventure with this versatile action camera is both exciting and straightforward. This section will guide you through the initial setup, ensuring you’re ready to capture stunning footage right from the start. Whether you’re new to this type of device or upgrading from a previous model, these steps will help you get the most out of your compact recording companion.
Unboxing and Initial Setup
Once you have removed the camera from its packaging, the first step is to insert the memory card and fully charge the battery. This device uses a microSD card, which needs to be inserted into the designated slot. For optimal performance, a high-speed card is recommended. To charge the battery, connect the provided USB cable to the charging port and plug it into a power source. While charging, the indicator light will turn on, signaling that the process is underway. When the light goes off, the battery is fully charged and ready for use.
Powering On and Configuring Settings
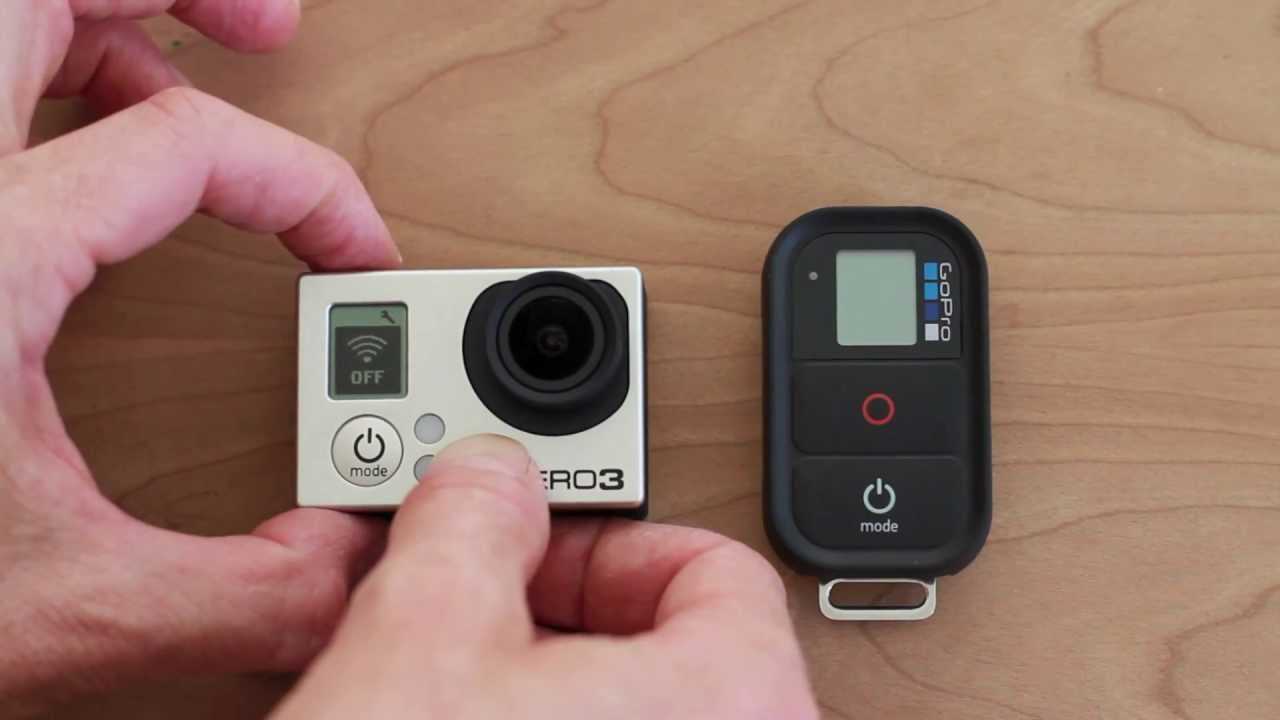
After ensuring the battery is fully charged, press the power button to activate the camera. The status screen will illuminate, indicating the device is operational. The next step is to set up the preferences by navigating through the menu using the front button. Here, you can adjust
Unboxing and Setting Up Your Camera
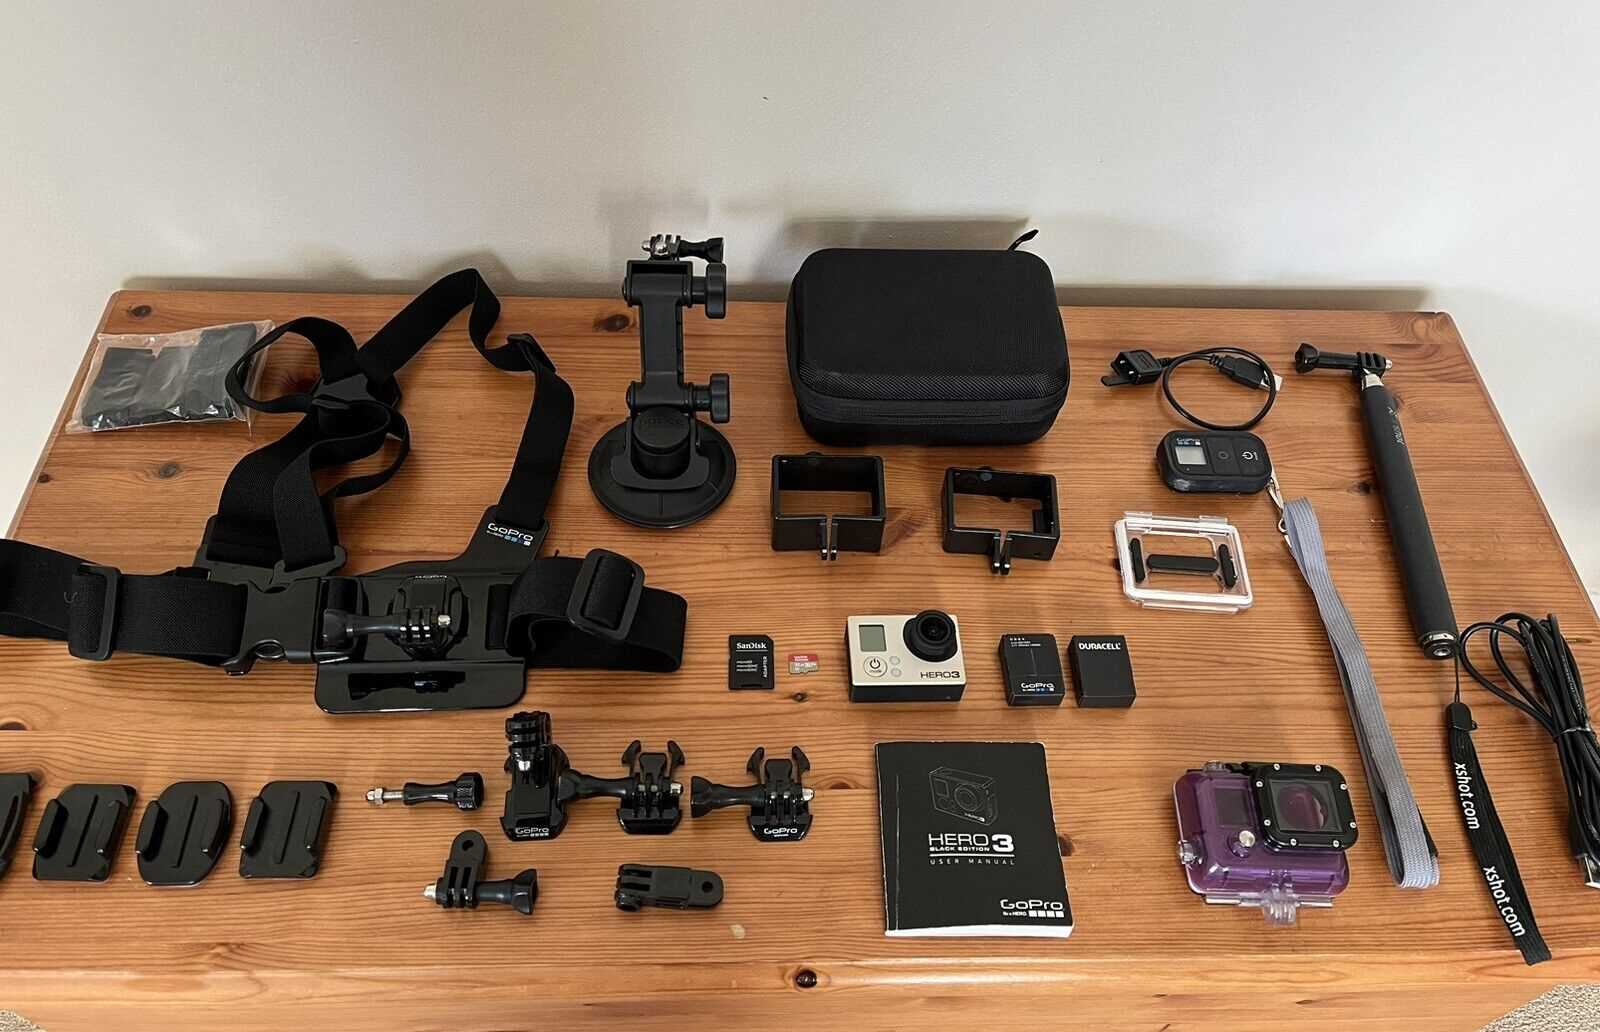
When you first receive your new action camera, the excitement of capturing stunning footage begins with the unboxing. This section will guide you through the process of unpacking and preparing your camera for its first use, ensuring that you have everything you need to start shooting memorable moments right away.
Inside the Box, you’ll typically find the camera itself, a rechargeable battery, charging cable, and various mounts and accessories designed to enhance your filming experience. Carefully remove each item, making sure nothing is left behind in the packaging.
After unboxing, the next step is charging the battery. Locate the charging cable and connect it to the camera’s charging port. Plug the other end into a power source. A full charge can take a couple of hours, so be patient. It’s essential to start with a fully charged battery to avoid interruptions during your initial setup.
Once the battery is charged, insert it into the camera. You’ll find a small compartment that opens to reveal the battery slot. Make sure the battery is oriented correctly before securing the compartment door.
Now it’s time to power on your camera. Press the power button and hold it for a few seconds. You should see the welcome screen, indicating that the device is ready to use. Follow the on-screen instructions to complete the initial setup, such as setting the date and time, language preferences, and other basic configurations.
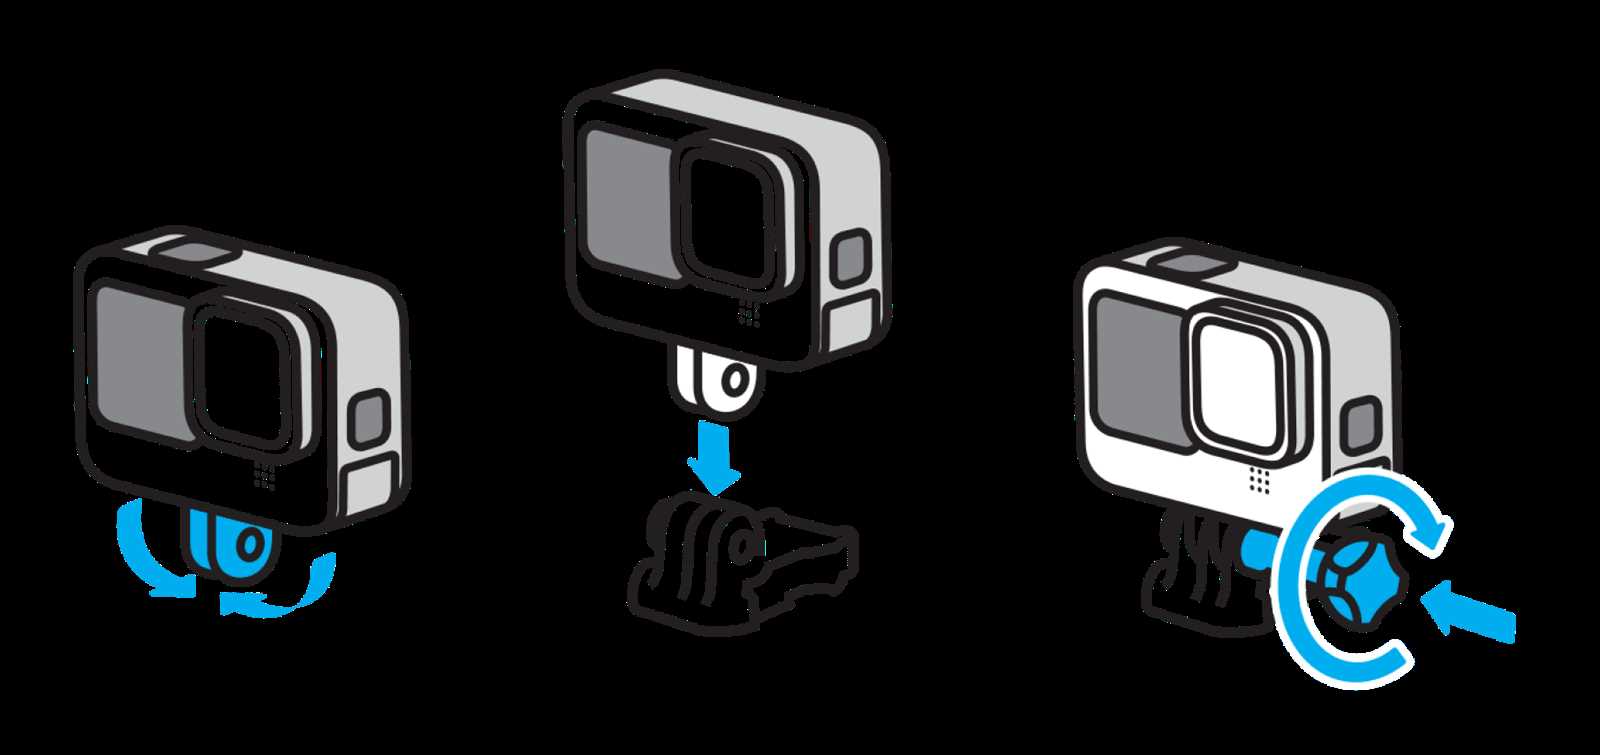
With the camera powered on and configured, attach one of the included mounts or accessories to make your camera ready for action. Whether you’re planning to use a helmet mount, handlebar mount, or another accessory, ensure it is securely attached to avoid any mishaps during filming.
Your camera is now ready to capture stunning high-definition footage. With everything set up, you can focus on exploring the various shooting modes and features that will help you create breathtaking videos and photos.
Navigating the GoPro Hero 3 Black Interface
Understanding the interface of this compact camera is essential for capturing high-quality footage and making the most of its advanced features. By familiarizing yourself with the display options and menu navigation, you can quickly adjust settings to suit various shooting scenarios. This section will provide a concise overview of the primary elements of the interface and guide you through the process of efficient operation.
Main Menu Navigation
The primary menu provides access to a variety of settings and features, all of which can be accessed through a few simple button presses. Here’s a quick guide to navigating the main options:
- Mode Selection: Use the power button to cycle through different shooting modes. Each press will switch the camera to the next available mode, such as video, photo, burst, and more.
- Settings Access: Once you’ve selected a mode, pressing the settings button will allow you to adjust specific parameters related to that mode, such as resolution, frame rate, or photo quality.
- Playback Mode: To review footage, navigate to the playback mode where you can watch recorded videos or view captured images.
Understanding the Display Screen
The display screen provides crucial information about the current status and settings of the ca
Understanding GoPro Hero 3 Black Shooting Modes
To capture stunning visuals, it’s essential to be familiar with the various shooting options offered by this action camera. These settings provide flexibility and allow users to tailor their recording to different scenarios. By selecting the appropriate mode, you can ensure your footage is optimized for the specific environment and subject you are capturing.
Video Recording Options
There are multiple video settings available, each designed for different lighting conditions and motion types. Whether you are filming in low light or shooting high-speed action, choosing the correct configuration will greatly enhance the quality of your recordings.
| Mode | Resolution | Frames Per Second (fps) |
|---|---|---|
| Cinema | 4K | 15 fps |
| High Definition | 1080p | 30 fps |
| Smooth Motion | 720p | 60 fps |
| Ultra Wide | 960p | 48 fps |
