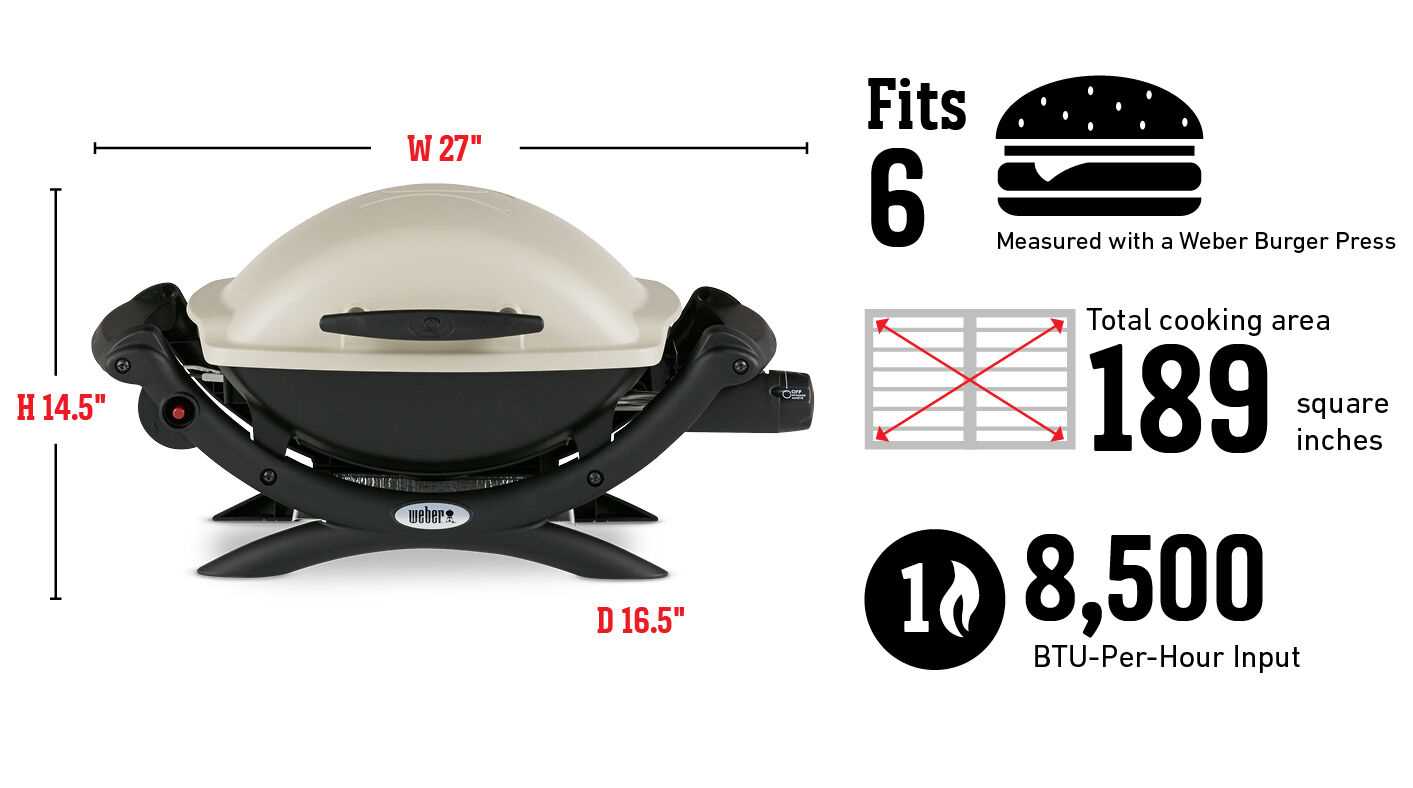
Unlock the full potential of your new portable grill with our detailed guide. Whether you’re a seasoned griller or just starting out, understanding the key features and proper setup of your device will ensure that every cookout is a success. Our goal is to help you become familiar with your equipment, so you can confidently grill up delicious meals wherever your adventures take you.
This guide will walk you through every step, from initial setup to advanced tips for achieving the perfect sear. We’ll cover the essentials, including safety precautions, maintenance routines, and troubleshooting common issues. By following our step-by-step instructions, you’ll be able to maximize the performance and longevity of your grill.
Let’s dive into the specifics, so you can start enjoying your outdoor cooking experience to the fullest. With a few simple steps, you’ll be ready to fire up the grill and savor the flavors of perfectly cooked food, no matter where you are.
Understanding the Weber Q1000 Grill Components
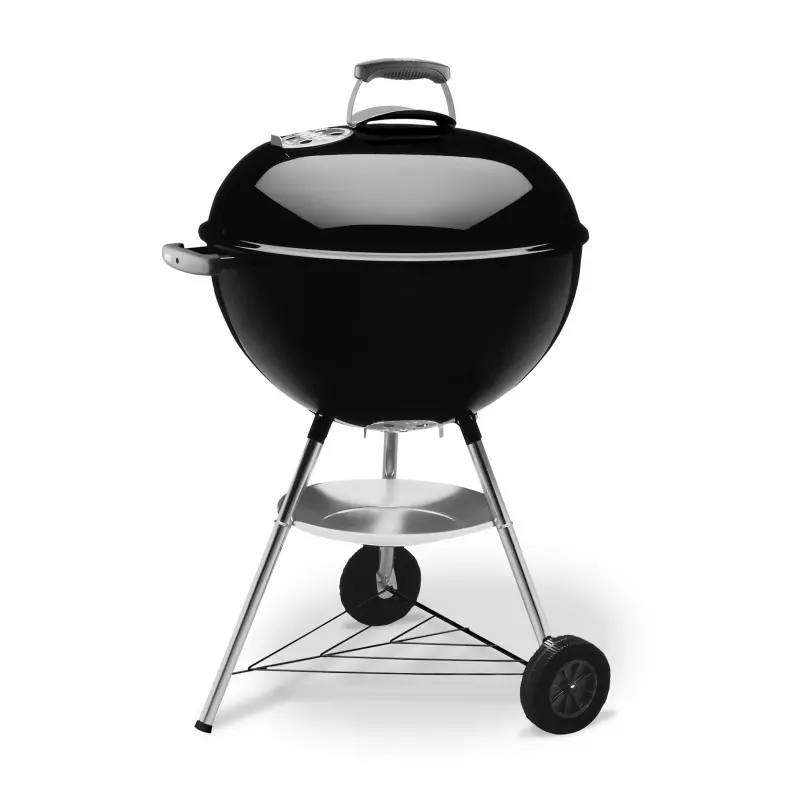
Knowing the key parts of your portable outdoor cooking device is essential for both efficient use and maintenance. Each part plays a unique role in ensuring that your culinary experience is seamless and enjoyable. Below, we will explore the main components that make up this versatile and compact grill.
- Burner Tube: The central element responsible for generating heat. It distributes gas evenly across the cooking area, ensuring consistent grilling performance.
- Cooking Grate: The surface where your food rests while cooking. Made of durable materials, it provides even heat distribution and is easy to clean.
- Ignition System: This mechanism allows for easy and quick lighting of the grill. It’s designed to provide reliable ignition with minimal effort.
- Control Knob: Used to regulate the flow of gas to the burner, allowing you to adjust the cooking temperature with precision.
- Drip Tray: Positioned below the burner, this component catches grease and drippings, helping to prevent flare-ups and making cleanup simpler.
- Lid: The cover that helps retain heat and maintain consistent cooking temperatures. Its design ensures that heat circulates evenly inside the cooking area.
By familiarizing yourself with these components, you can better understand how to operate your grill efficiently and keep it in excellent condition for years of outdoor cooking enjoyment.
How to Assemble the Portable Gas Grill

Setting up your compact outdoor cooking device is a straightforward process. This section will guide you through each step, ensuring that your grill is ready for use in no time. Follow the outlined procedure carefully to ensure a secure and efficient assembly.
Required Tools and Preparation
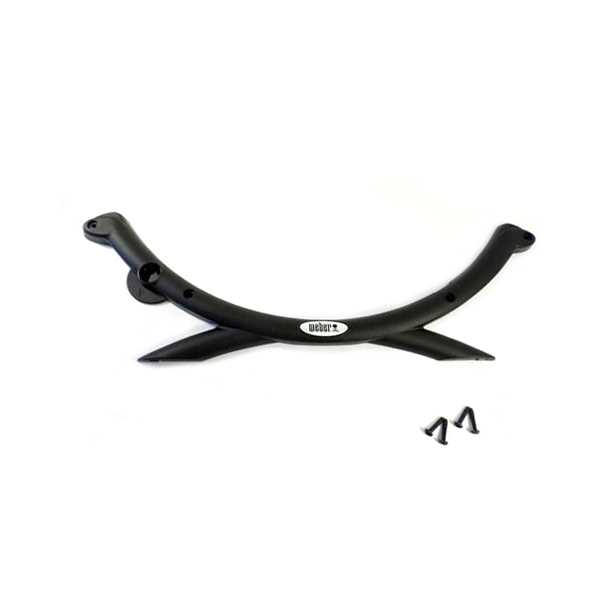
Before starting, gather all necessary components and ensure you have a clean workspace. Familiarize yourself with the included hardware and have a screwdriver or wrench ready. It’s helpful to have a partner assist you with some steps to make the process smoother.
Step-by-Step Assembly Instructions
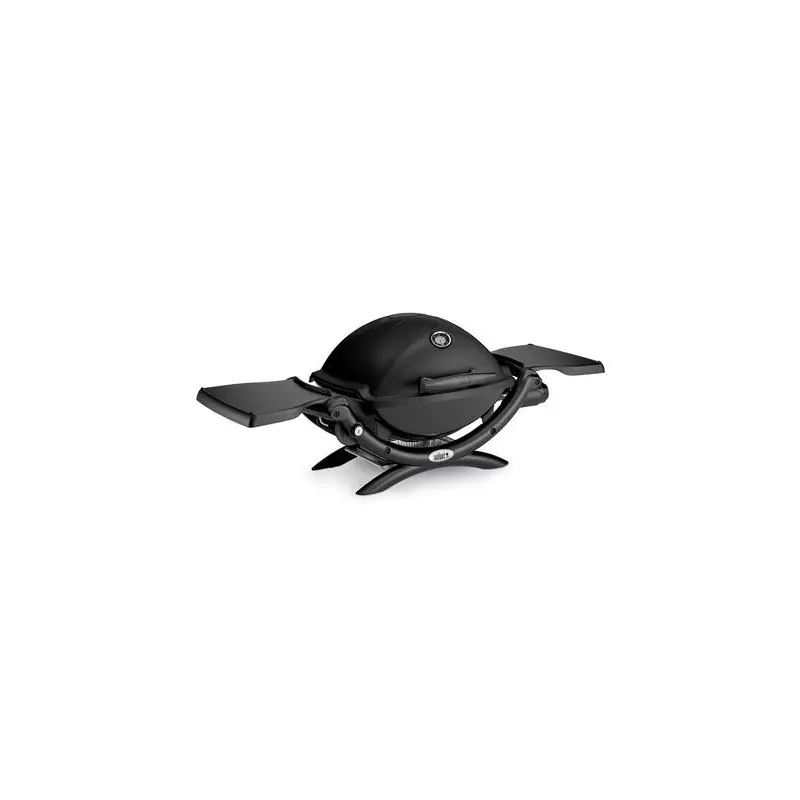
- Unpack and Inspect: Remove all parts from the packaging and check for any visible damage. Lay out all components for easy access.
- Attach the Frame: Begin by attaching the frame to the base of the unit. Ensure the legs are securely fastened before proceeding.
- Install the Burner: Position the burner in its designated slot, aligning the holes with the corresponding fittings. Secure it with the provided screws.
- Place the Cooking Grate: Once the burner is in place, set the cooking grate on top, making sure it sits evenly across the surface.
- Connect the Fuel Source: Attach the gas cylinder or canister to the regulator, ensuring a tight connection to prevent leaks. Double-check the connection before moving on.
- Final Checks: Review all connections and fittings, ensuring everything is tight and in place. Test the ignition system briefly to confirm that the grill is functioning properly.
Your compact cooking unit is now ready for use. Make sure to follow the safety guidelines during operation and maintenance to enjoy a great outdoor cooking experience.
Maintaining Your Weber Q1000 for Longevity
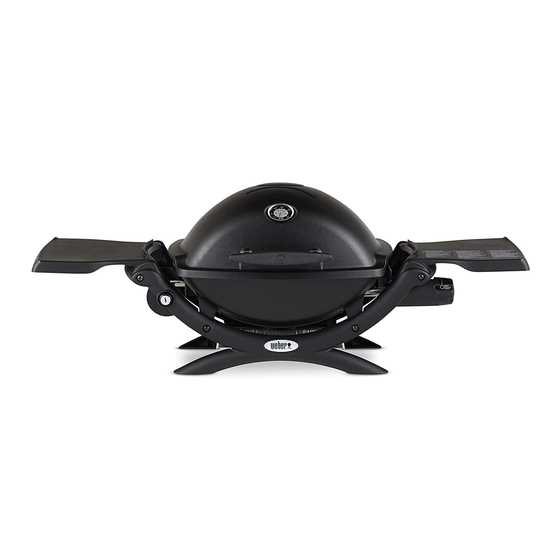
To ensure your portable grill remains in top condition for years, it’s essential to carry out regular care and maintenance. By following a few simple steps, you can keep your outdoor cooking equipment functioning smoothly, while also enhancing its lifespan. Consistent upkeep not only guarantees optimal performance but also preserves the appearance and quality of your appliance.
Cleaning the Grill Components
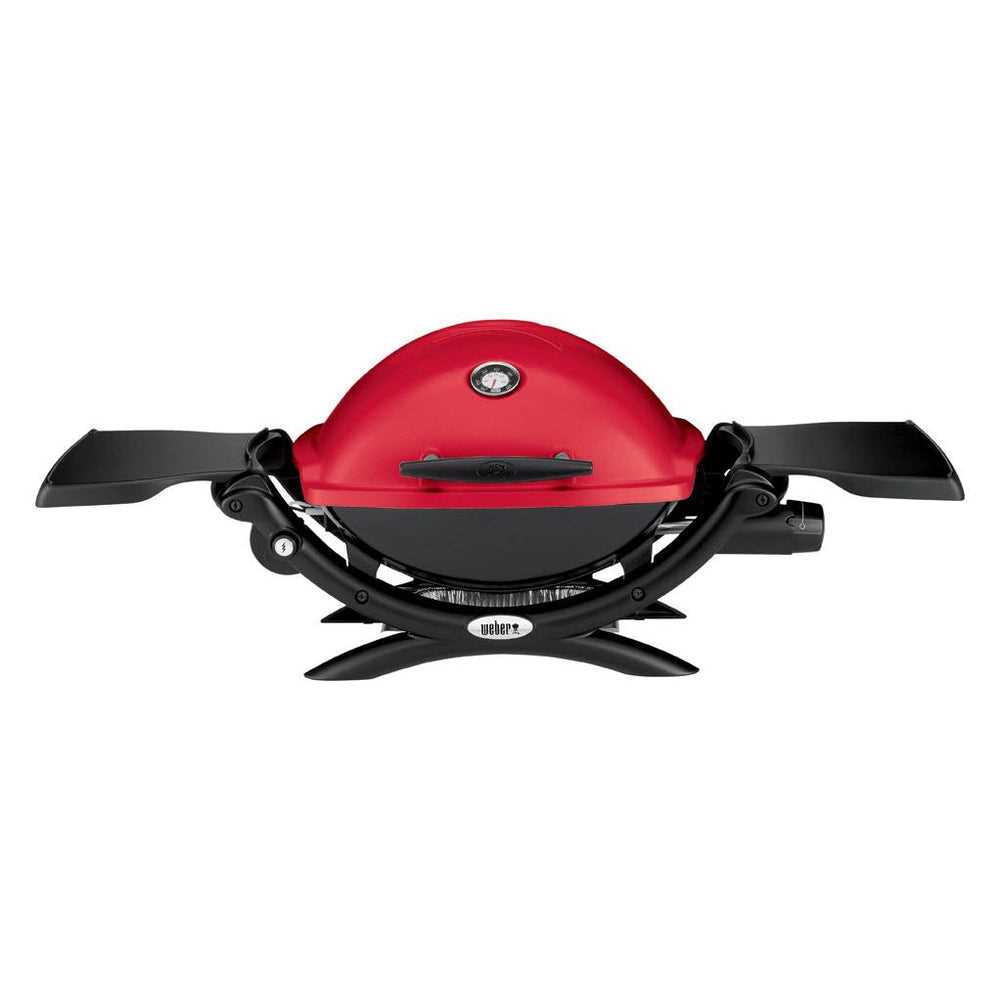
Regular cleaning is vital for maintaining the efficiency of your grill. After each use, ensure the cooking grate is cleaned thoroughly to remove food residue and grease. For the best results, use a stainless steel brush to scrub the grate while it’s still warm. Additionally, the burner tubes should be checked and cleaned periodically to prevent blockages that could affect the burner’s performance. Remember to clean the exterior with a mild detergent and water to maintain its shine.
Storage and Protection
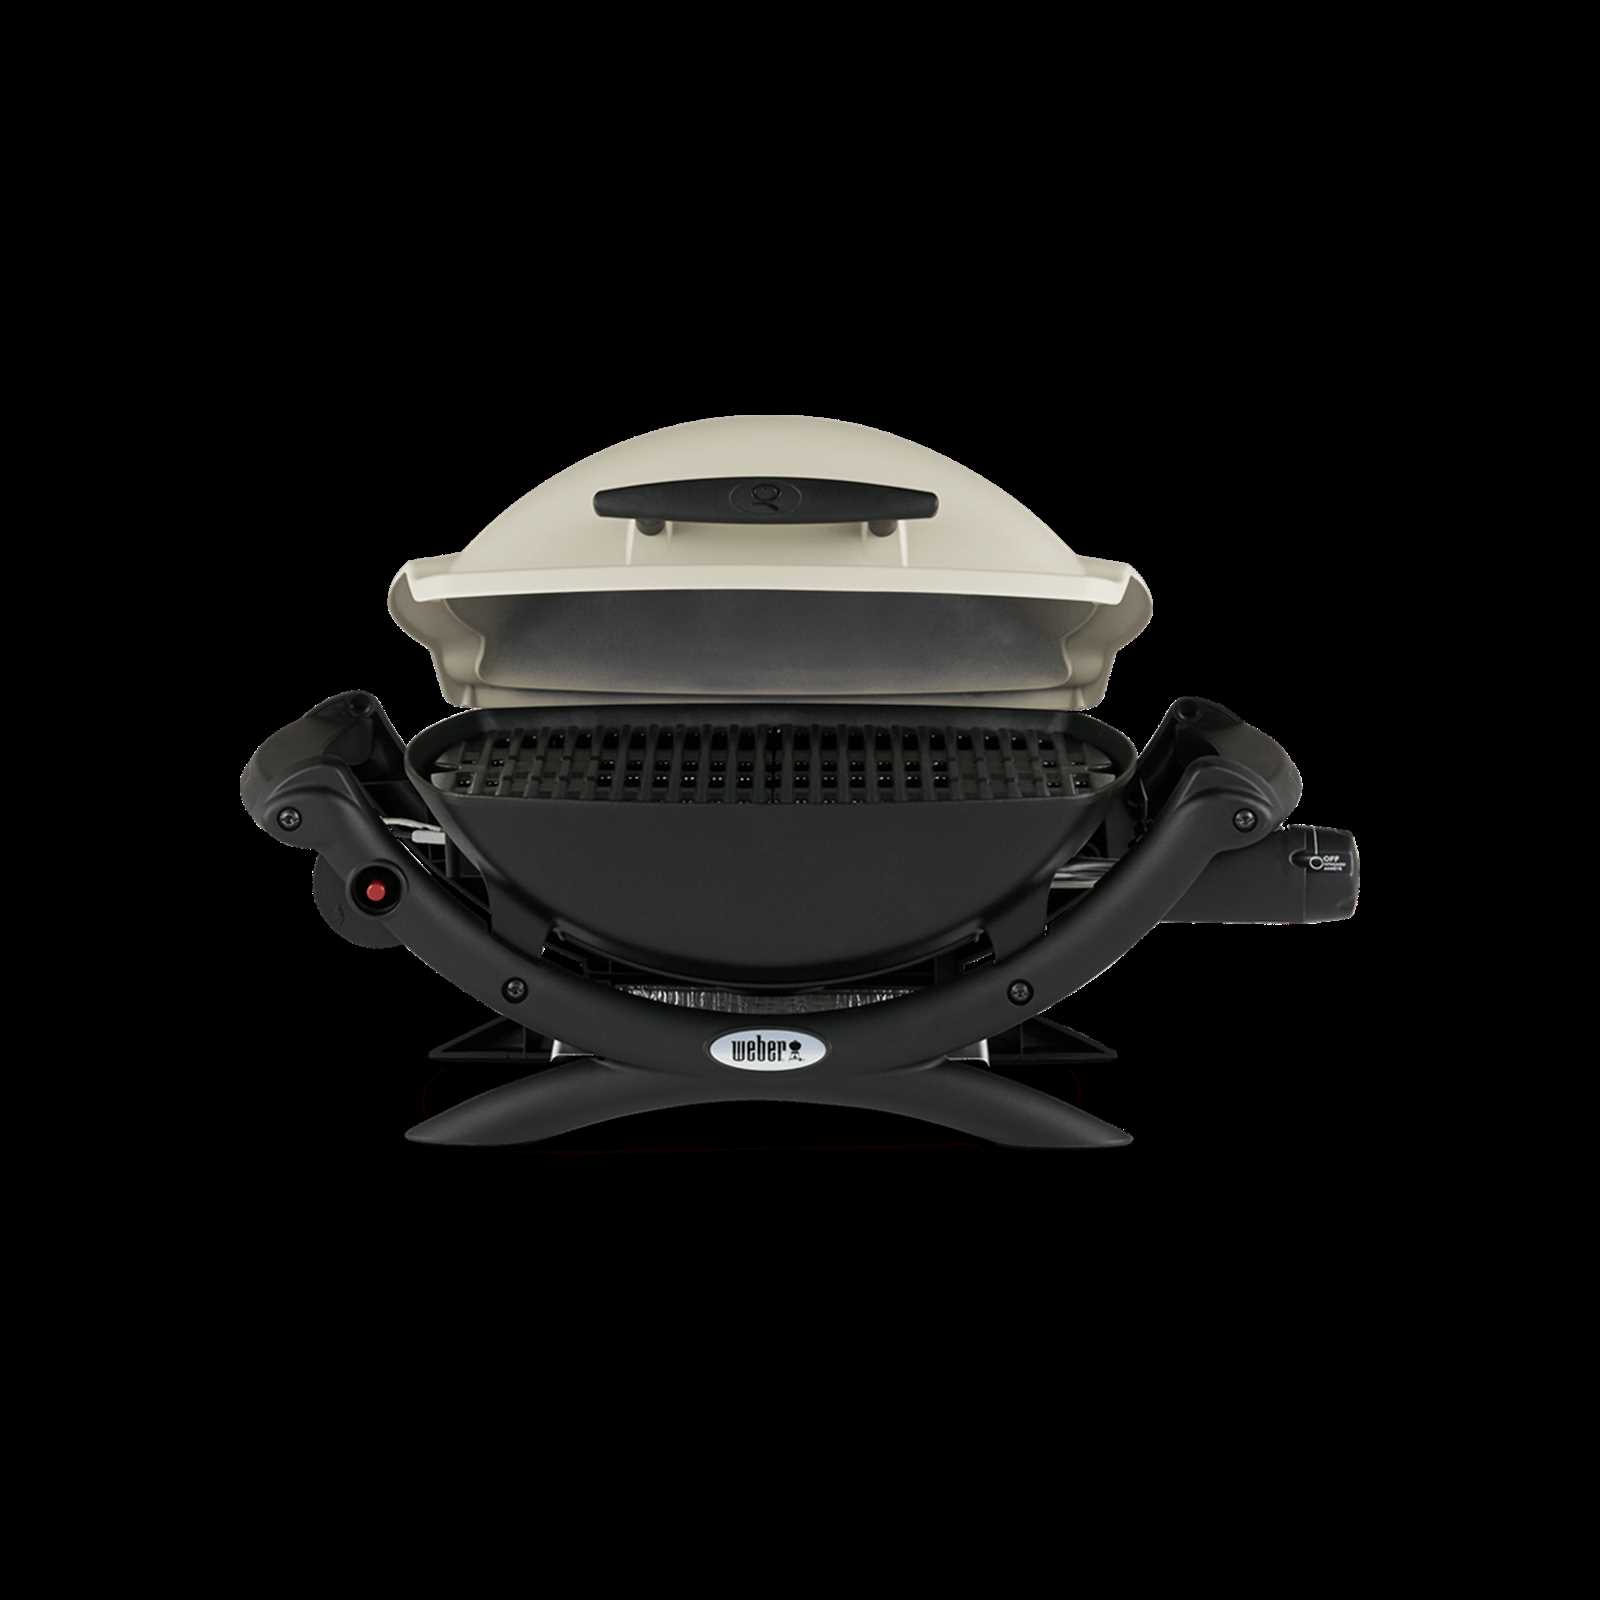
Proper storage is key to preventing rust and wear. When not in use, store your grill in a dry, sheltered area. Use a weather-resistant cover to protect it from the elements, especially during harsh weather conditions. If you plan to store the grill for an extended period, disconnect the propane tank and store it separately in a safe location.
By adhering to these maintenance practices, you ensure your outdoor cooking appliance remains reliable and efficient for many seasons to come.
Effective Cleaning Techniques for Weber Q1000
Maintaining a clean grilling appliance not only extends its lifespan but also ensures optimal performance and safety. Proper cleaning techniques can prevent the buildup of grease and residue that might affect the quality of your grilled food and the efficiency of the grill. Here, we will explore methods to effectively clean your grilling equipment, focusing on removing debris, residue, and maintaining overall hygiene.
Regular Cleaning Routine
For best results, establish a routine cleaning schedule. After each use, it’s essential to allow the grill to cool down before starting the cleaning process. Utilize a grill brush with sturdy bristles to scrub the grates, ensuring that any remaining food particles and grease are removed. This step helps prevent sticky residue from becoming hard and difficult to clean later.
Deep Cleaning and Maintenance
Periodically, perform a more thorough cleaning to address accumulated grime. Remove the grates and clean them using soapy water or a specialized grill cleaner. Rinse them thoroughly and allow them to dry completely before reassembling. Additionally, check and clean the drip tray to avoid any unpleasant odors and potential flare-ups. Regularly inspect the burners and other components for blockages or wear, and replace parts as needed to maintain peak performance.
Tips for Using the Weber Q1000 Safely
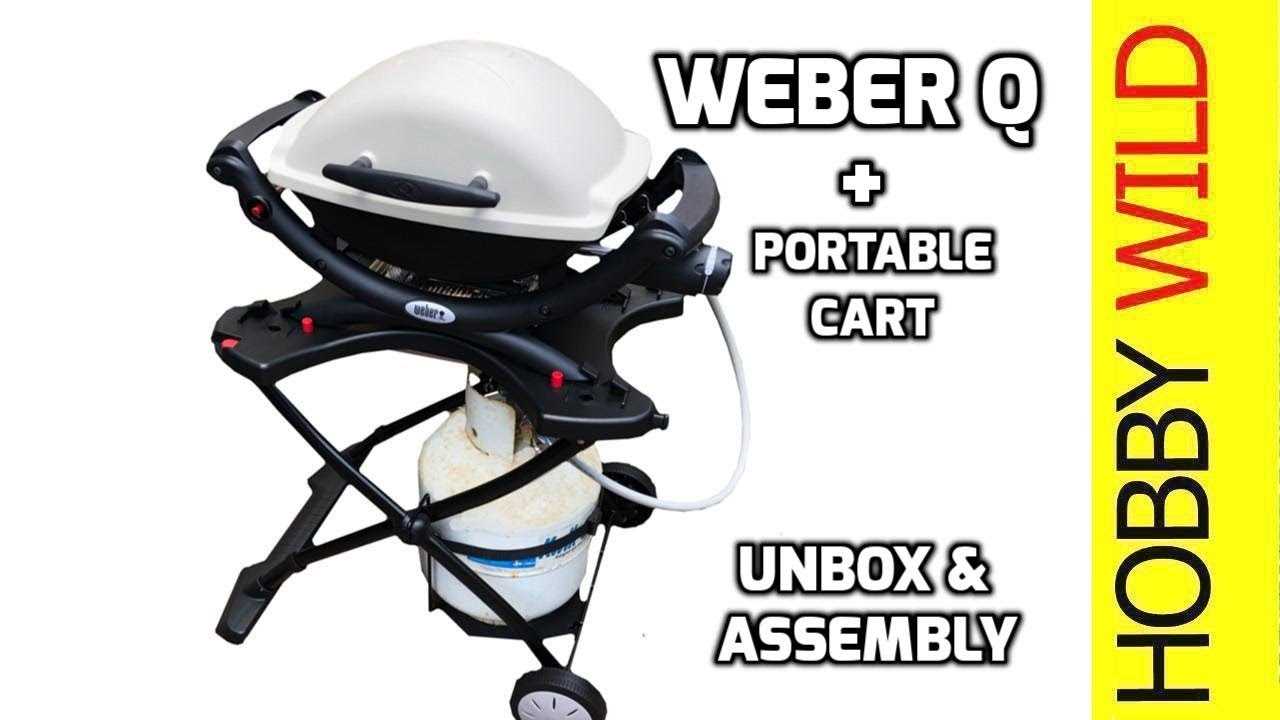
Ensuring safety while operating a compact grill is crucial for a pleasant and accident-free grilling experience. By following key practices and precautions, you can minimize risks and enjoy your outdoor cooking with peace of mind.
1. Proper Placement: Always position the grill on a flat, stable surface away from any flammable materials. This helps to prevent accidental tipping and reduces the risk of fire spreading.
2. Ventilation: Ensure the grilling area is well-ventilated. Never use the grill indoors or in enclosed spaces, as this can lead to dangerous build-ups of carbon monoxide.
3. Regular Inspections: Check the grill for any signs of wear or damage before use. Inspect hoses and connections to ensure there are no leaks, which could pose a safety hazard.
4. Safe Ignition: Follow the recommended procedures for lighting the grill. Avoid using excessive force or flammable liquids to ignite the grill, and always light it with the lid open to prevent explosions.
5. Monitoring Temperature: Keep an eye on the grill’s temperature throughout cooking. Avoid leaving it unattended while in use to prevent overheating and potential accidents.
6. Handling Hot Surfaces: Use appropriate tools and wear heat-resistant gloves when handling hot components. This reduces the risk of burns and injuries.
7. Extinguishing Flames: If a flare-up occurs, close the lid and turn off the heat source to control the flames. Be prepared with a fire extinguisher or a bucket of water for emergencies.
8. Clean-Up: After grilling, allow the grill to cool completely before cleaning. Remove grease and food residue to prevent buildup that could lead to fire hazards.
By adhering to these safety tips, you can ensure a secure and enjoyable grilling experience. Always refer to the specific safety guidelines provided with your grill model for detailed instructions.
Troubleshooting Common Issues with Weber Q1000
When using a portable gas grill, encountering problems can be frustrating. To ensure a smooth grilling experience, it’s essential to address and resolve these common issues promptly. Below is a guide to help you diagnose and fix frequent problems that may arise with your grilling appliance.
| Issue | Possible Cause | Solution |
|---|---|---|
| Gas not igniting | Empty or improperly connected gas tank | Check and refill the gas tank or ensure it is properly connected. |
| Poor heat distribution | Clogged burners or grill grates | Clean the burners and grates thoroughly. Ensure that there are no obstructions in the gas flow. |
| Flame is too low | Low gas pressure or improper regulator settings | Verify the gas pressure and adjust the regulator if necessary. Make sure the gas tank is not empty. |
| Excessive smoke | Grease buildup or high heat setting | Clean the grill and ensure that excess grease is removed. Adjust the heat setting to a moderate level. |
By following these troubleshooting steps, you can effectively manage and resolve common issues that may occur with your grill, ensuring a more enjoyable and efficient cooking experience.