Understanding the features and functions of your car audio device can significantly enhance your listening experience. Whether you’re a music enthusiast or someone who values high-quality sound while driving, getting to know your audio equipment better can make a big difference. This guide aims to provide you with the necessary knowledge to make the most out of your in-car audio setup.
Exploring the controls of your device, you’ll discover various options that allow you to tailor the sound to your preferences. From adjusting the bass and treble to setting up custom sound profiles, every detail is covered. This guide will walk you through each step, ensuring that you can easily navigate the interface and achieve the sound quality that suits you best.
Connecting your devices to the audio system is another key aspect covered in this guide. You’ll find detailed instructions on how to link external devices, such as smartphones or portable music players, to your car’s audio unit. With these connections properly set up, you can enjoy your favorite playlists and tracks with ease, transforming your driving experience into something truly enjoyable.
Understanding the JVC KD-G230 Interface
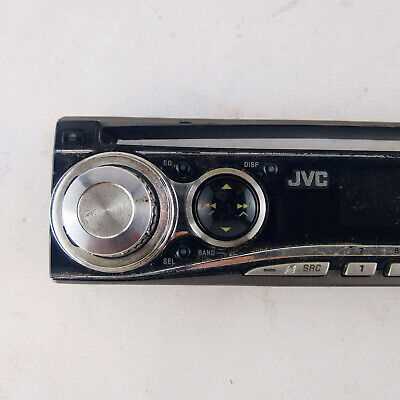
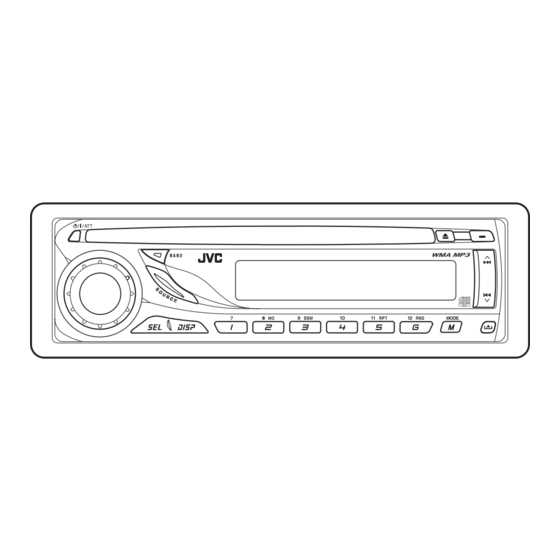
The control panel of this audio receiver is designed to provide users with an intuitive experience while navigating through various features. The interface layout is structured to allow for easy access to essential functions, making it straightforward for users to enjoy their music or radio without unnecessary complications.
Main Control Knob and Buttons
The central control knob serves as the primary method for adjusting volume, selecting tracks, and navigating through settings. Surrounding this knob are several buttons that provide quick access to frequently used features like radio presets, source selection, and audio adjustments. Each button is strategically placed to ensure that users can easily find and activate the desired function without distractions.
Display Screen and Visual Feedback
The display screen offers clear visual feedback for all actions, showing the current mode, selected track, radio station, and other relevant information. The screen is designed to be easily readable, even in various lighting conditions, ensuring that users can quickly verify their settings and make adjustments on the go. Additionally, visual indicators next to buttons provide instant recognition of active features, enhancing the overall usability of the system.
How to Set Up Your Car Stereo
Installing and configuring your car stereo system is essential to achieving the best audio experience on the road. This guide will walk you through the basic steps of setting up your system, ensuring that your device is properly installed, connected, and adjusted to suit your preferences. Whether you’re upgrading your current system or installing a new one, following these steps will help you maximize your sound quality and overall enjoyment.
The following table outlines the key steps to setting up your car stereo, from gathering tools to fine-tuning the sound settings:
| Step | Description |
|---|---|
| 1. Prepare Your Tools | Gather the necessary tools, including screwdrivers, wire cutters, and connectors. Ensure you have all components of the stereo system ready. |
| 2. Disconnect the Battery | Before starting, disconnect the car’s battery to avoid any electrical hazards during installation. |
| 3. Remove the Old Stereo | If replacing an existing stereo, carefully remove it from the dashboard, disconnecting any attached wiring. |
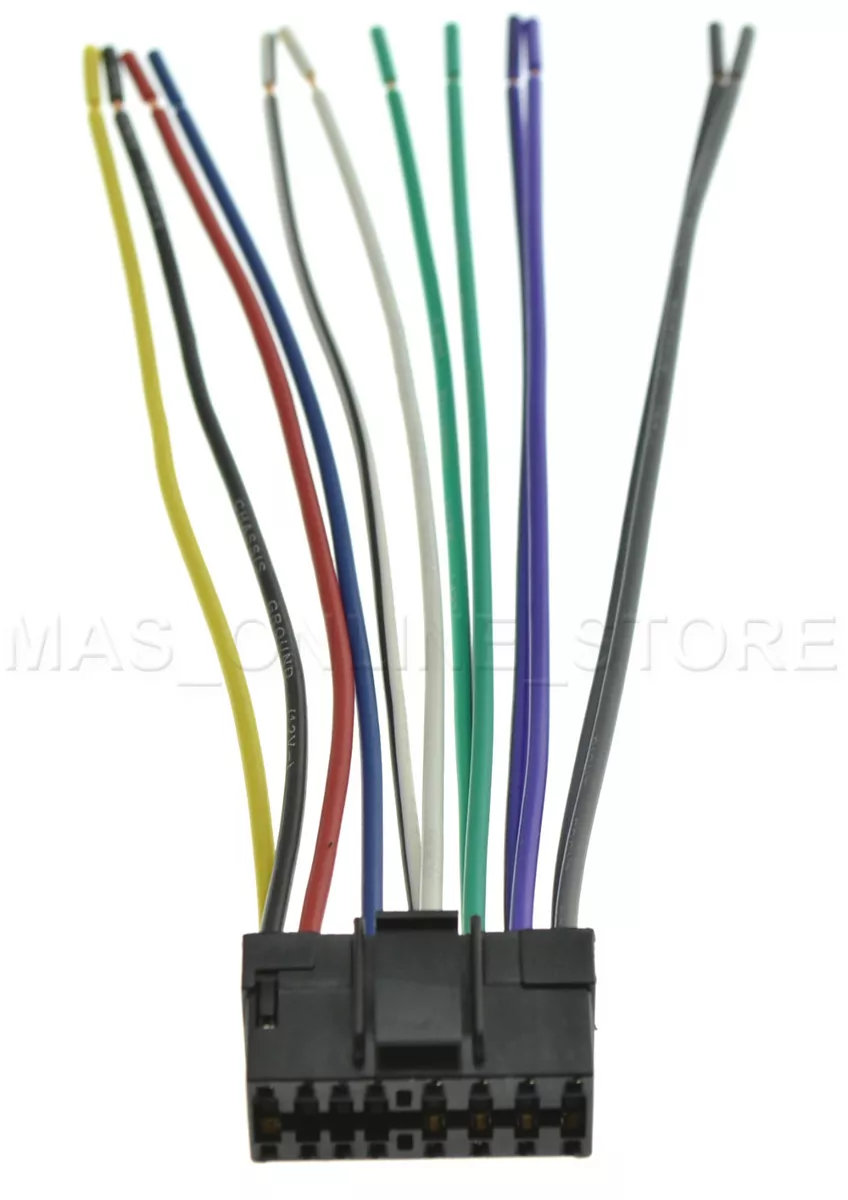
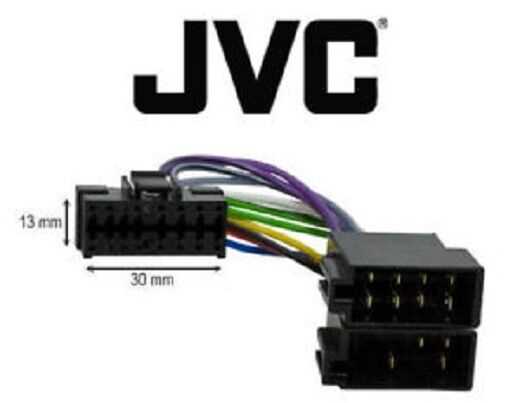
| 4. Connect the Wiring Harness | Match the wires of the new stereo with the car’s wiring harness, securing them with appropriate connectors. |
| 5. Install the New Stereo | Mount the new stereo into the dashboard, ensuring it fits securely. Reconnect the battery to test the power and function. |
| 6. Adjust the Settings | Once installed, adjust the stereo settings, such as equalizer and balance, to optimize the sound for your vehicle. |
By following these steps, you can ensure that your car stereo is installed correctly and performs to its full potential. Proper setup not only enhances audio quality but also prolongs the life of your stereo system.
Navigating Through Menus
Mastering the menu system of your car audio system ensures a smooth and enjoyable experience. Understanding how to move through different settings and options allows for quick adjustments, whether you’re tuning the radio, adjusting sound settings, or accessing other features. This guide will walk you through the process, making it easier to find and select the options you need.
- Accessing the Menu: Begin by pressing the designated button to open the main menu. This will display a list of categories available for customization.
- Scrolling Through Options: Use the control knob to scroll through the available categories. Turning the knob lets you navigate up and down the list.
- Selecting a Category: Once you’ve highlighted the desired category, press the control knob to enter the submenu. This will show specific options within that category.
- Adjusting Settings: After selecting a category, you can adjust the settings by turning the control knob. Press the knob again to confirm your selection.
- Exiting the Menu: To return to the main display, press the button used to access the menu or wait a few seconds, and the system will exit automatically.
Understanding these basic steps will help you efficiently manage your car audio system’s features and settings, providing a more personalized and convenient driving experience.
Connecting External Devices to JVC KD-G230

Enhancing your audio system by integrating external devices can significantly elevate your listening experience. This section outlines how to connect various audio sources, allowing you to enjoy your favorite music from multiple devices seamlessly through your car’s audio system.
Using Auxiliary Input: To connect a portable media player or smartphone, locate the auxiliary input jack. Typically found on the front panel, this input allows you to plug in any device with a standard headphone output. Use a 3.5mm audio cable to make the connection. Once connected, select the appropriate input source on the receiver to begin playback from your external device.
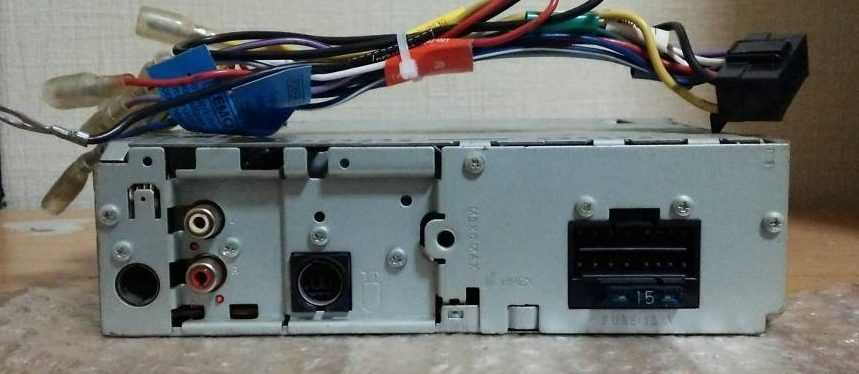
CD Changer or Other External Devices: For those who have a compatible CD changer or other external audio sources, the system provides dedicated connectors at the rear panel. Connect the device using the provided cables, ensuring secure connections. After connection, select the corresponding source mode to access and control the external device through the receiver.
Troubleshooting: If you experience issues with audio playback or device recognition, ensure all connections are secure and that the correct input source is selected. Refer to the system’s settings to adjust any necessary configurations that may affect external device functionality.
Troubleshooting Common JVC KD-G230 Issues
Addressing common problems with your car audio system can seem daunting, but understanding a few key troubleshooting steps can simplify the process. This section will guide you through the typical issues users encounter and provide solutions to get your device functioning optimally again. By identifying and resolving these common challenges, you can enjoy a smooth and uninterrupted audio experience.
Problem: No Sound Output
If you’re experiencing a complete lack of sound from your system, start by checking the basic connections. Ensure that all cables are securely plugged into their respective ports. Examine the speaker wires and connections for any visible damage or loose ends. If the connections are intact, verify that the audio source is correctly selected and that the volume is turned up. Additionally, check the mute function to ensure it isn’t activated.
Problem: Display Issues
When the display on your unit is malfunctioning or not showing any information, it could be due to a loose connection or a faulty display. Begin by inspecting the connection between the display and the main unit. Make sure the display cable is firmly connected. If the connections are secure, try resetting the device by turning it off and then on again. If the problem persists, consult the troubleshooting section of your device’s manual for further guidance.
Customizing Sound Settings for Optimal Performance

Achieving the best audio experience requires careful adjustment of sound parameters to match your preferences and environment. By fine-tuning these settings, you can enhance the clarity, depth, and overall quality of the audio output, ensuring that it meets your specific needs and enhances your listening pleasure.
Adjusting Equalizer Settings
The equalizer is a powerful tool that allows you to modify the balance of different frequency ranges in your audio output. Experiment with various presets or manually adjust the bass, midrange, and treble to suit your taste. Fine-tuning these levels can help you achieve a sound profile that complements your favorite music genres or listening preferences.
Optimizing Volume Levels and Balance
Properly setting the volume and balance ensures a well-rounded sound experience. Adjust the volume to avoid distortion at higher levels and maintain clarity at lower levels. Additionally, fine-tune the balance to ensure that sound is evenly distributed across all speakers, enhancing the overall audio experience.