Unlock the full potential of your premium audio equipment with this thorough guide. Whether you’re a first-time user or a seasoned audiophile, understanding the full range of features and settings can greatly enhance your experience. Dive into the details to make the most of every feature and function, ensuring optimal sound quality and convenience.
From initial setup to advanced customization, this guide provides step-by-step instructions for every aspect of your device. Learn how to connect seamlessly to your preferred devices, adjust sound settings for different environments, and troubleshoot common issues. Our goal is to empower you with the knowledge to use your equipment confidently and effectively.
Explore various tips and tricks to enhance your audio experience. Discover how to maintain your equipment in top condition, extend battery life, and leverage built-in technologies for superior sound. With this guide, you’ll be well-equipped to enjoy a premium auditory experience wherever you go.
Overview of Beats Studio Wireless Features
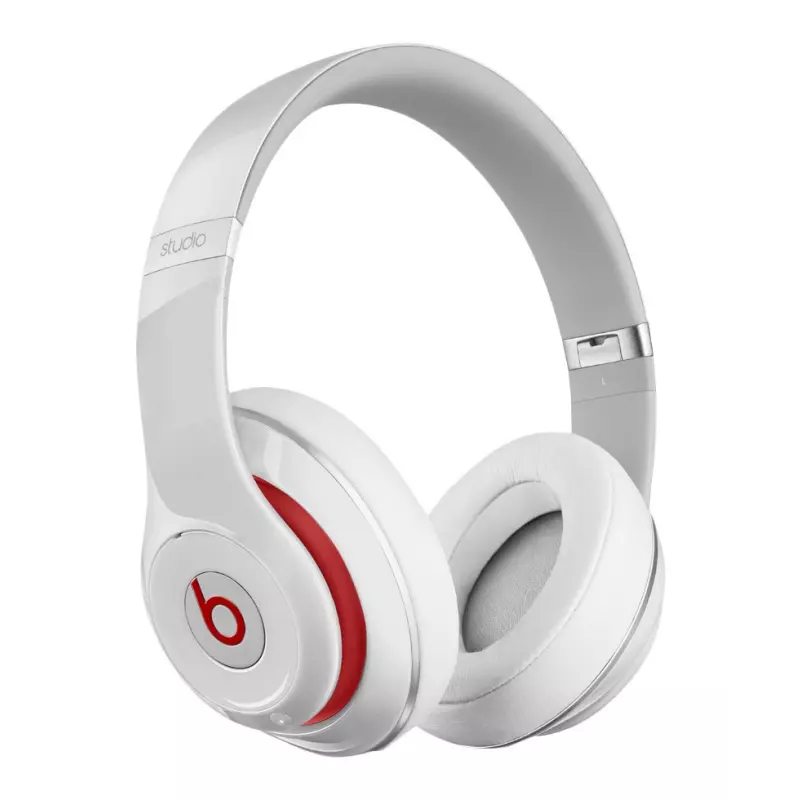
These headphones offer a range of capabilities designed to enhance your listening experience, combining advanced technology with intuitive design. Crafted for both comfort and high-quality sound, they cater to diverse audio needs, whether you are on the move or relaxing at home.
Active Noise Cancellation (ANC) provides a superior listening environment by blocking out external noise, allowing you to fully immerse yourself in your music or calls. This feature can be easily toggled, adapting to different surroundings and preferences.
With long-lasting battery life, you can enjoy extended playtime without frequent recharges. A quick charge option ensures you can get back to your audio swiftly, making it convenient for busy schedules or long trips.
The headphones also feature seamless Bluetooth connectivity, ensuring a stable connection with a variety of devices. Pairing is straightforward, and once connected, switching between devices is smooth and hassle-free.
Ergonomically designed ear cushions provide maximum comfort, even during extended listening sessions. These headphones are built with premium materials, offering durability and a lightweight feel, perfect for all-day use.
Additional controls located on the ear cups allow you to easily manage volume, skip tracks, and take calls without needing to reach for your device. This user-friendly interface ensures a more immersive and uninterrupted experience.
Overall, these headphones blend high performance with comfort, making them a versatile choice for a variety of audio needs. Whether you prioritize sound quality, comfort, or ease of use, they offer a comprehensive package to enhance your listening journey.
How to Charge Your Headphones
Keeping your headphones powered is essential for an uninterrupted audio experience. Ensuring they are adequately charged will allow you to enjoy music, podcasts, and calls without any unexpected interruptions. Follow these steps to charge your headphones correctly and maintain their battery health over time.
| Step | Description |
|---|---|
| 1. Locate the Charging Port | Find the charging port on your headphones. It is usually located on one of the ear cups and is designed to fit the provided charging cable securely. |
| 2. Connect the Charging Cable | Plug the small end of the charging cable into the charging port on your headphones. Ensure it is fully inserted to establish a proper connection. |
| 3. Plug into a Power Source | Insert the USB end of the cable into a power source, such as a computer, USB wall adapter, or portable charger. Make sure the power source is active and functioning properly. |
| 4. Monitor the Charging Indicator | Check the indicator light on your headphones. It should illuminate to show that charging has begun. The light will typically change color or turn off once the battery is fully charged. |
| 5. Disconnect After Full Charge | Once the battery is fully charged, disconnect the cable from the headphones and the power source. Avoid overcharging by removing the cable promptly when charging is complete. |
Charging your headphones regularly and correctly will extend their lifespan and ensure you always have the power you need to stay connected to your favorite sounds.
Pairing Beats Studio Wireless with Devices
Connecting your headphones to various gadgets allows for a seamless audio experience, whether you’re using a smartphone, tablet, or computer. By following a few straightforward steps, you can enjoy high-quality sound without the hassle of cables. This section will guide you through the process of linking your headphones with different devices to ensure an uninterrupted listening journey.
- First, make sure your headphones are charged and powered on. This will prepare them for the connection process.
- Next, locate the connectivity settings on the device you want to pair. This is usually found in the settings menu under “Bluetooth” or “Connections.”
- Enable Bluetooth on your gadget. The device will then begin searching for available connections.
- Once your headphones appear in the list of available devices, select them to initiate pairing. A confirmation message may pop up on your device to verify the connection.
- After confirming, wait a few seconds for the devices to link. You’ll know they are successfully connected when you hear a sound or see a notification on your device.
If you encounter any issues during the pairing process, try resetting your headphones or checking the compatibility of your device. Ensuring that your gadget’s software is up to date can also help resolve any connection problems. For multiple devices, disconnect from the current one before attempting to pair with another.
Understanding Beats Studio Wireless Controls

To get the most out of your headphones, it’s essential to familiarize yourself with the available buttons and gestures. Learning how to navigate these features will allow you to maximize your listening experience, whether you’re adjusting volume, skipping tracks, or managing calls.
Button Functions Overview
Your headphones come equipped with several buttons designed to perform various tasks. Each button has a specific function that can be easily activated with a press or hold.
- Power Button: Used to turn the headphones on and off and to pair with other devices.
- Volume Controls: Two buttons are dedicated to increasing and decreasing the volume of your audio. These are usually located on the side of the ear cup for easy access.
- Multi-Function Button: This button allows you to play or pause music, skip to the next track, or go back to the previous track. It can also be used to answer or end phone calls with a quick press.
Advanced Controls
Beyond the basic buttons, there are additional controls that offer a more tailored experience. These are especially useful for those who want more than just basic playback options.
- Noise Cancellation Toggle: Some models offer the ability to switch noise-canceling modes, allowing you to either block out ambient noise or let in some sound from your surroundings.
- Voice Assistant Activation: You can access your device’s voice assistant with a dedicated button or gesture. This feature lets you control your headphones with voice commands for a hands-free experience.
- Customizable Gestures: Depending on your device model, certain touch-sensitive areas on the ear cups allow for swipe or tap gestures to control playback, adjust volume, or activate other features.
By taking the time to understand these controls, you can ensure a more seamless and enjoyable use of your headphones, making them an essential companion for your daily activities.
Troubleshooting Common Issues with Headphones
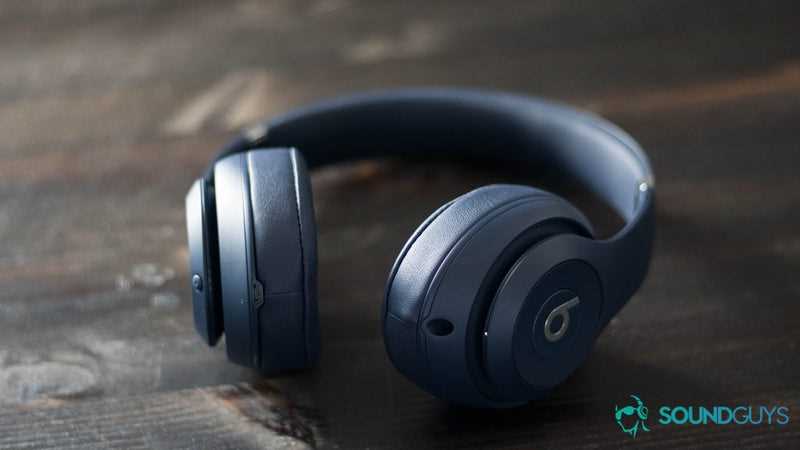
Headphones are essential for enjoying music, podcasts, and calls on the go. However, users may occasionally encounter problems that can affect their listening experience. This guide will help identify and resolve some of the most common issues to ensure your device functions properly.
Connection Problems
If your headphones are not pairing with your device, first ensure that they are fully charged and within the appropriate range of your audio source. Restart both devices to refresh the connection. If the issue persists, check if the audio device has Bluetooth enabled and is in discoverable mode. It might also be helpful to forget the device from your Bluetooth settings and try pairing again.
Audio Quality Issues
When experiencing poor sound quality, such as static, distortion, or uneven audio levels, start by examining the headphone cushions and audio jacks for debris or damage. Additionally, check the volume settings on both your headphones and your audio device. A quick reset of the headphones can often resolve audio problems, as can updating your audio device’s firmware to the latest version.
By following these steps, most issues can be resolved, ensuring a seamless and enjoyable audio experience. If problems continue, consider consulting customer support for further assistance.
Maintaining and Cleaning Your Beats Headphones
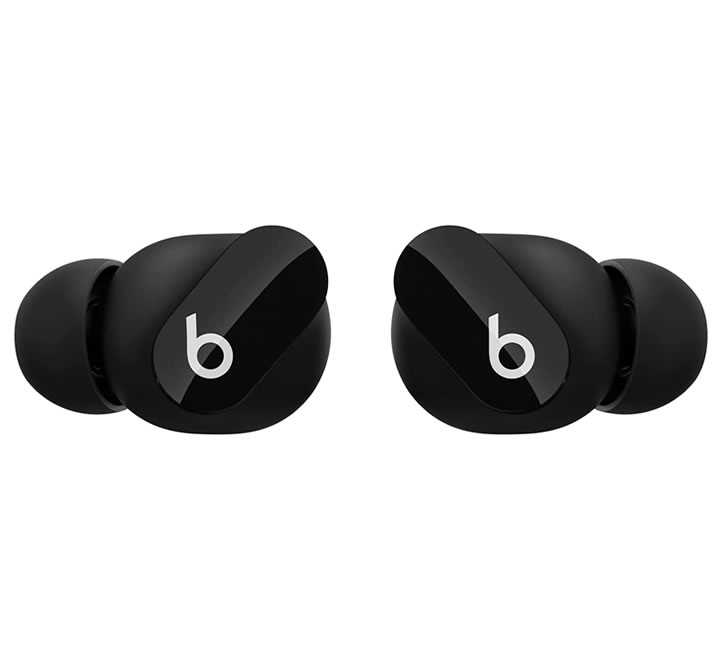
Proper upkeep of your headphones ensures their longevity and optimal performance. Regular maintenance and cleaning are essential to preserve their functionality and appearance. By following a few straightforward guidelines, you can keep your audio equipment in top shape and enjoy a high-quality listening experience for years to come.
Start by gently wiping the exterior surfaces with a soft, dry cloth to remove dust and fingerprints. Avoid using abrasive materials or solvents, as these can damage the finish. For more thorough cleaning, lightly dampen the cloth with water or a mild cleaning solution, making sure it is not too wet. Clean the ear cushions and headband carefully to prevent buildup of oils and grime.
Pay attention to the audio ports and connectors; these should be kept free from debris. Use a dry brush or a compressed air canister to dislodge any particles that might accumulate. It is also important to handle your headphones with care, storing them in a protective case when not in use to avoid accidental damage.
Finally, regularly inspect the cables and connectors for any signs of wear or damage. Replace any frayed or broken parts promptly to avoid affecting the sound quality or causing further issues. By adhering to these maintenance tips, you can extend the life of your headphones and ensure they continue to deliver exceptional audio performance.