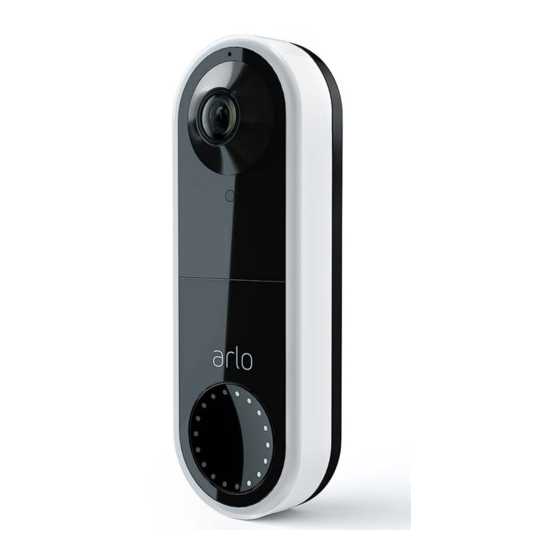
In today’s world, ensuring the safety of your home or business has never been more crucial. This guide is designed to provide you with a complete overview of how to effectively use your advanced surveillance equipment. Here, you’ll find everything you need to know about setting up, managing, and optimizing your security system for the ultimate protection.
We will delve into each aspect of your camera setup, from initial configuration to daily maintenance. Whether you’re a novice or an experienced user, this resource will help you navigate the features and settings to ensure you get the most out of your technology.
By the end of this guide, you’ll have a thorough understanding of how to leverage your device’s capabilities to maintain a secure environment. Follow these instructions carefully to maximize your system’s performance and safeguard your premises effectively.
Getting Started with Arlo Pro
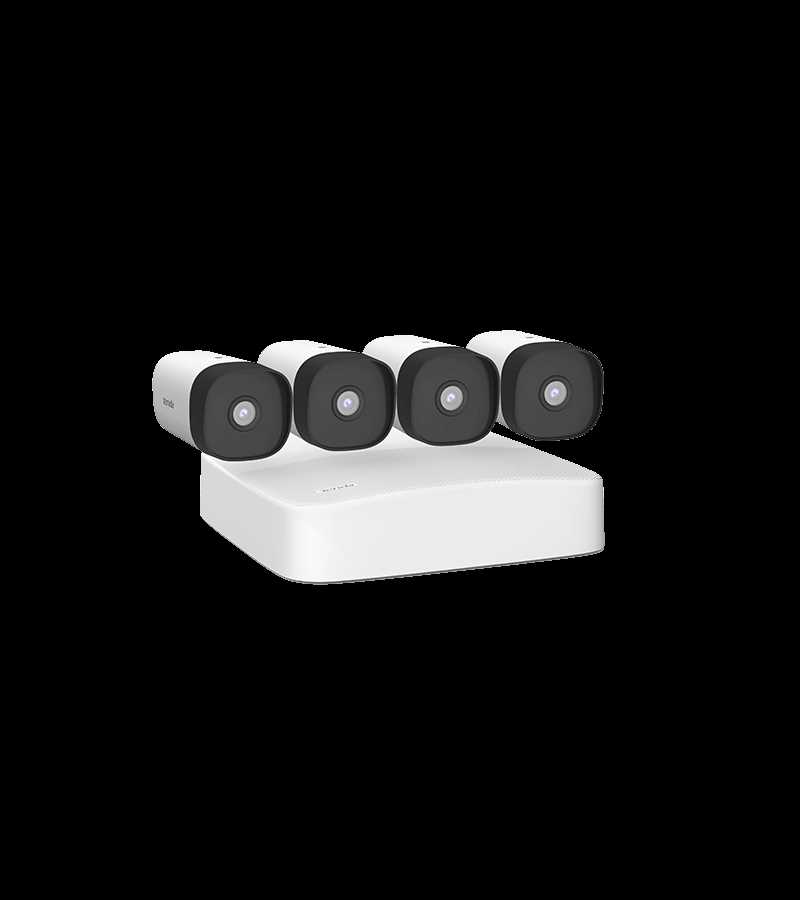
Welcome to the world of smart surveillance! This section will guide you through the initial setup of your new security system. With a few simple steps, you’ll be ready to enhance your home or office’s safety and monitor activities with ease.
Unboxing and Setup
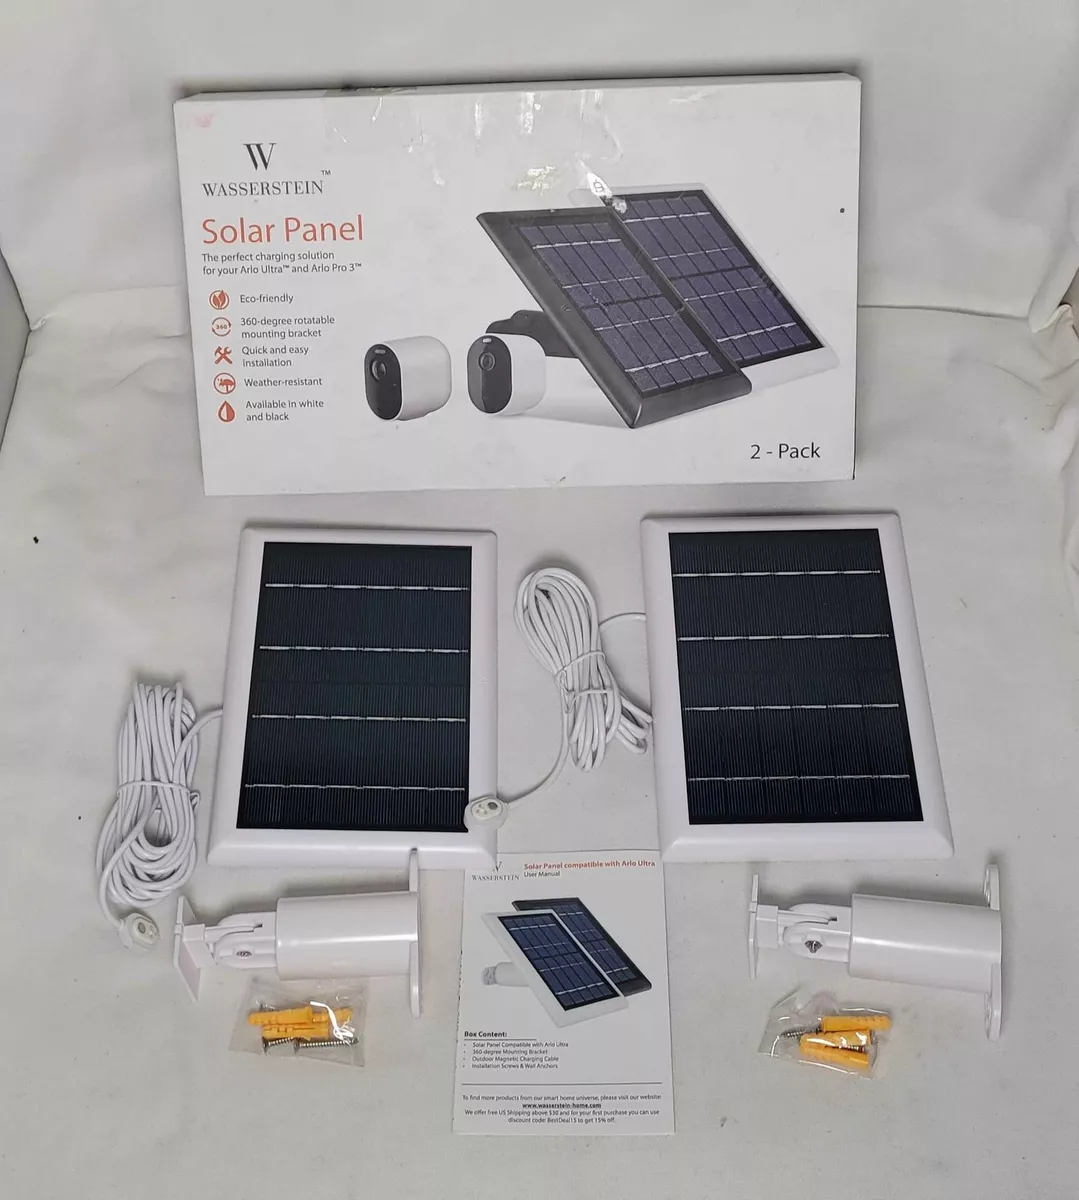
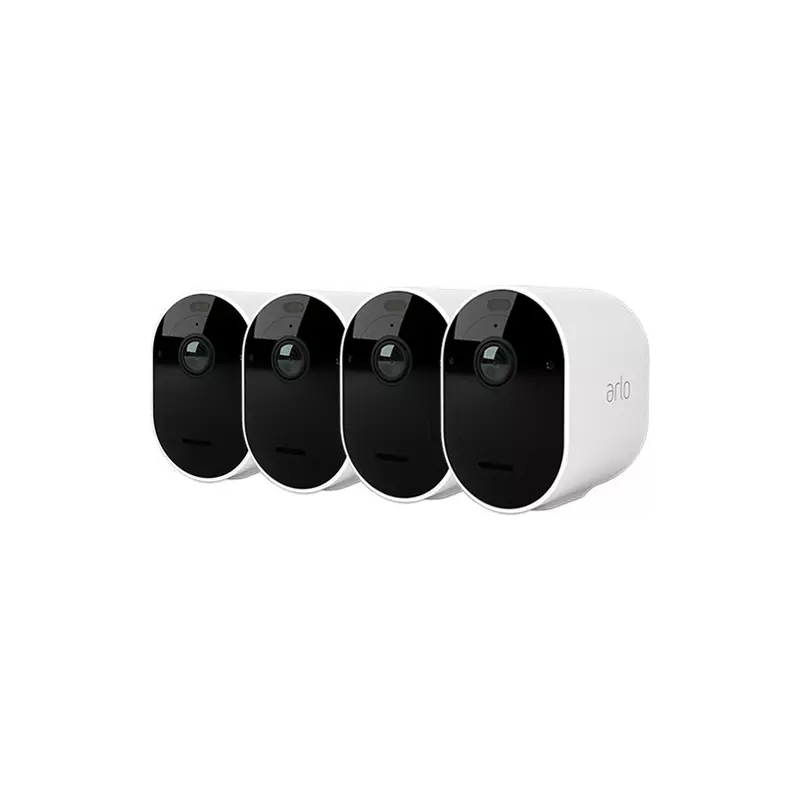
Before you start, make sure you have all the necessary components. Here’s a quick overview of what you’ll find in the box:
- Camera units
- Base station
- Power adapters
- Mounting hardware
- Quick start guide
To begin, follow these steps:
- Place the base station in a central location within your home or office.
- Connect the base station to your router using the provided Ethernet cable and plug it into a power source.
- Power on the base station and wait for the LED indicators to show that it’s ready.
- Install the batteries into each camera unit.
- Sync each camera with the base station by pressing the sync button on both devices.
- Mount the cameras in your desired locations using the included hardware.
Configuring Your System
After hardware setup, it’s time to configure your system:
- Download the companion app on your smartphone or tablet.
- Open the app and create an account if you haven’t already.
- Follow the on-screen instructions to connect the app to your base station and cameras.
- Customize your camera settings, such as motion detection zones and notification preferences.
By completing these steps, you’ll be all set to start monitoring and enjoying the benefits of your new security setup. Stay secure and informed with your advanced surveillance system!
Unboxing and Setting Up Your Camera
Starting with your new surveillance device involves a few essential steps. First, carefully open the package and ensure all components are present. Next, proceed with the initial setup by connecting the camera to a power source and configuring it through the provided app. This guide will walk you through each stage to guarantee your camera is fully operational and ready to provide ultimate security.
Begin by removing the device from its box and laying out all parts, including cables and mounting hardware. Follow the included instructions to install the camera in your desired location. Make sure to connect it to your home network, and then use the app to finalize settings. This process will ensure optimal performance and effectiveness of your new camera system.
Connecting Your Device to the Network
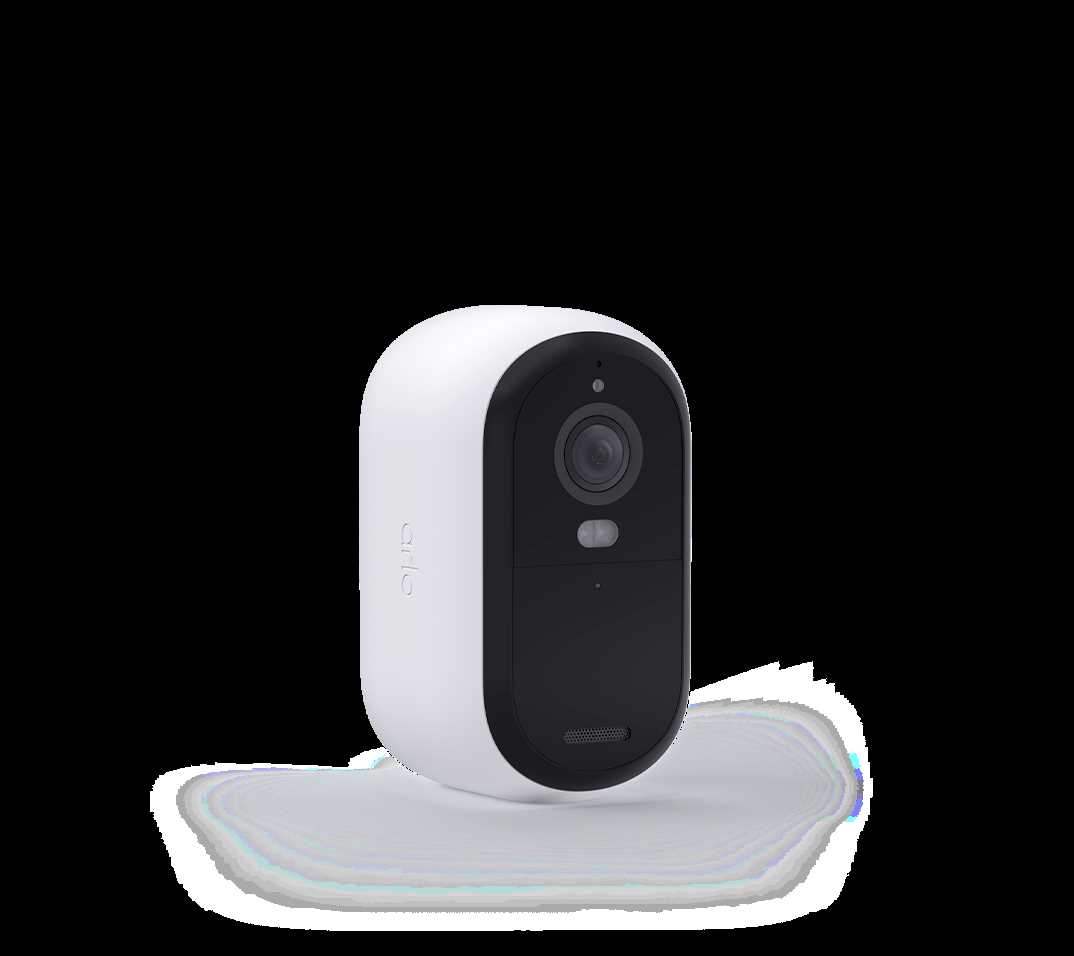
Establishing a connection between your surveillance equipment and your home network is essential for optimal functionality. This process ensures that your device can communicate effectively with your router, enabling features such as real-time monitoring and remote access.
Preparing for Connection
Before initiating the setup, verify that your network is active and functioning properly. Ensure that you have the necessary credentials, such as your Wi-Fi network name and password. Position your device within range of your router to facilitate a strong and stable connection.
Connecting the Device
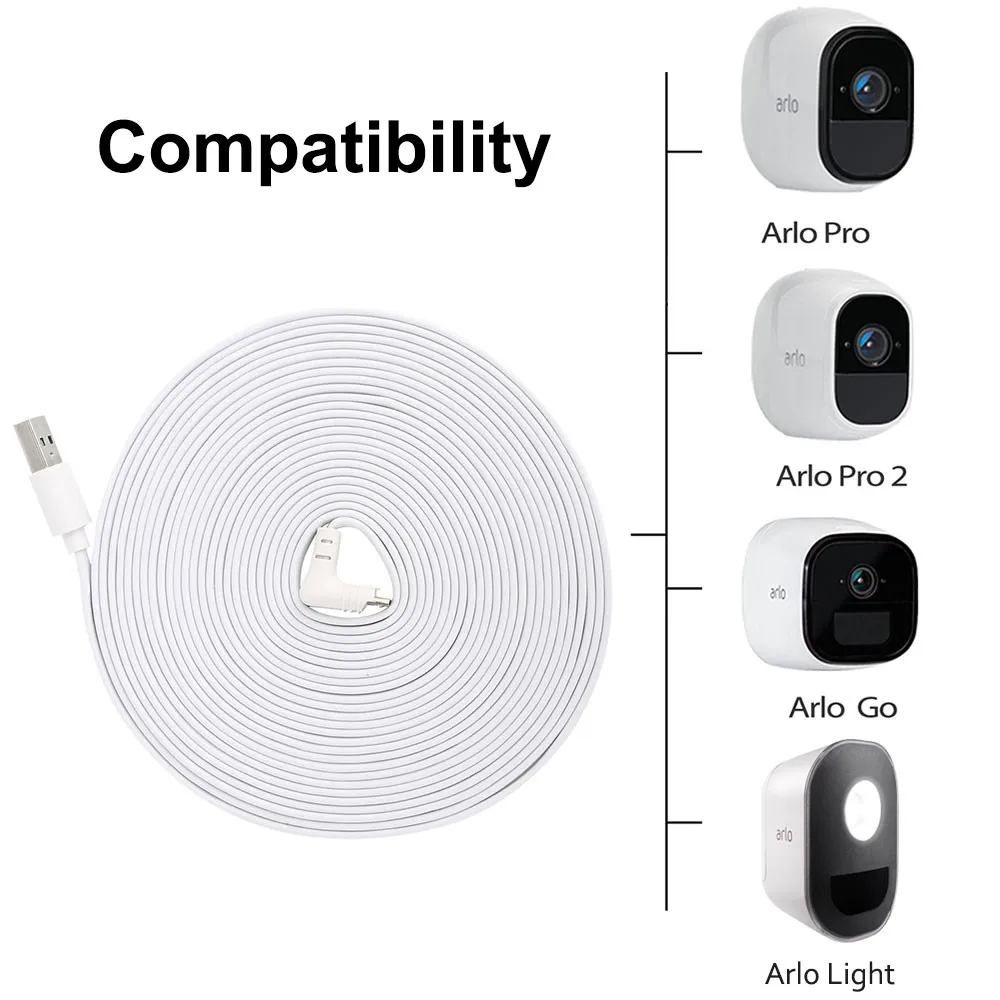
Follow the on-screen prompts provided by your device’s setup application. Select your network from the available options and enter your password when prompted. Once connected, the device will undergo a brief configuration phase, after which it should be fully integrated into your network.
Configuring Motion Detection and Alerts
Setting up motion detection and alerts is essential for monitoring your surroundings effectively. By customizing these features, you can ensure that you receive notifications when movement is detected, helping you stay informed about activity in your area of interest.
Adjusting Motion Detection Settings
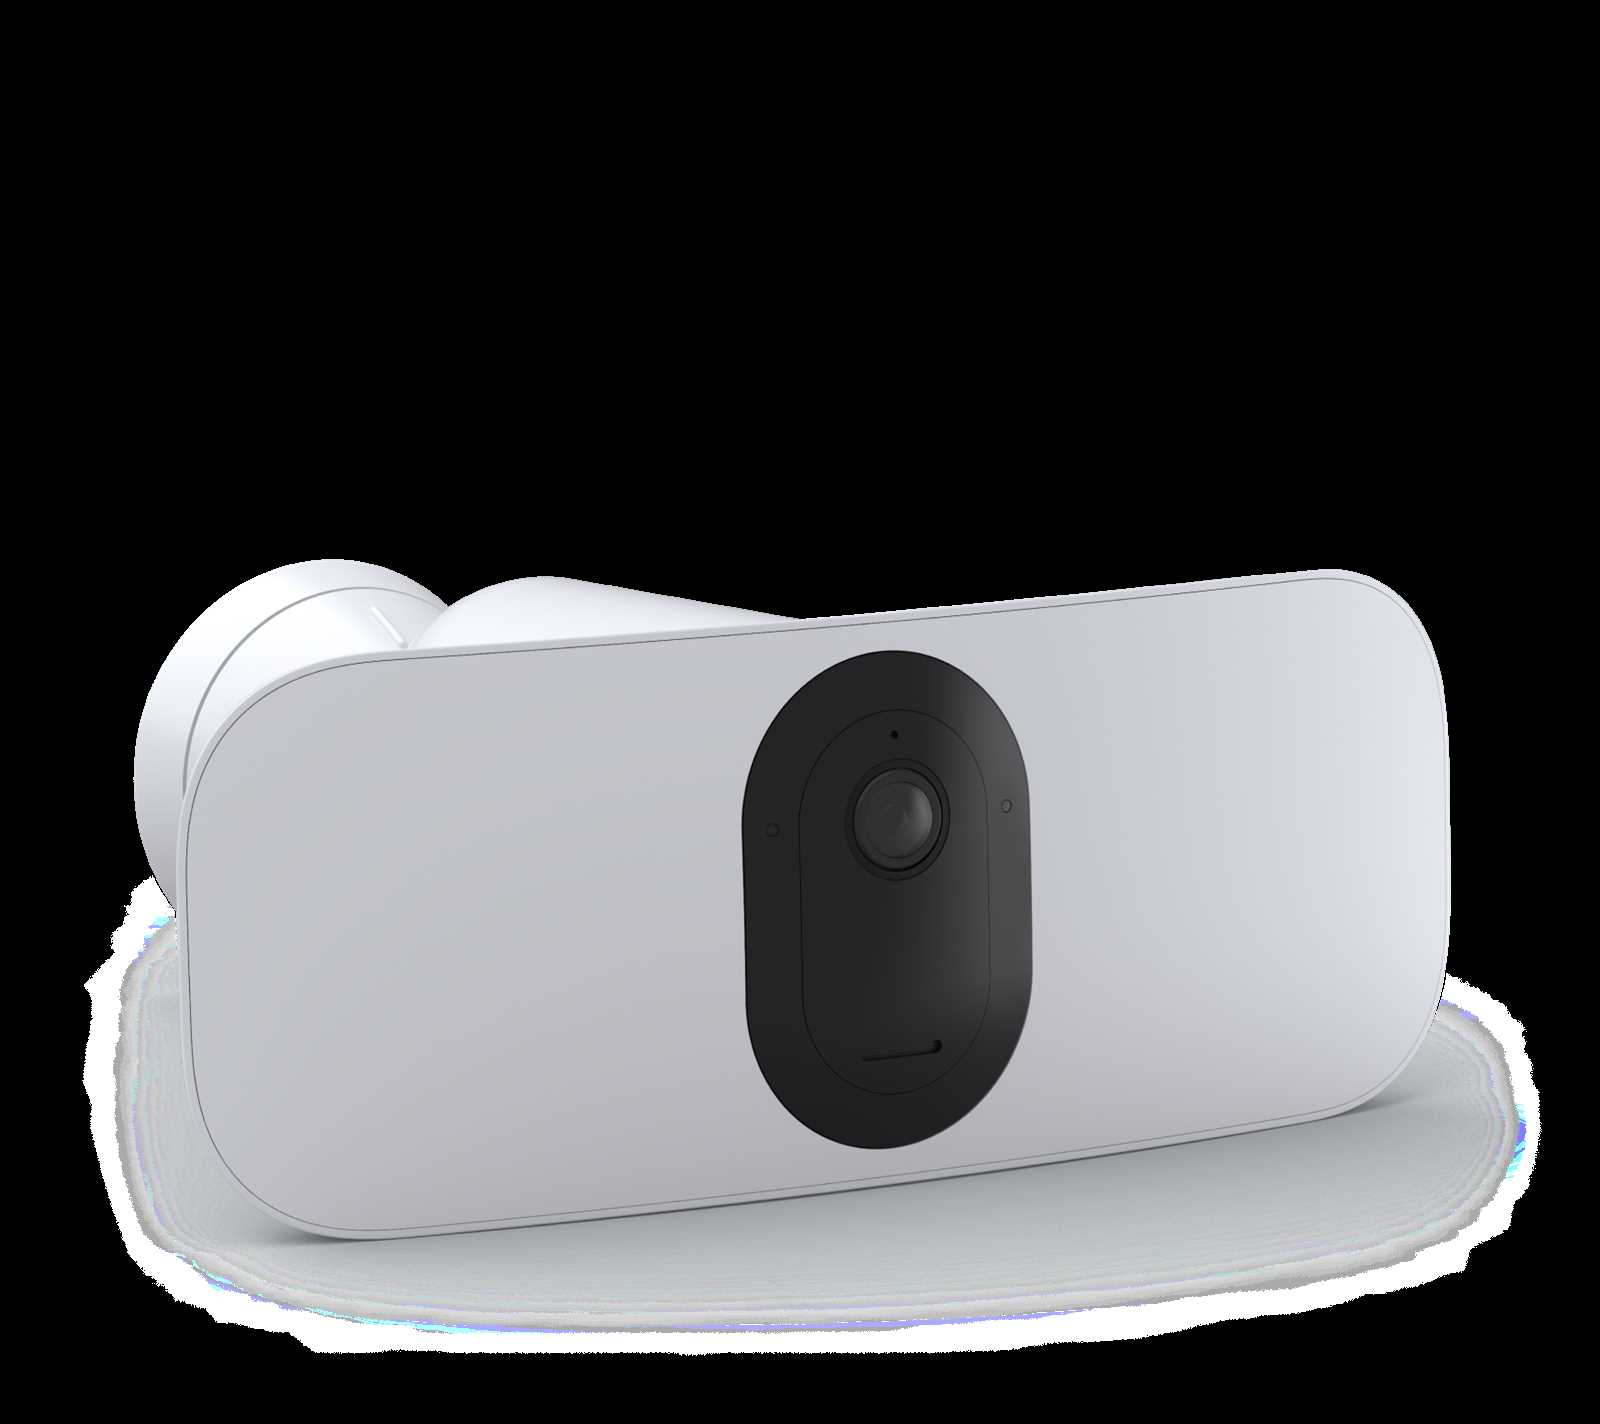
To tailor the motion detection to your needs, follow these steps:
- Access the settings menu through your device’s application or web portal.
- Locate the section dedicated to motion detection.
- Choose the sensitivity level that best suits your environment. Options typically range from low to high sensitivity.
- Define the activity zones where you want the system to focus. This allows you to concentrate on specific areas and ignore others.
Setting Up Alerts
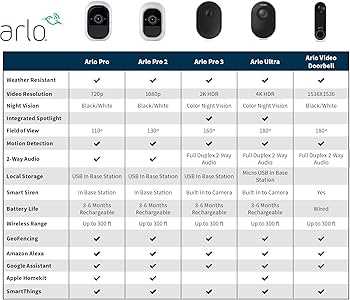
Once motion detection is configured, setting up alerts ensures you are notified promptly:
- Navigate to the alerts or notifications settings.
- Select the types of alerts you wish to receive, such as push notifications, emails, or text messages.
- Configure the alert schedule, if applicable, to manage when notifications are sent based on your preferences.
- Test the alert system to ensure that notifications are received as expected.
By following these guidelines, you can effectively monitor and respond to motion events, keeping your space secure and your notifications relevant.
Integrating with Smart Home Systems
Incorporating advanced security cameras into your smart home setup can significantly enhance your overall home automation experience. By connecting these devices with your existing smart home framework, you can streamline security functions and ensure seamless interaction with other automated systems within your home.
Connecting to Smart Hubs
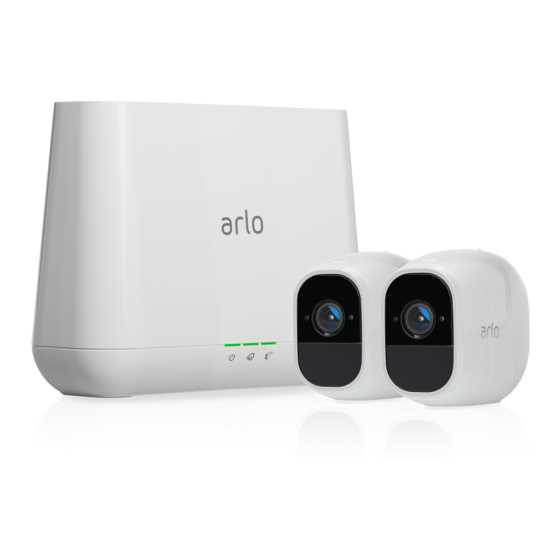
To achieve integration, start by linking your security cameras to your primary smart hub or controller. This process usually involves installing a dedicated application and following the setup instructions to synchronize the camera with your hub. Once connected, you will be able to manage your cameras through a unified interface, allowing for easier monitoring and control.
Utilizing Voice Assistants
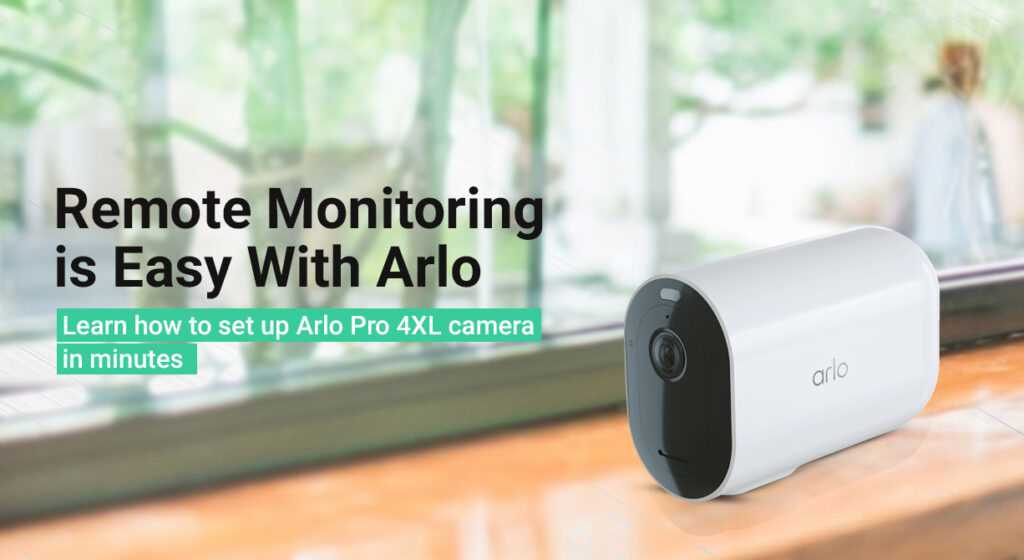
Another advantage of integrating these devices is the ability to control them through voice commands via virtual assistants. By linking your security cameras to voice-controlled systems, you can perform tasks such as viewing camera feeds or adjusting settings simply by speaking to your voice assistant. This hands-free functionality adds convenience and enhances the efficiency of your smart home system.
Troubleshooting Common Issues
Addressing technical problems can often seem daunting, but many issues with your surveillance system can be resolved with some straightforward troubleshooting steps. This section aims to help you identify and fix frequent problems that users may encounter.
Camera Connectivity Problems
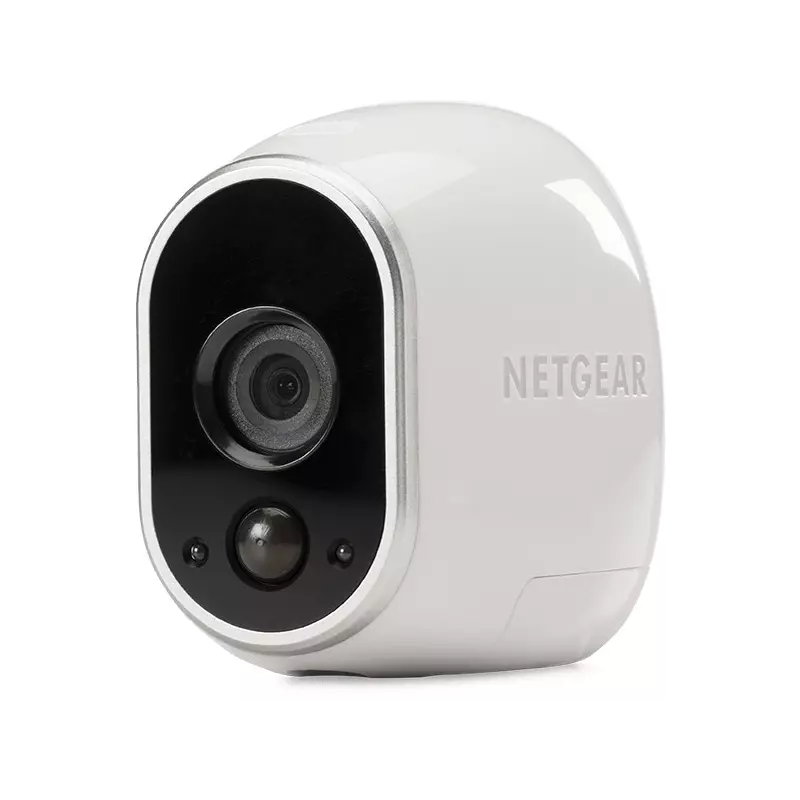
If your cameras are not connecting or are frequently dropping the connection, consider the following solutions:
- Ensure your camera is within range of the Wi-Fi signal.
- Restart your camera and router to refresh the connection.
- Check for firmware updates and install them if available.
- Verify that your network settings are configured correctly.
Video Quality Issues

When experiencing poor video quality, try these steps to enhance clarity:
- Confirm that the camera lens is clean and unobstructed.
- Adjust the camera’s resolution settings through the app or web interface.
- Ensure that the camera is positioned properly and has adequate lighting.
- Inspect your internet connection for any issues affecting bandwidth.
Maintaining and Updating Your Device
To ensure the optimal performance of your security system, it is crucial to regularly maintain and update your equipment. Proper upkeep not only extends the lifespan of the device but also enhances its functionality and reliability. Following these guidelines will help you keep your system in peak condition.
Routine maintenance involves several key practices:
- Cleaning: Regularly clean the camera lenses and sensors to remove dust and debris. This ensures clear video footage and accurate detection.
- Checking Battery Levels: Periodically inspect battery levels to avoid unexpected power losses. Replace batteries as needed to ensure continuous operation.
- Inspecting Hardware: Examine the physical condition of your device. Look for any signs of wear or damage and address issues promptly to prevent malfunctions.
- Verifying Connections: Ensure that all cables and connections are secure and functioning correctly. This helps maintain stable performance and prevents connectivity problems.
Software updates are equally important and should be handled as follows:
- Enable Automatic Updates: Configure your device to receive updates automatically. This ensures you always have the latest features and security patches.
- Manually Check for Updates: Occasionally, check for available updates manually through the device settings. This can be useful if automatic updates are not enabled.
- Review Release Notes: Before applying updates, review the release notes to understand the changes and improvements. This helps in anticipating how updates might affect your system.
- Restart After Updates: After installing updates, restart your device to ensure that all changes are properly applied and that the system is functioning optimally.
By adhering to these maintenance and update practices, you can ensure that your security system remains effective and reliable over time.