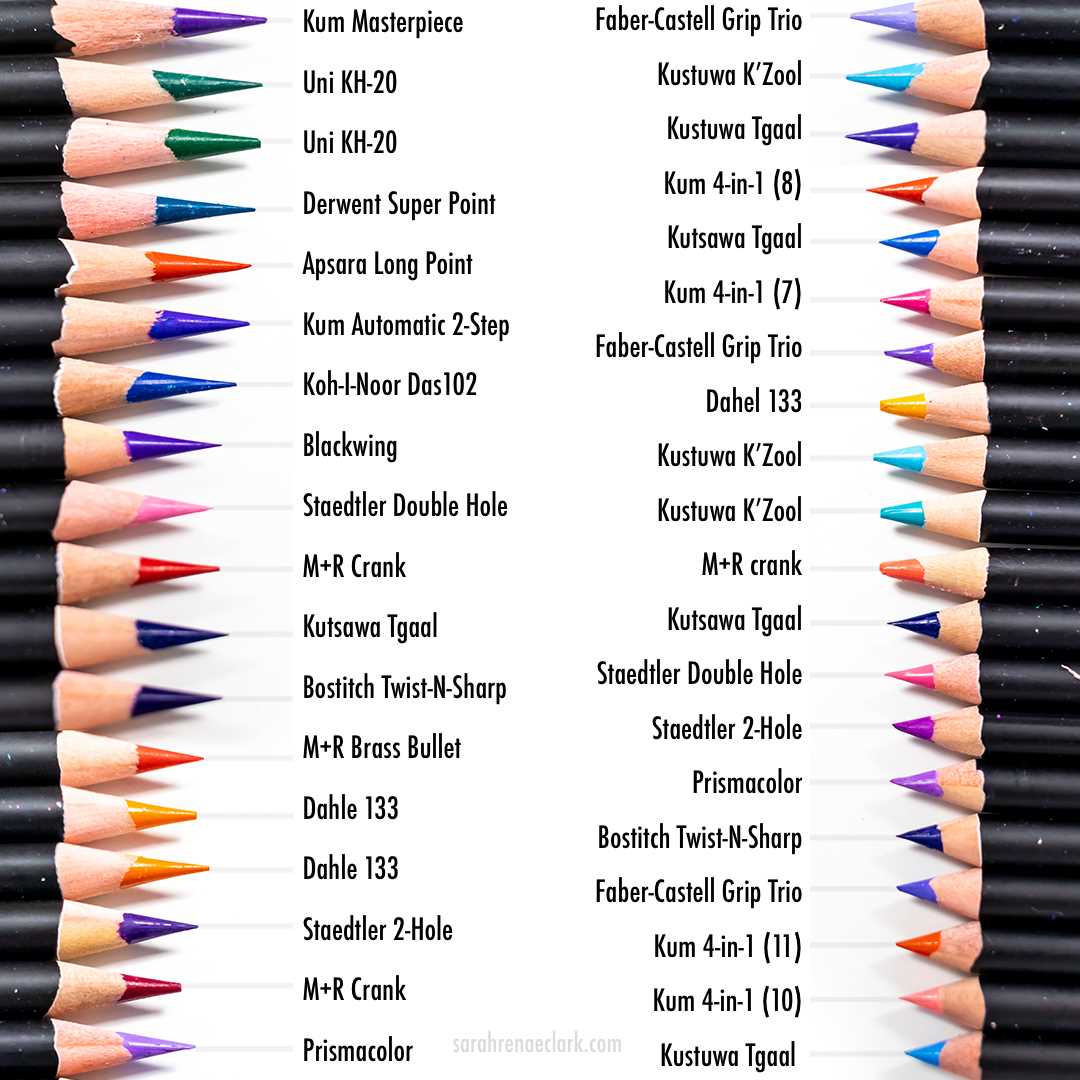
Unleash your creative potential by exploring a world filled with rich hues and intricate details. This guide will lead you through a transformative journey, offering insights into achieving breathtaking artistry. Whether you are a beginner or a seasoned creator, you will find inspiration and knowledge to elevate your skills to new heights.
Discover how to blend shades seamlessly, create textures that pop, and bring your artistic vision to life. Each section is crafted to enhance your understanding and expand your creative repertoire. Let your imagination soar as you delve into a realm of endless possibilities, where every stroke brings you closer to mastering your craft.
Understanding Colored Pencils: Types and Features
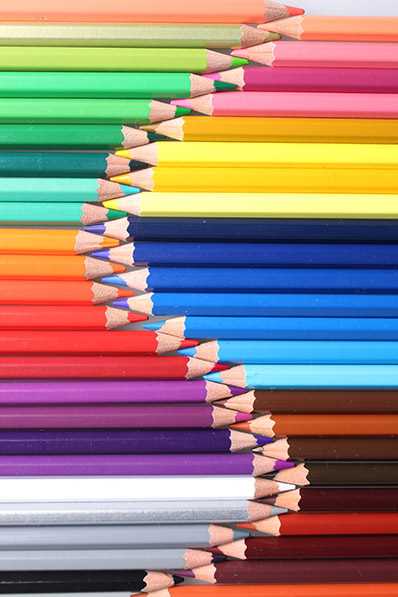
Different types of artistic drawing tools offer unique qualities, which are important for creating various effects and achieving desired results in artwork. Recognizing these distinctions can enhance your creative process, leading to more vibrant and expressive illustrations.
Wax-based Tools are known for their soft texture, which allows for smooth blending and layering. This type is favored by artists who prefer bold, rich colors and a velvety finish. However, these tools can sometimes produce a waxy bloom if heavily applied.
Oil-based Options provide a firmer consistency, allowing for sharper lines and more detailed work. They tend to be less prone to smudging, making them ideal for precise rendering. The oil binder also contributes to a more durable finish.
Water-soluble Varieties bring versatility, functioning both as traditional dry tools and as watercolor when activated with water. This dual functionality enables a wide range of effects, from delicate washes to intense, saturated hues.
Specialty Tools include those with metallic or fluorescent pigments, offering unique visual effects that can add a distinctive flair to your artwork. These are often used to highlight or accentuate specific areas within a composition.
Understanding these different types and their features is crucial for selecting the right tool for your artistic goals, allowing you to fully express your creative vision.
Choosing the Right Paper for Your Artwork
When creating visual pieces, the foundation plays a pivotal role in determining the final appearance. Selecting an appropriate surface is crucial for achieving the desired effect and enhancing the overall quality of your work. Different surfaces interact with various materials uniquely, so understanding these interactions helps in making informed decisions.
Understanding Paper Textures
Surface texture significantly impacts the way materials adhere and the overall finish of your work. Below is a comparison of common textures:
| Texture Type | Description | Best For |
|---|---|---|
| Rough | Has a pronounced texture that holds pigment well. | Bold, expressive pieces with visible strokes. |
| Medium | Offers a balanced texture, allowing both detail and coverage. | Versatile works that require both precision and depth. |
| Smooth | Minimal texture, ideal for intricate details and fine lines. | Delicate, detailed creations requiring precision. |
Considering Paper Weight
Weight, measured in grams per square meter (gsm), influences durability and the ability to handle multiple layers. Heavier options provide sturdiness and are less likely to warp, making them suitable for intricate layering and mixed media projects. Lighter ones, while more affordable, may buckle under heavy application.
Choosing the right combination of texture and weight enhances the longevity and quality of your work, ensuring your creative vision is realized to its fullest potential.
Blending and Layering Techniques for Depth

Mastering methods for fusing colors smoothly while applying multiple layers will elevate your artwork, adding richness to every stroke. By combining hues and building layers, one can achieve a sense of realism and dimension that brings images to life.
Blending for Smooth Transitions: Softly merging tones is essential for creating seamless transitions. Start by applying light pressure with your tool, gradually increasing intensity as you work. This approach allows for a gradual shift between shades, ensuring that no harsh lines disrupt the flow of color.
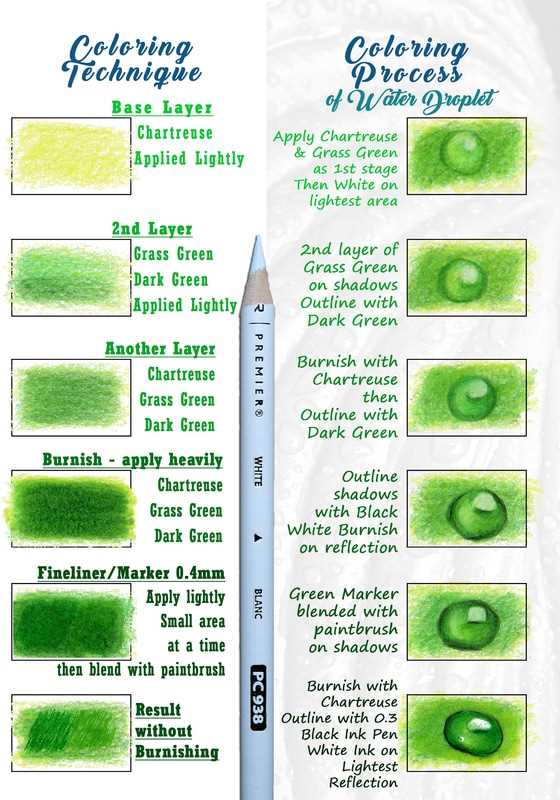
Layering to Build Depth: Strategic overlaying of different tones is crucial for adding dimension. Begin with lighter hues, gradually introducing darker shades to create shadows and highlights. This technique builds complexity in your work, resulting in a more dynamic and realistic outcome.
Combining these approaches will add a three-dimensional quality to your creations, making each piece more compelling and visually striking.
Creating Texture and Realism with Colored Pencils
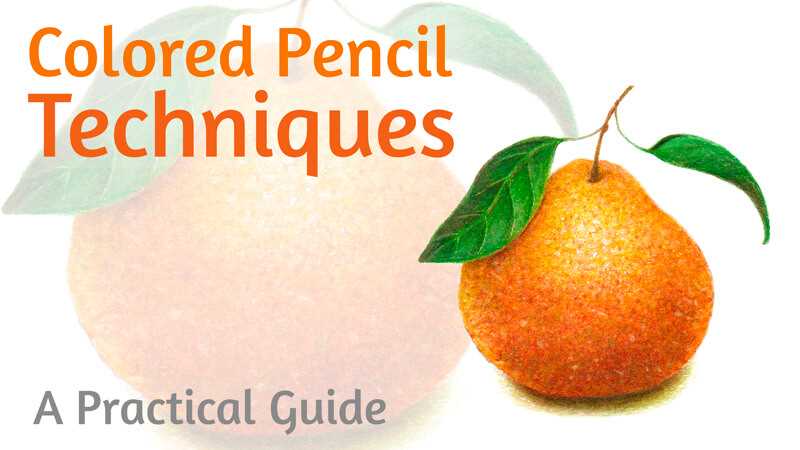
Achieving lifelike artwork hinges on the mastery of texture and realistic detail. Crafting these elements involves exploring various methods to bring depth, dimension, and authenticity to your drawings. Mastering this art elevates illustrations, making them more dynamic and true to life.
Exploring Different Strokes
Various strokes are key to mimicking the natural look of different surfaces. Short, sharp lines can replicate rough or fibrous textures, while soft, circular motions can produce smooth, delicate finishes. Experimenting with directional strokes, pressure, and layering will help convey the intended surface and material.
Layering for Depth and Detail
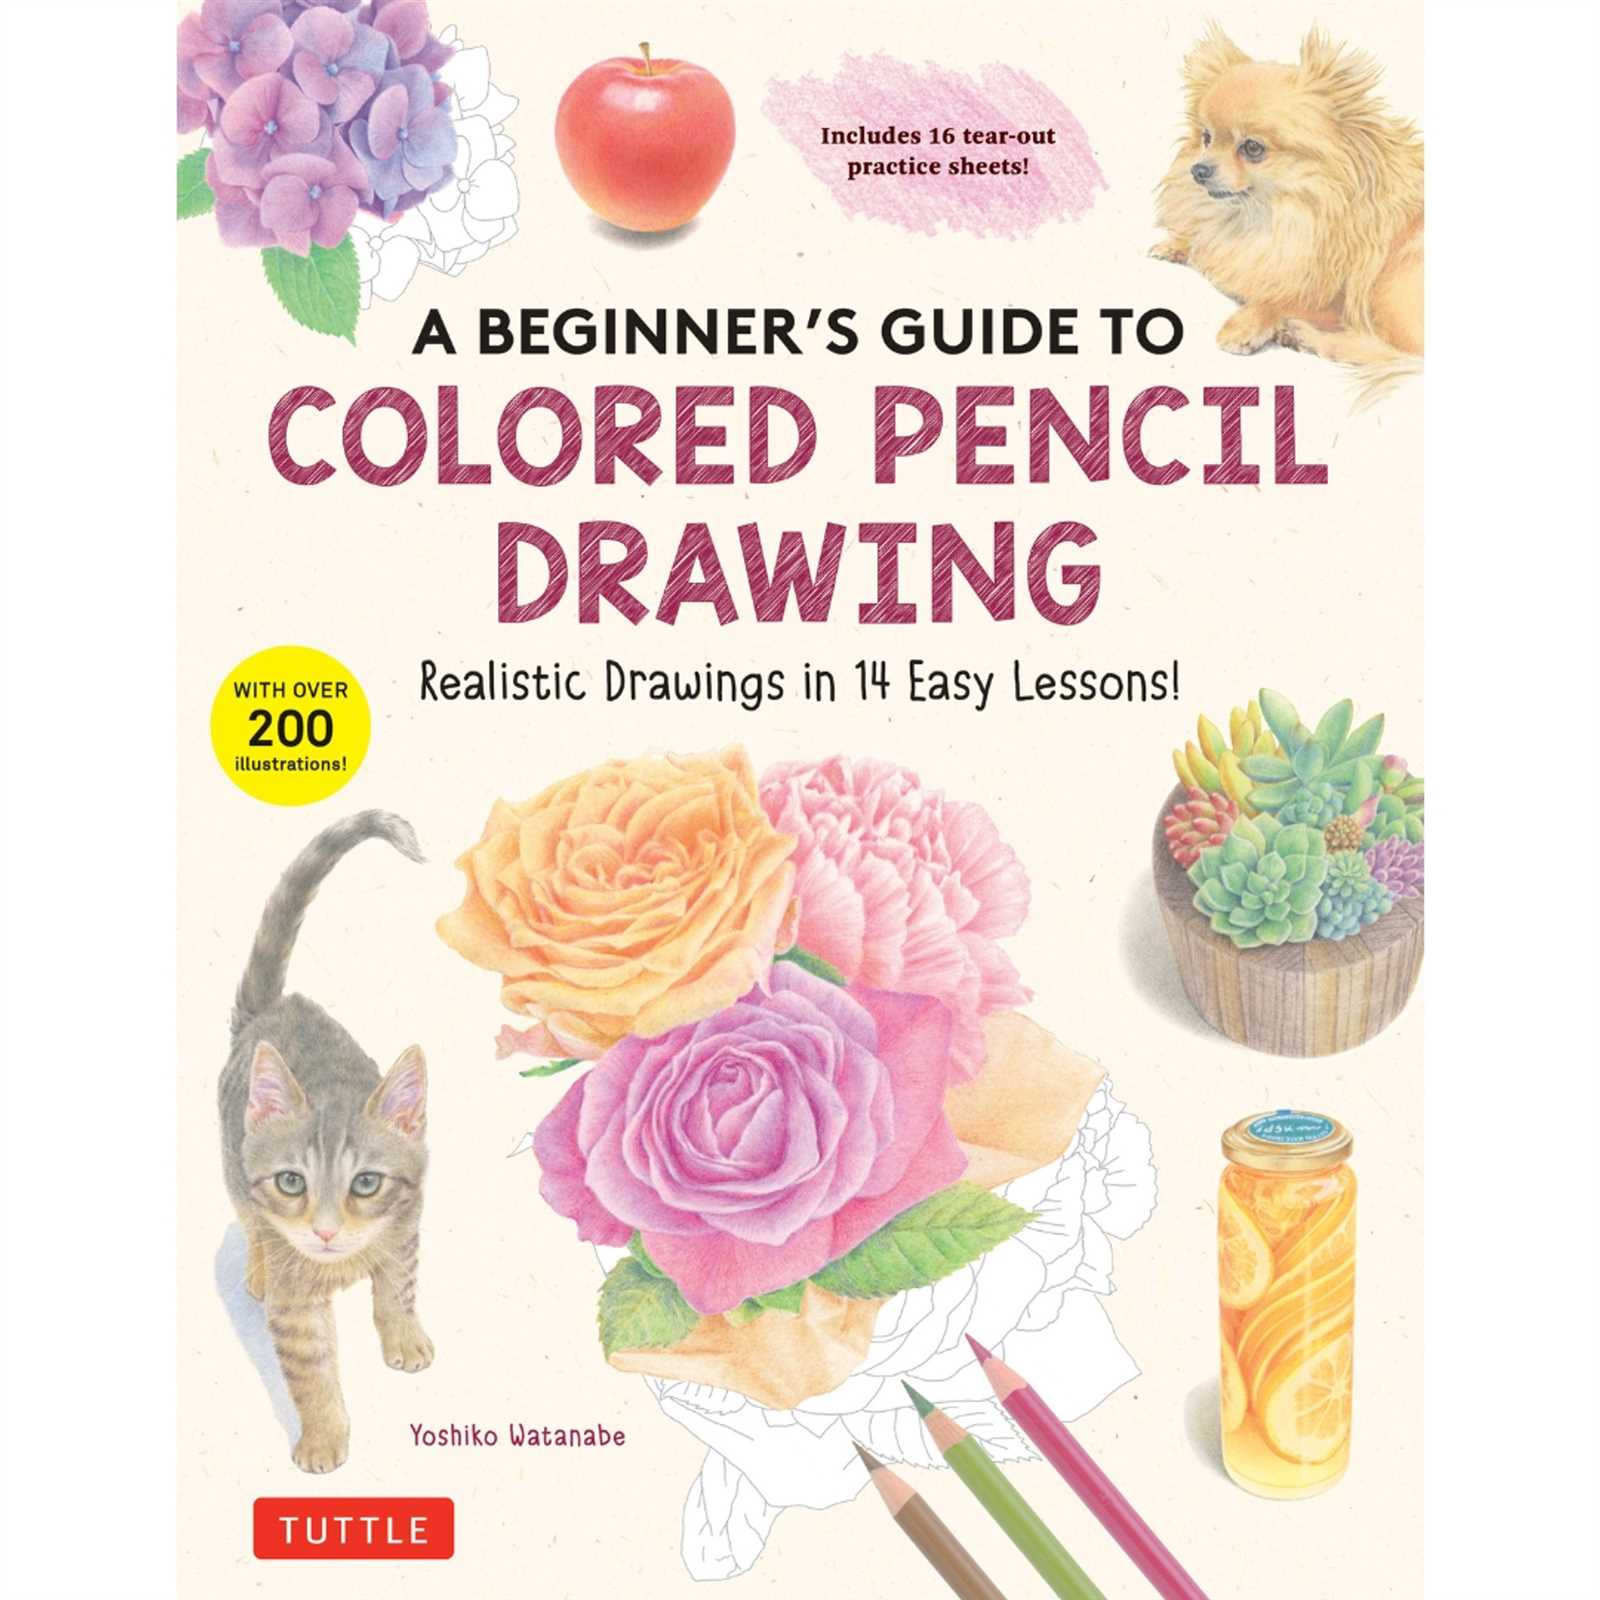
Building up layers gradually adds richness to your artwork. Light layers establish a base, while subsequent ones refine details, highlight shadows, and intensify color. This gradual buildup creates a more nuanced and realistic portrayal, enhancing the sense of depth and tangibility in the finished piece.
Emphasizing light and shadow through strategic shading adds to the realism, bringing out the three-dimensionality of your work. Pay attention to the light source, as accurate placement of highlights and shadows is crucial in making your subjects appear realistic. Through practice and exploration, you’ll refine these techniques, resulting in more sophisticated and convincing artwork.
Mastering Shading and Highlighting
Achieving mastery in shading and highlighting involves understanding light interaction with objects, creating depth, and adding dimension. This section provides essential insights for crafting realistic shadows and brilliant highlights, elevating your artistic works to a new level of realism.
Understanding Light Sources
To effectively create shadows and highlights, it is crucial to grasp how light behaves. The positioning of your light source will determine shadow placement and intensity. Consider these factors:
- Direct Light: Produces sharp, well-defined shadows and bright highlights.
- Diffuse Light: Results in softer shadows with gradual transitions and muted highlights.
- Multiple Light Sources: Can create complex shadow patterns, requiring careful planning to avoid confusion.
Creating Depth with Gradients
Gradual transitions in shading can give your work a sense of three-dimensionality. Follow these guidelines for effective gradient creation:
- Start Light: Begin with a light hand, gradually darkening areas where shadows deepen.
- Layering: Build depth by layering strokes, increasing pressure to darken specific areas.
- Blending: Use blending tools or techniques to smooth transitions, ensuring a seamless gradient.
Mastering these techniques requires practice and observation. Experiment with various light scenarios to see how shadows and highlights interact, and apply these principles to enhance the realism in your art.
Preserving and Displaying Your Finished Pieces
After creating a masterpiece, it’s essential to ensure its longevity and showcase it properly. Proper care and thoughtful presentation can enhance the visual impact and preserve the integrity of your work for years to come.
Preservation Tips
- Use Fixatives: Apply a suitable fixative to prevent smudging and fading. Ensure the product is compatible with your medium.
- Store Properly: Keep your work in a cool, dry place away from direct sunlight. Use acid-free paper or protective sheets to prevent damage.
- Frame Carefully: Choose a frame that offers UV protection and is made of archival-quality materials. This helps maintain the color and prevent deterioration.
- Avoid Humidity: Excessive moisture can cause colors to run or paper to warp. Store in a controlled environment to mitigate these risks.
Displaying Techniques
- Choose Appropriate Lighting: Display your work in a well-lit area, but avoid direct sunlight which can cause fading. Use indirect lighting for optimal visibility.
- Consider Placement: Position your artwork at eye level to ensure it is easily appreciated. Avoid high-traffic areas where it might be accidentally damaged.
- Regular Maintenance: Clean the glass or acrylic of the frame periodically to keep the view unobstructed. Check the condition of the frame and artwork regularly.