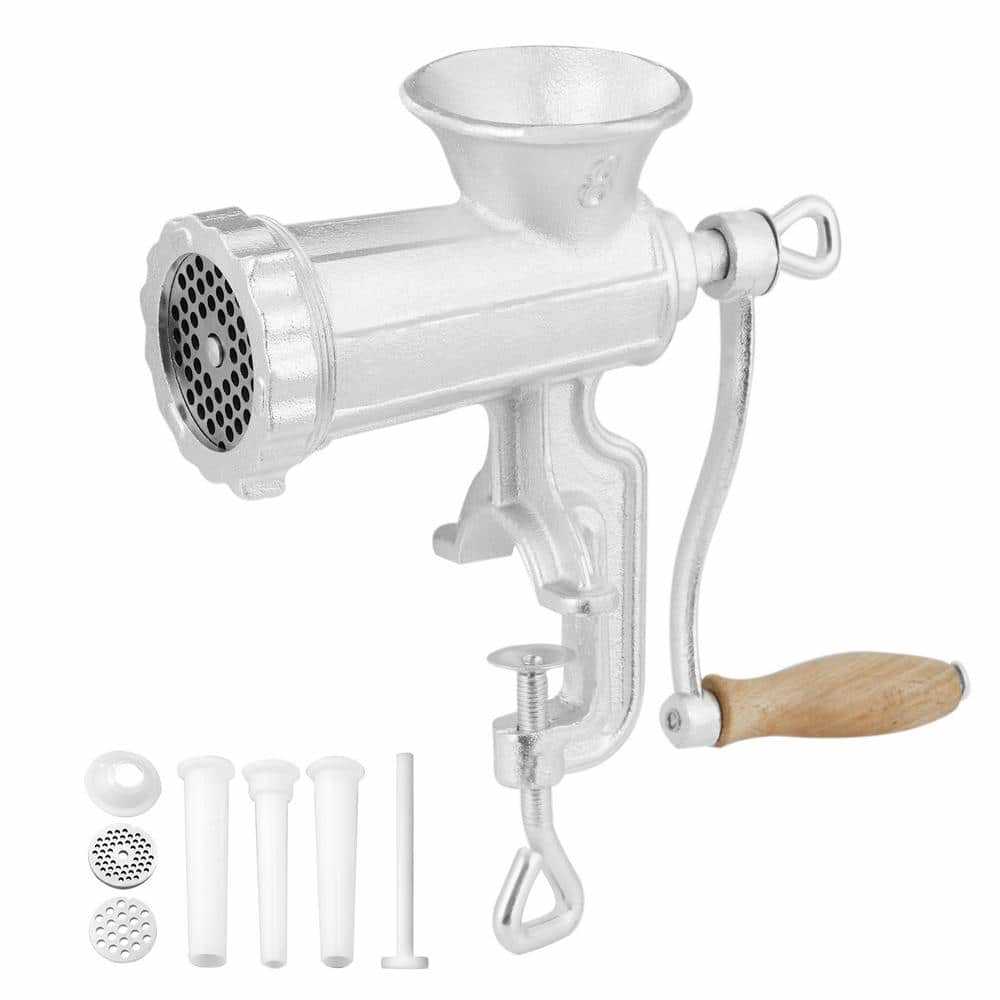
When it comes to efficiently processing ingredients for your culinary creations, having the right equipment in proper working order is essential. This guide will walk you through the process of preparing your device to ensure it functions smoothly and safely. By following these detailed steps, you’ll be ready to tackle any kitchen task with confidence.
In the following sections, you’ll learn how to put together each component, ensuring a secure and functional setup. Whether you’re new to using this kind of tool or just need a refresher, the clear and concise instructions provided here will make the process straightforward.
With everything correctly assembled, you’ll be ready to transform your raw ingredients into perfectly prepared dishes. Let’s get started on setting up your essential kitchen tool.
Understanding the Parts of a Manual Meat Grinder
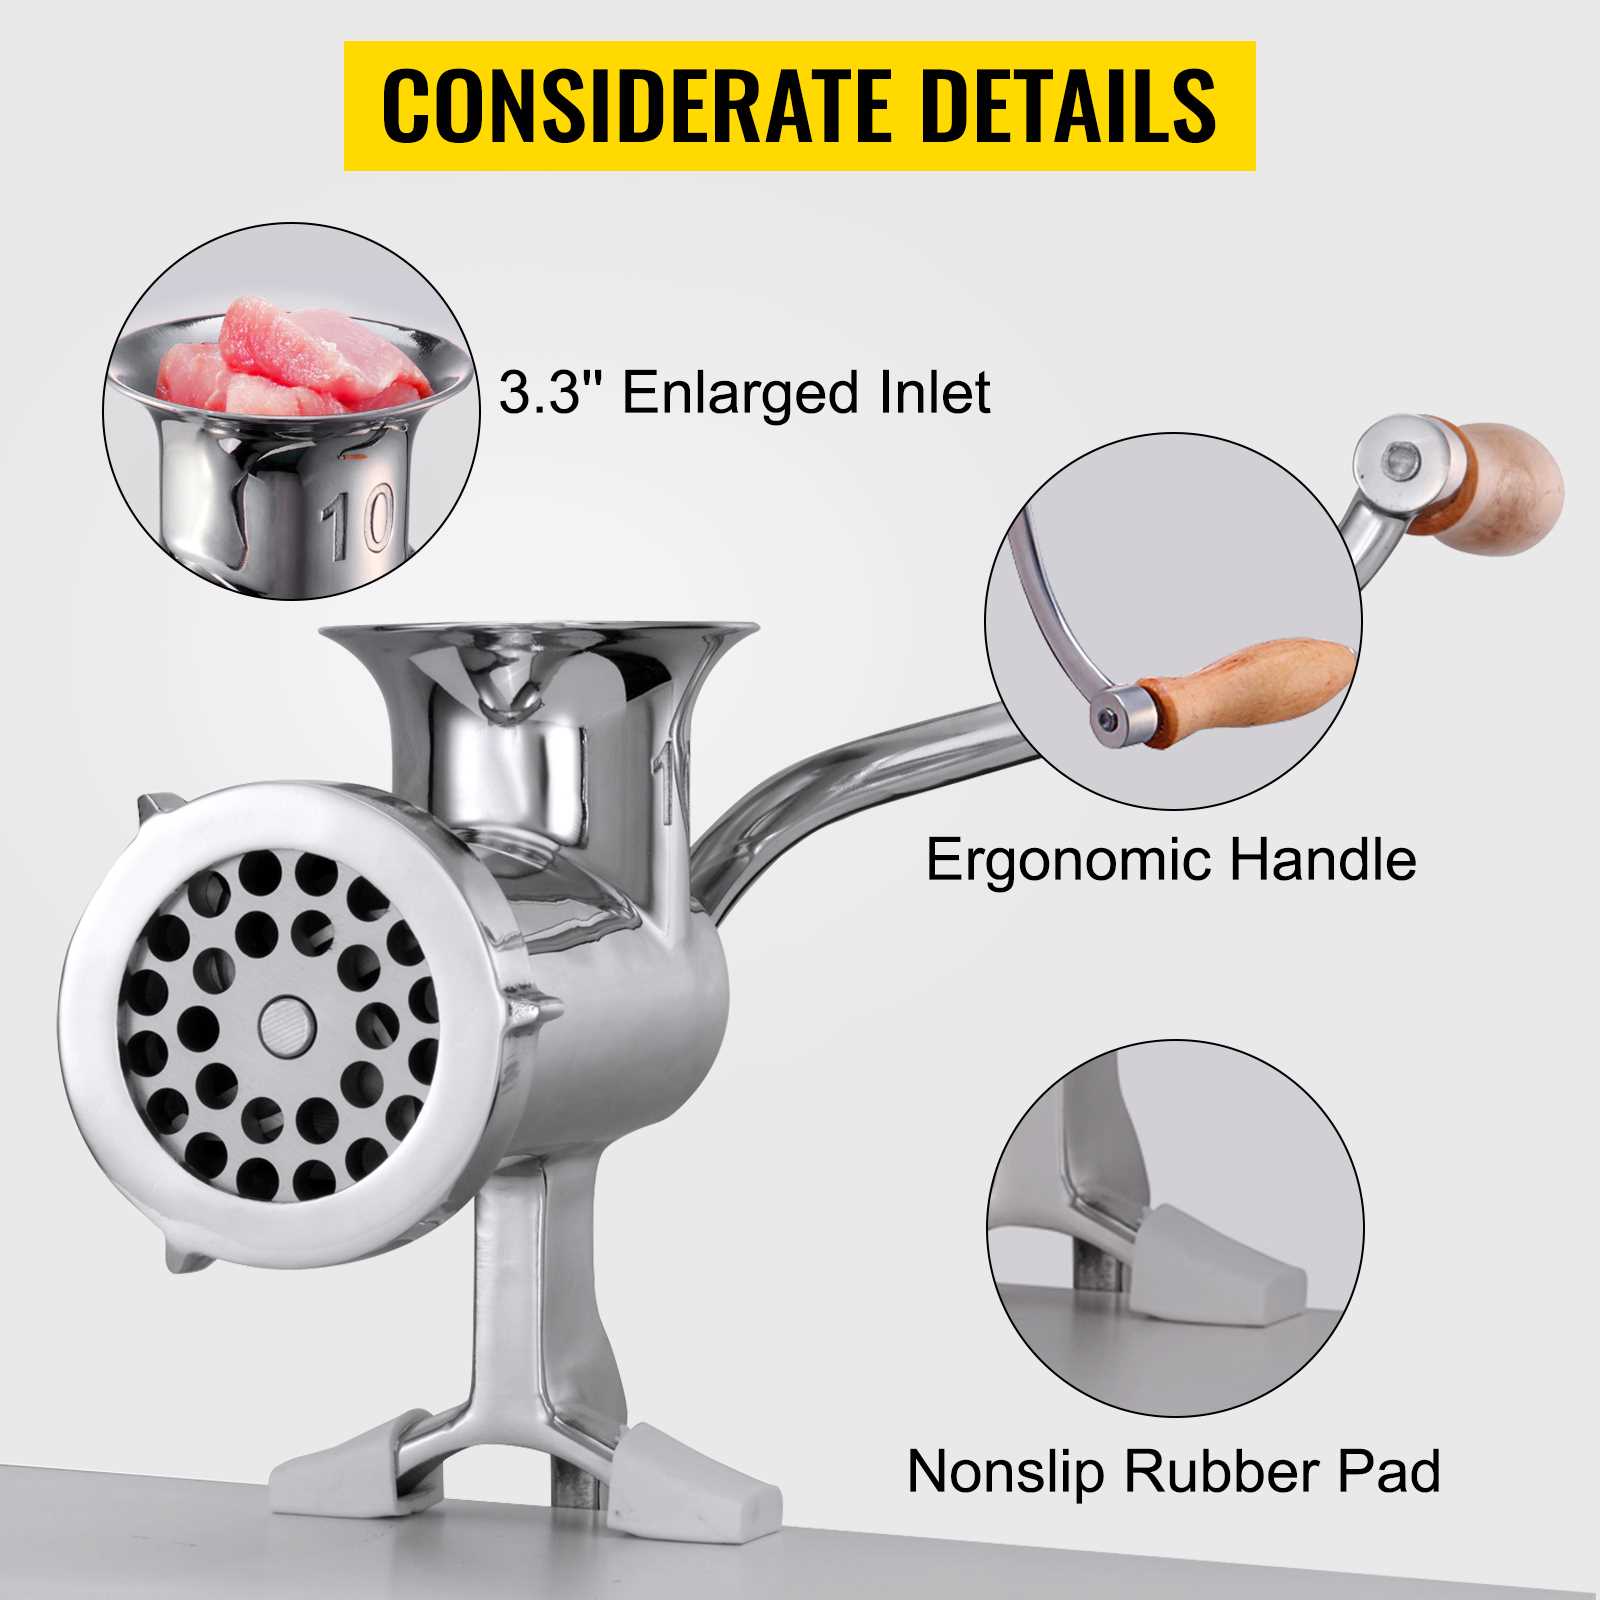
In this section, we will explore the key components of a device designed for processing food by hand. Familiarizing yourself with each part is essential for efficient use and maintenance of the tool. By understanding how each element functions, you can ensure smooth operation and extend the lifespan of your equipment.
The handle is the lever that provides the necessary force to rotate the internal mechanism. It is attached to the main body and plays a crucial role in the overall operation.
The hopper is the top opening where ingredients are placed before they are processed. It directs the contents into the device, allowing the cutting and grinding processes to take place.
Connected to the handle is the augur, a spiral-shaped component that pushes the ingredients through the machine. This part is responsible for moving the food towards the cutting blades.
The cutting blade is the sharp component that slices the food as it passes through. It works closely with the screen to achieve the desired texture and consistency.
The screen, or plate, is a metal disk with holes of various sizes. It determines the final texture of the processed food by controlling how finely it is chopped or ground.
Lastly, the clamp or base secures the device to a surface, ensuring stability during operation. Proper attachment is critical to prevent movement and ensure safety.
Preparing Your Work Area for Assembly
Before starting any project, it’s crucial to arrange your workspace to ensure a smooth and efficient process. A well-organized environment reduces the risk of errors and helps you stay focused, making the task at hand more manageable and enjoyable.
Choosing the Right Location
Begin by selecting a suitable area for your work. This spot should be well-lit, spacious, and free from distractions. Ensure that the surface is stable and at a comfortable height to prevent strain during prolonged activity. Proper ventilation is also important, especially if the task involves prolonged effort.
Gathering Necessary Tools
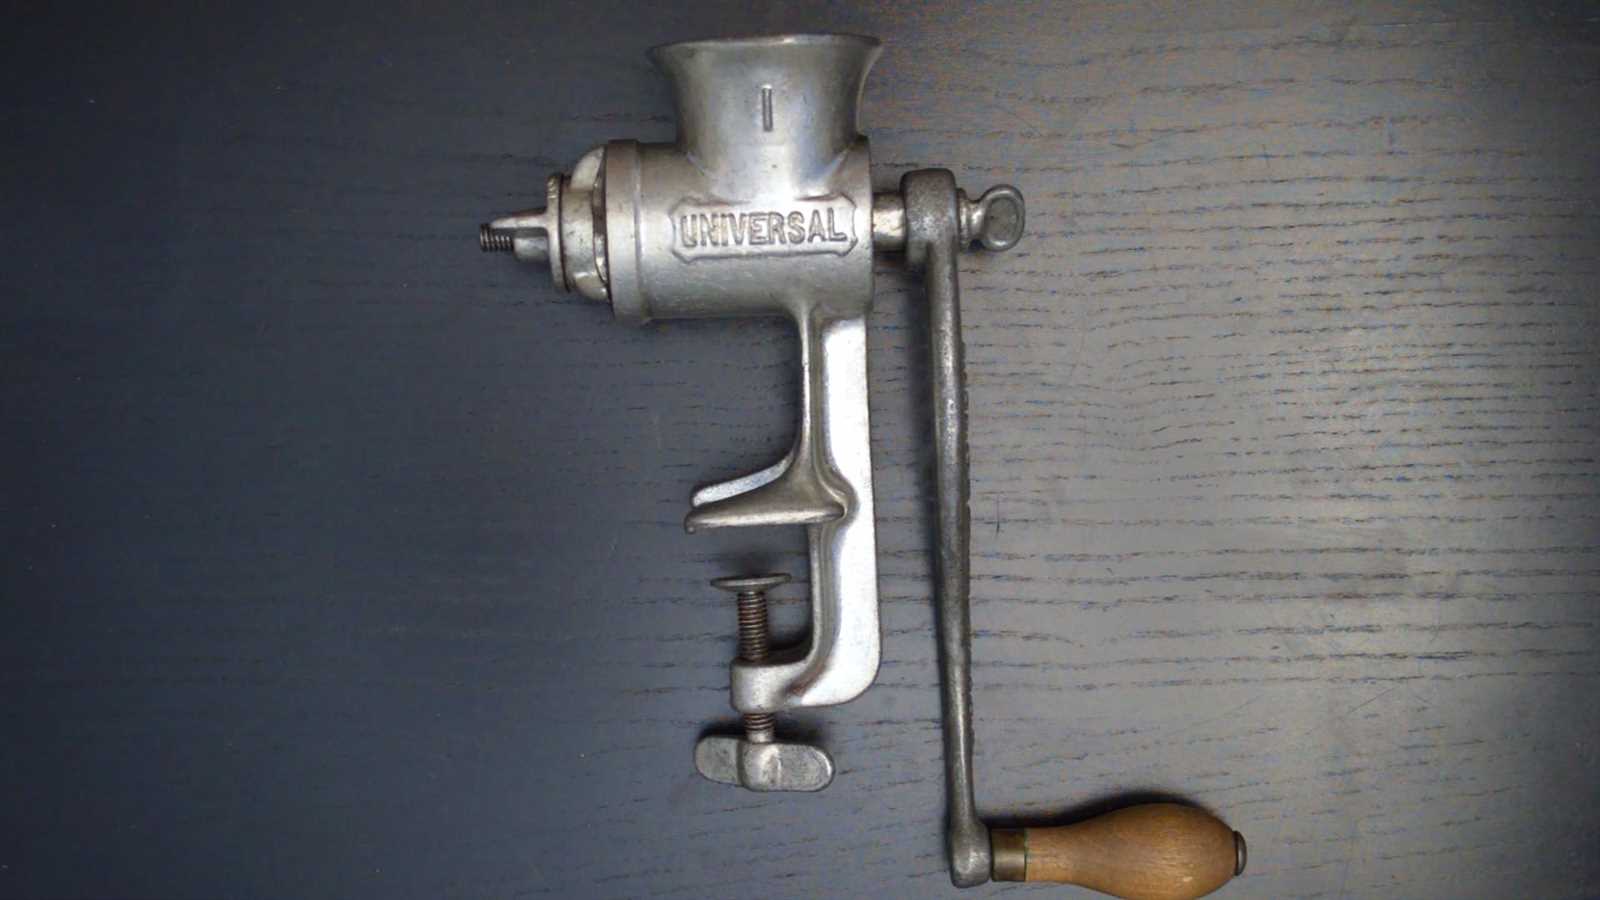
Next, collect all the tools and components required for the task. Place them within easy reach on your work surface. This might include various types of screwdrivers, wrenches, and any small parts that need to be assembled. Organizing everything beforehand will save time and reduce frustration.
| Task | Tools Needed |
|---|---|
| Selecting a location | None |
| Preparing tools | Screwdrivers, wrenches |
| Organizing small parts | Containers, labels |
Step-by-Step Guide to Putting It Together
This section provides a clear and concise guide on how to correctly set up the device. By following these steps, you will ensure that the equipment is properly configured and ready for use.
1. Gather All Components
Before beginning, ensure that all parts are present. Lay them out in front of you to easily identify each piece. This includes various attachments, handles, and other essential elements.
2. Start the Setup Process
Begin by attaching the primary components together. Make sure each piece fits securely into the next. Some components may require gentle pressure to lock into place, while others might need to be secured with screws or clips.
| Step | Description |
|---|---|
| 1 | Insert the main cylinder into the base. |
| 2 | Secure the rotating element inside the cylinder. |
| 3 | Attach the handle to the side of the cylinder. |
| 4 | Ensure all screws are tightened properly. |
Once the main body is assembled, attach any additional accessories or tools required for operation. Check that everything is firmly in place before proceeding to use the device.
Tips for Ensuring a Secure Fit
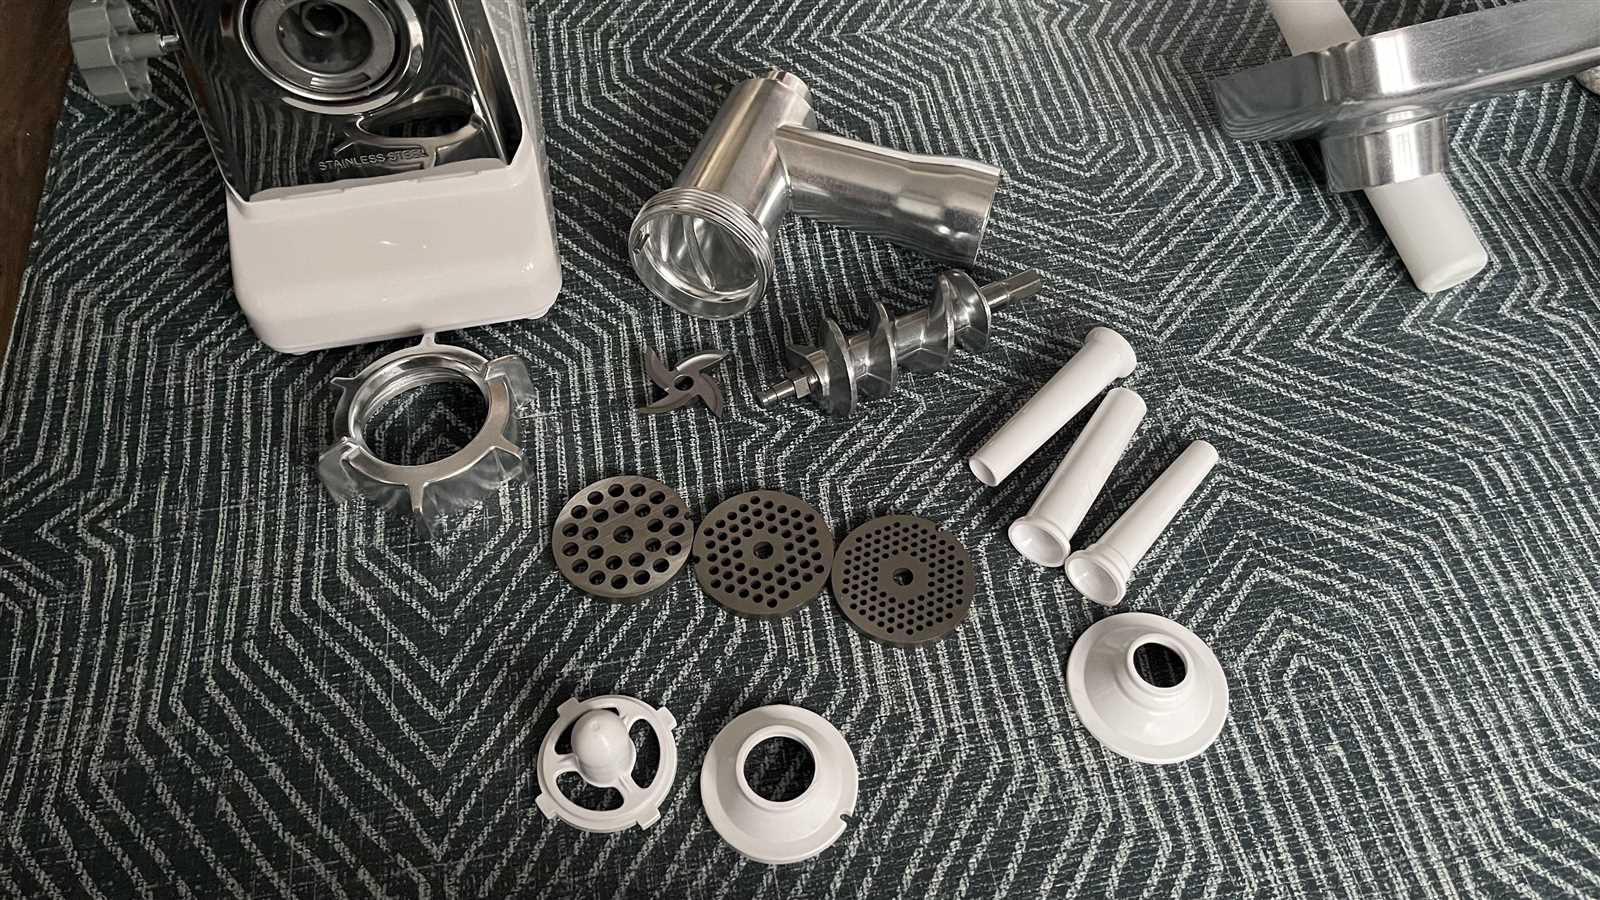
To guarantee a stable and effective operation, it’s essential to ensure that all components are connected securely. Proper alignment and tight connections will prevent any unwanted movement and ensure smooth usage.
Double-check Connections: Before starting, verify that every part is correctly aligned and firmly attached. Misaligned elements can cause instability and affect overall performance.
Use Appropriate Force: While assembling, apply the right amount of pressure to lock parts into place. Avoid over-tightening, which can damage the equipment, but ensure everything is snug enough to remain steady during operation.
Regular Inspection: Periodically check the tightness of the components during use. This will help identify any loosening and allow for quick adjustments, maintaining a secure fit throughout.
Following these tips will help you achieve a reliable and steady fit, enhancing the overall efficiency and longevity of your equipment.
How to Properly Mount the Grinder
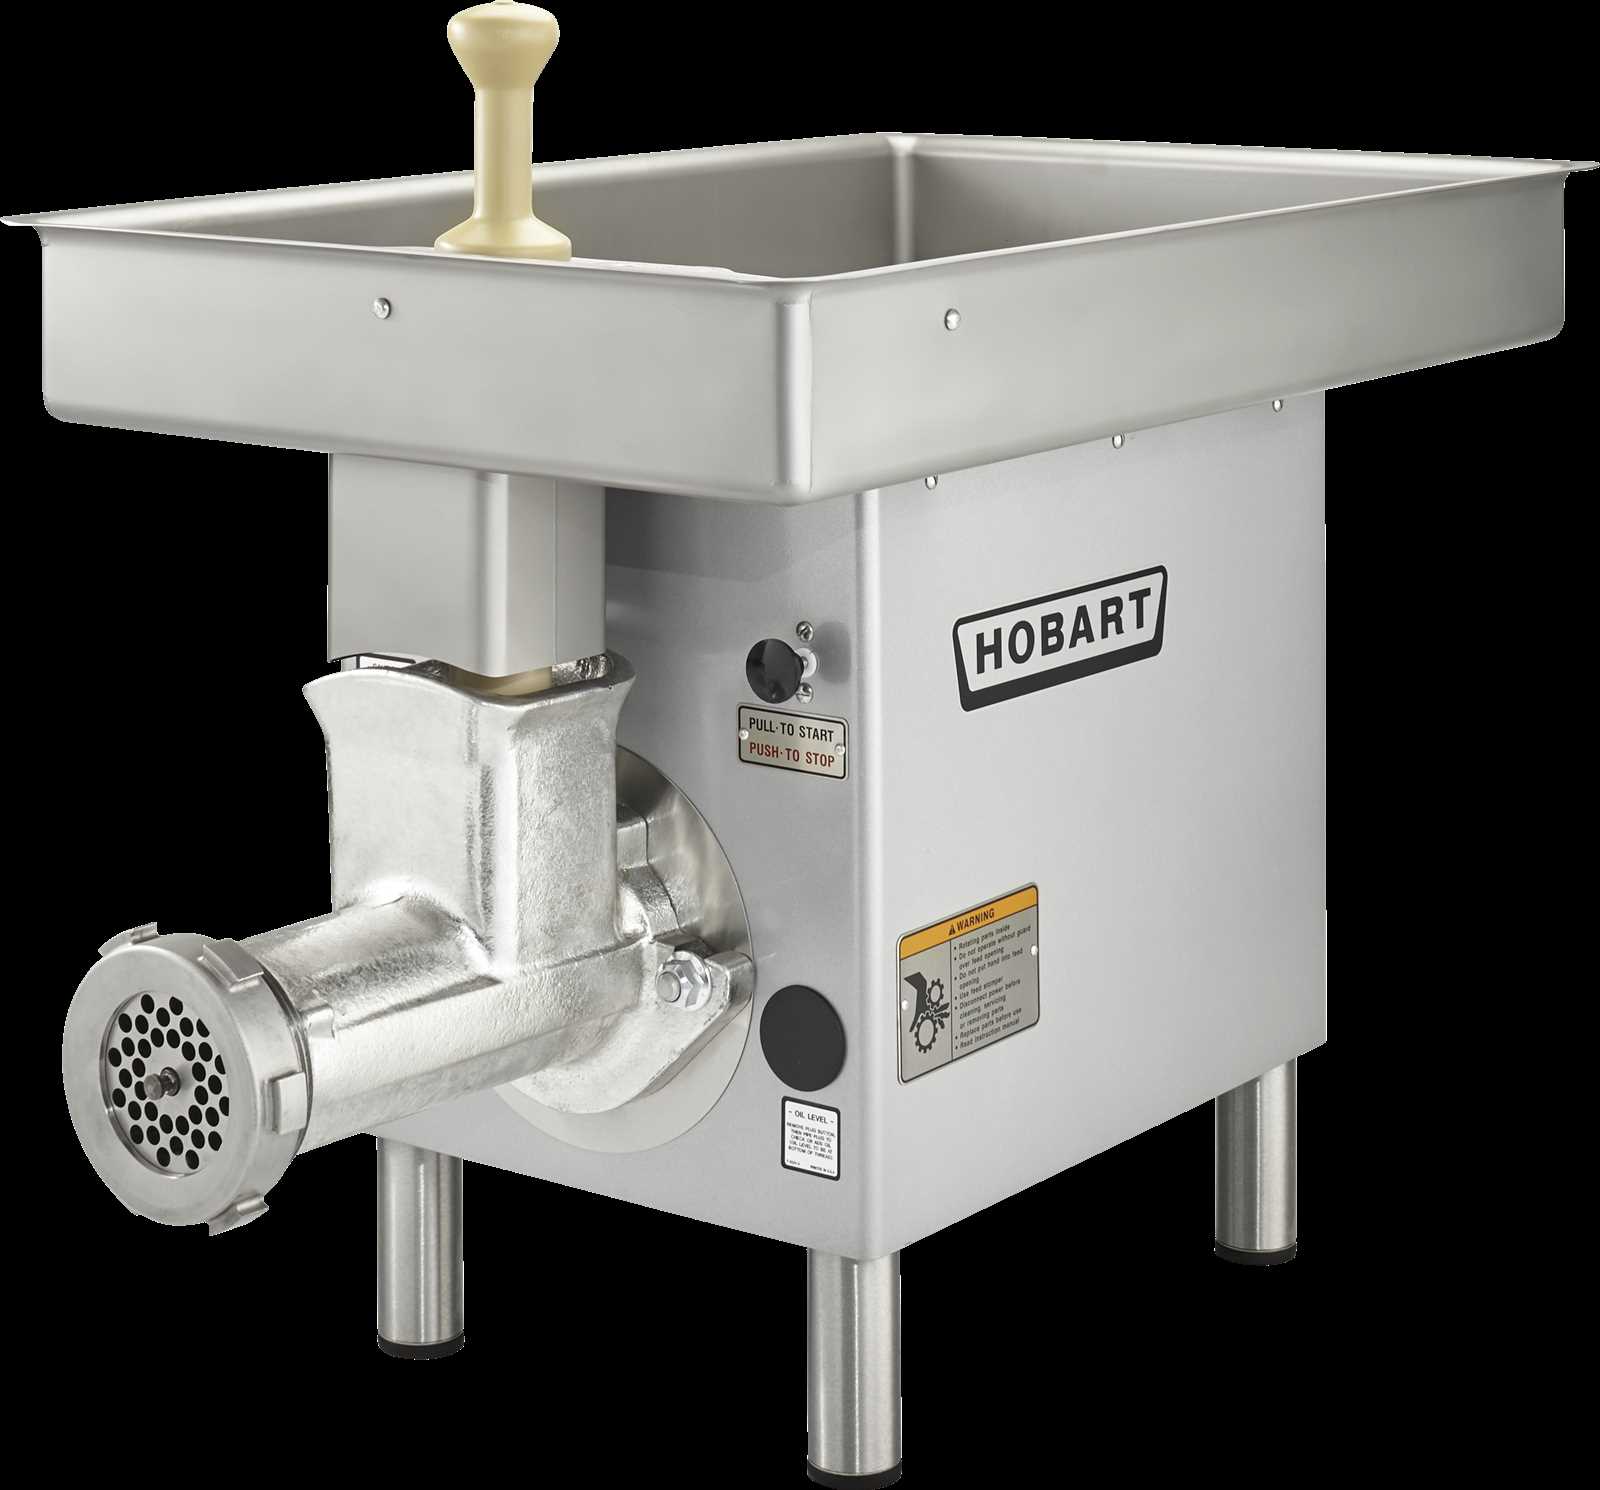
Ensuring the device is securely fastened to a stable surface is crucial for efficient and safe operation. This process involves choosing an appropriate location, aligning the device correctly, and tightening it firmly to avoid any movement during use.
Selecting the Ideal Spot
Choose a flat, sturdy surface such as a countertop or table edge. The surface should be thick enough to support the device without bending or shifting. Consider the height as well, ensuring that it is comfortable for extended use without causing strain.
Securing the Unit
- Position: Align the base of the device with the edge of the surface, making sure it is straight and not tilted.
- Clamping: Attach the clamp or suction base to the chosen surface. For clamps, turn the handle clockwise until the device is tightly fixed. For suction bases, press down firmly and activate the locking mechanism.
- Check Stability: Test the setup by applying gentle pressure. The unit should remain stable without shifting. If any movement occurs, adjust the position and tighten further.
- Double-check the alignment.
- Confirm that the device is securely attached.
- Test the stability with a light push.
By following these steps, you can ensure that the device is properly mounted, providing a safe and efficient working environment.
Final Checks Before Starting to Grind
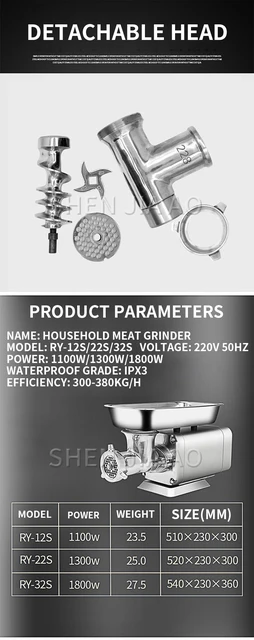
Ensuring everything is correctly set up before you begin is crucial for a smooth and efficient operation. Performing a few essential inspections will help you avoid potential issues and guarantee optimal performance. Follow these steps to make sure everything is in perfect condition:
- Verify all parts are securely attached and there are no loose components.
- Check for any visible damage or wear on the parts to prevent malfunction.
- Ensure that all moving parts operate smoothly and without obstruction.
- Confirm that the device is correctly positioned on a stable surface to prevent movement during use.
- Inspect the cleanliness of all parts to maintain hygiene and prevent contamination.
By conducting these final verifications, you’ll ensure a safe and effective grinding process, setting yourself up for a successful task ahead.