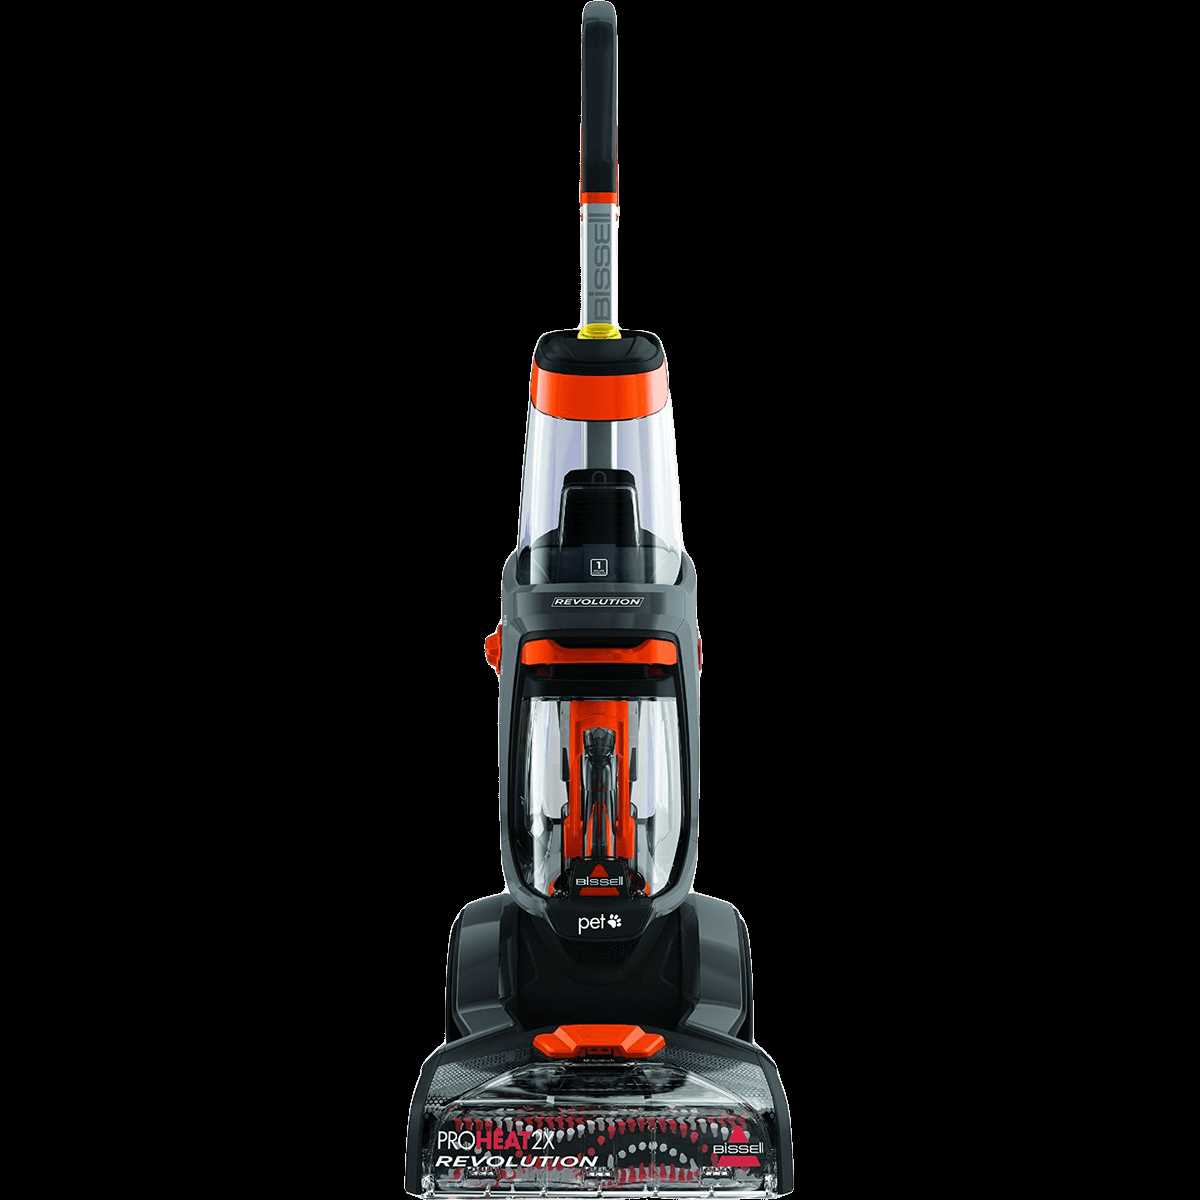
Achieving a spotless and fresh living space often begins with maintaining clean carpets. A reliable cleaning device is crucial for tackling dirt, stains, and allergens that accumulate over time. This article serves as a detailed guide for those looking to optimize their home cleaning routine with a powerful tool designed to rejuvenate and deep-clean their floors.
In this guide, you will discover the essential steps for setting up and using a high-performance carpet cleaning machine. Understanding its features and functionalities is key to maximizing its effectiveness. This resource will help you navigate through each phase of the cleaning process, ensuring your carpets remain vibrant and hygienic.
Whether you’re dealing with stubborn stains, pet hair, or everyday dirt, following these instructions will enhance your cleaning results. By mastering the techniques outlined here, you can extend the life of your carpets and enjoy a healthier home environment.
Overview of the Bissell ProHeat Select 2X Features
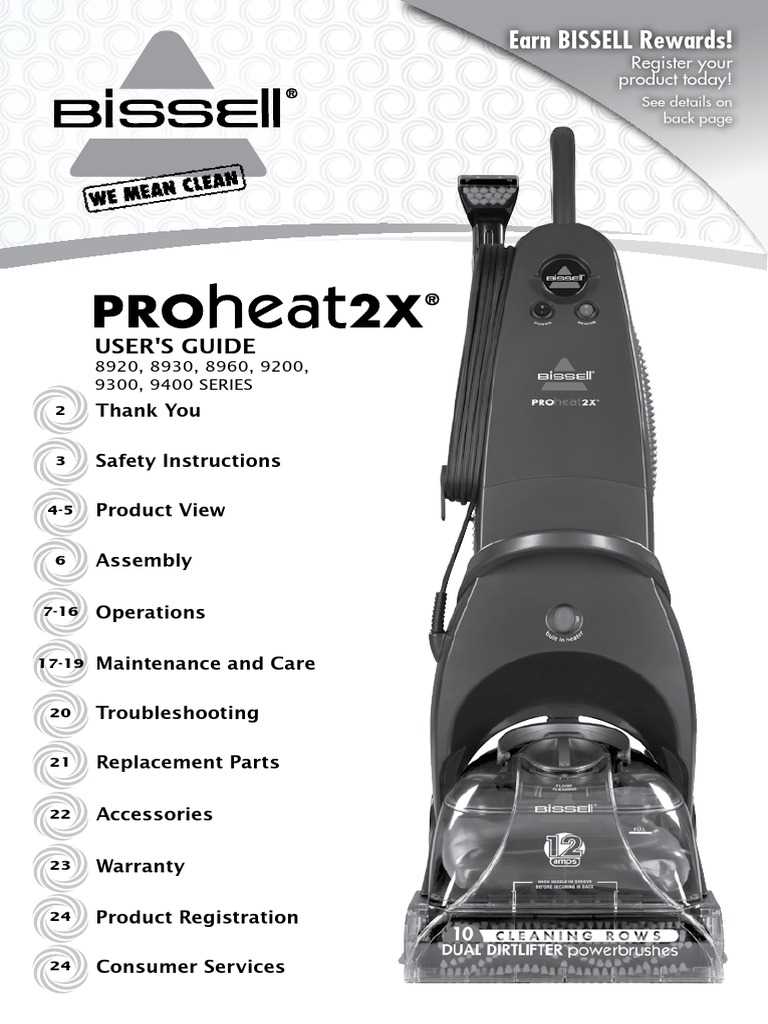
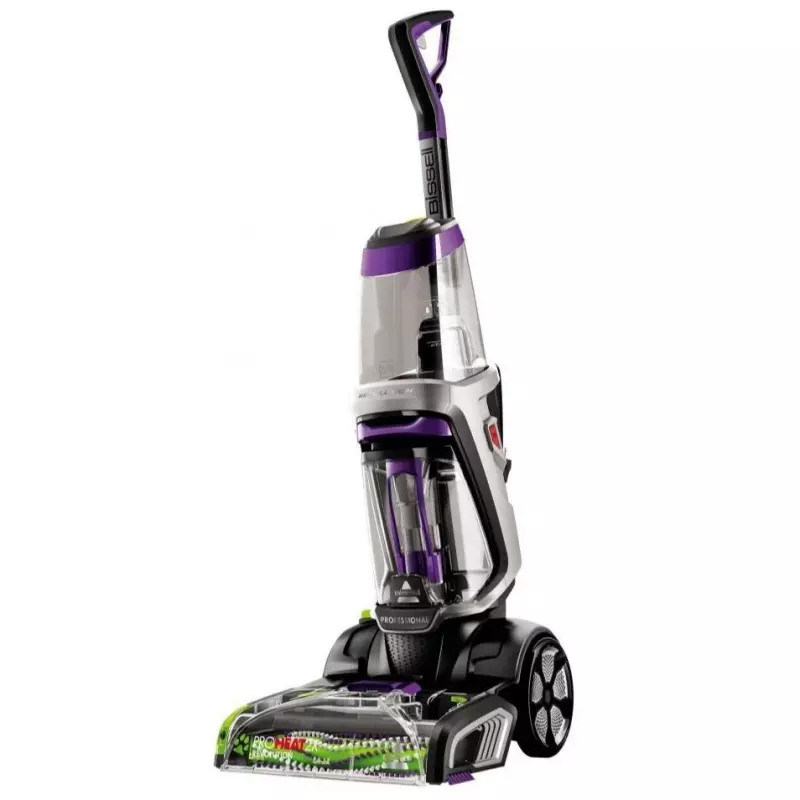
This cleaning device offers a comprehensive solution for maintaining various types of flooring. Its design integrates advanced functionalities, making it an effective tool for deep cleaning and revitalizing carpets and other surfaces. The machine combines efficiency and user-friendly operation, ensuring that your home stays fresh and hygienic with minimal effort.
Dual Cleaning System: The machine is equipped with a dual brush system that penetrates deep into carpet fibers, loosening dirt and debris that traditional vacuuming might miss. This dual-action mechanism ensures thorough cleaning, leaving your carpets looking and feeling refreshed.
HeatWave Technology: Continuous heat application helps maintain consistent water temperature throughout the cleaning process, enhancing the overall effectiveness of the cleaning solution. This feature is particularly useful for tackling tough stains and embedded grime.
Targeted Cleaning Tools: Various attachments and accessories are provided to address different cleaning needs. These tools make it easy to clean hard-to-reach areas, such as stairs, upholstery, and tight corners, ensuring a comprehensive cleaning experience throughout your home.
Easy Water Management: The device features a convenient water tank system that separates clean and dirty water. This design simplifies the process of filling, emptying, and cleaning the tanks, making the machine easy to use and maintain.
Adjustable Cleaning Modes: Users can select from different cleaning settings based on the type of surface and the level of dirt. This flexibility allows for customized cleaning, whether dealing with everyday dirt or more stubborn stains.
Step-by-Step Guide to Assembling the ProHeat 2X
Setting up your carpet cleaning machine is straightforward when you follow a systematic approach. In this section, we will guide you through the assembly process, ensuring that your equipment is ready for efficient cleaning in no time. Let’s dive into the steps required to prepare your device for use.
1. Preparing the Components
Before starting, ensure you have all the necessary parts. Lay them out on a clean surface for easy access. The main components typically include the base unit, handle, water tank, and various attachments. Check that everything is present and free from damage.
2. Attaching the Handle
To assemble the handle, align it with the slots on the base unit. Carefully insert the handle into the slots, making sure it clicks into place. Secure the handle using the screws provided. Tighten them firmly, but avoid over-tightening to prevent damage.
Note: Ensure the handle is properly aligned before tightening the screws to avoid misalignment.
3. Installing the Water Tank
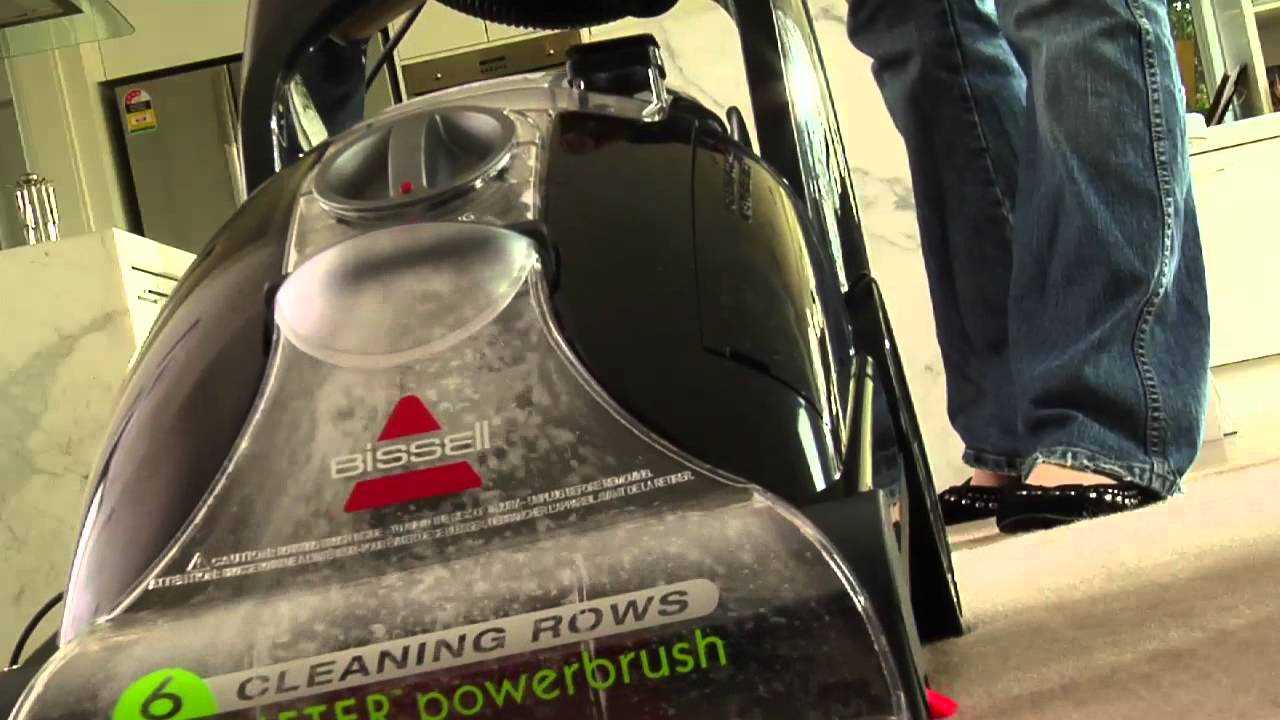
Next, position the water tank into its designated area on the base unit. Slide it down gently until it locks into place. The tank should fit snugly without any gaps.
Once all components are assembled, your carpet cleaning machine is ready for use. Proper assembly ensures optimal performance and extends the lifespan of your device.
How to Properly Use the Bissell ProHeat
Achieving a deep clean for your carpets and upholstery requires an understanding of the machine’s functions and features. This section will guide you through the key steps to ensure effective cleaning while maintaining the longevity of your cleaning appliance.
Preparation: Before beginning, ensure that the area to be cleaned is clear of any large debris or furniture. Fill the water tank with warm water, and add the recommended amount of cleaning solution. Proper setup is crucial for optimal performance.
Operating the Machine: Start by selecting the appropriate cleaning mode for your task. Move the device slowly over the surface, allowing it to dispense the solution and extract dirt effectively. Overlapping each pass slightly will ensure even coverage and prevent missed spots.
Post-Cleaning Maintenance: After finishing, empty the dirty water tank, and rinse both the tank and any removable filters with clean water. Regularly check for any blockages or buildup in the nozzles to keep the machine functioning smoothly.
By following these steps, you’ll maximize the efficiency of your cleaning process and keep your appliance in top condition for years to come.
Maintenance Tips for Long-Lasting Performance
Regular upkeep is essential to ensure your cleaning device continues to perform efficiently over time. By dedicating a little time to maintenance, you can extend the lifespan of your equipment and maintain its cleaning power. Here are some key tips to help you achieve consistent, reliable results with every use.
Keep the Brushes Clean
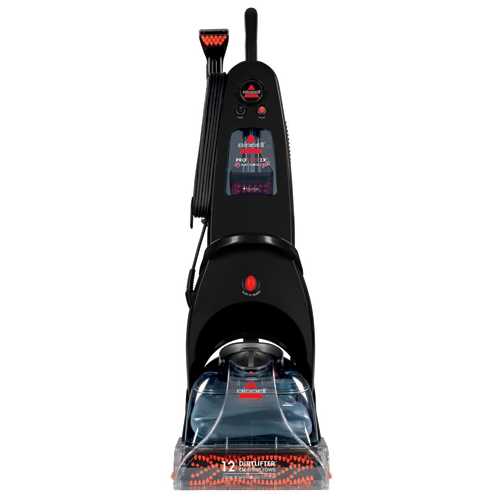
One of the most important maintenance tasks is to regularly check and clean the brushes. Debris, hair, and dirt can accumulate over time, reducing their effectiveness. To clean the brushes, remove them as per the manufacturer’s instructions, rinse them under running water, and allow them to dry completely before reattaching. Ensuring the brushes are free of obstructions will enhance the machine’s ability to deep clean your carpets.
Check and Refill the Water Tank
After each cleaning session, it’s crucial to empty and rinse the water tank. Leftover water can lead to mildew and unwanted odors, impacting performance and hygiene. Additionally, regularly inspect the tank for any cracks or leaks, and ensure that the seals are intact. Keeping the water tank in optimal condition will contribute to the overall effectiveness of the cleaning process.
Regular Filter Replacement: Filters play a significant role in trapping dirt and allergens. Over time, these can become clogged, leading to reduced suction power and less effective cleaning. Make it a habit to check the filter regularly and replace it according to the suggested schedule or when it appears visibly dirty.
By following these maintenance tips, you can ensure that your cleaning device remains in top condition, delivering high-quality results and lasting performance.
Common Issues and Troubleshooting Solutions
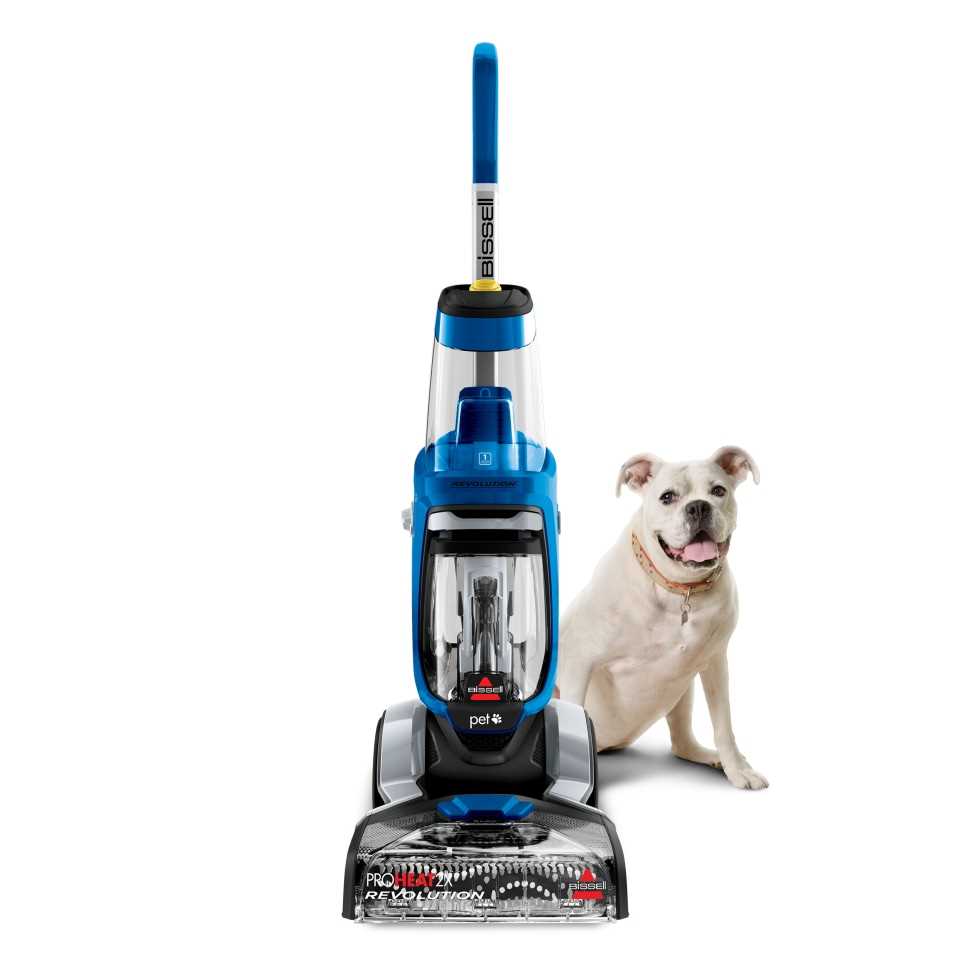
Understanding the potential problems that may arise during the operation of your cleaning device is essential for maintaining its efficiency. Below are some common issues users may encounter and practical solutions to help you resolve them quickly.
No Power or Device Not Turning On
- Ensure the power cord is securely plugged into a functional outlet.
- Check if the power switch is in the correct position.
- If using an extension cord, verify that it is not damaged and supports the device’s power requirements.
- Examine the fuse or circuit breaker and reset it if necessary.
Weak Suction or No Suction
- Inspect the tank to ensure it is properly seated and not full.
- Check all filters for clogs and clean them if needed.
- Examine the nozzle for any blockages that could impede suction.
- Ensure all hoses are correctly attached and not kinked or damaged.
Poor Water or Solution Dispensing
- Confirm that the water tank is filled with the appropriate amount of liquid.
- Check for blockages in the solution tank cap or valve.
- Ensure the spray nozzles are clean and free from debris.
- Verify that the device settings are adjusted for proper liquid distribution.
Brushes Not Spinning
- Check if the device is set to the correct cleaning mode.
- Ensure the brush roll is free from hair, threads, or other debris.
- Examine the belt for wear or breakage and replace it if necessary.
By following these troubleshooting steps, most operational issues can be resolved, ensuring your cleaning device continues to perform effectively.
Understanding the Cleaning Modes and Settings
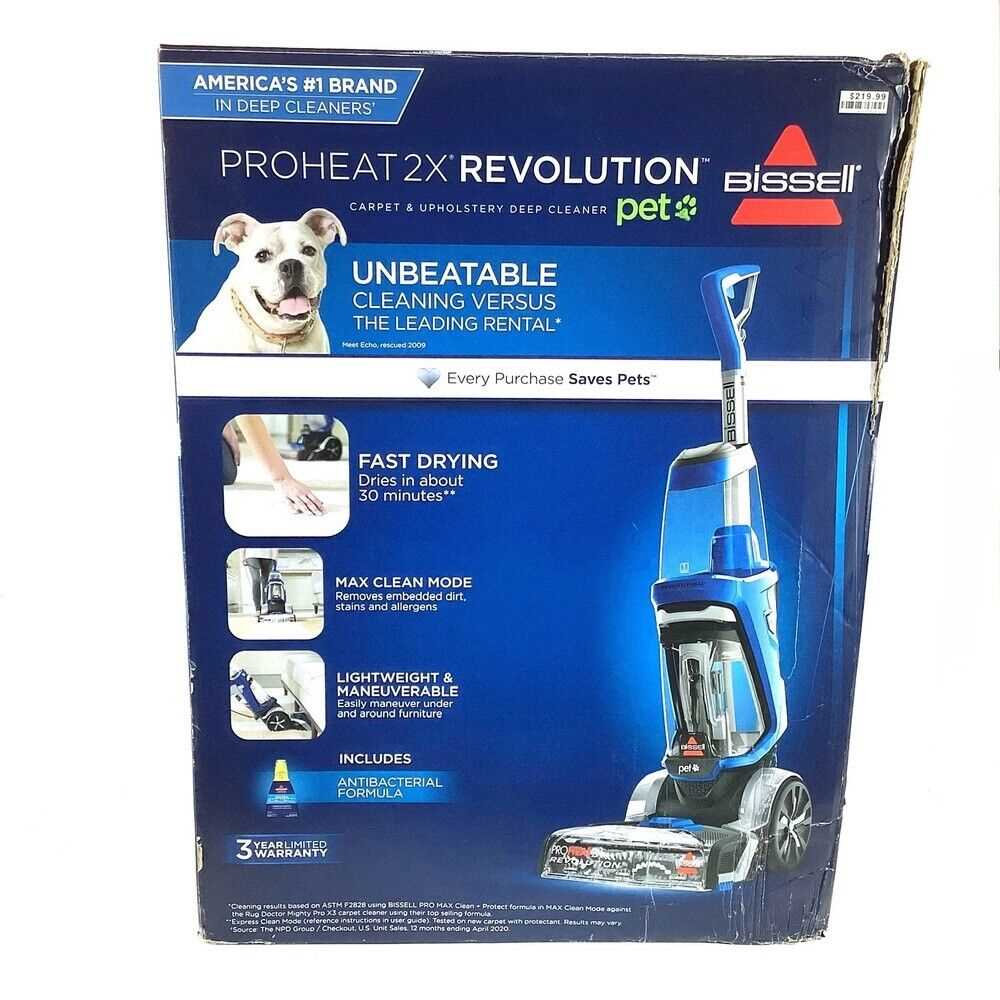
Grasping the different cleaning options and configurations available can significantly enhance the efficiency of your cleaning routine. These settings are designed to cater to various types of surfaces and levels of dirt, allowing for a customized approach to maintaining a pristine environment. By familiarizing yourself with these features, you can optimize performance and achieve better results.
- Standard Mode: Ideal for everyday cleaning tasks, this mode is designed to handle general dirt and debris. It provides a balanced approach, making it suitable for regular maintenance.
- Heavy-Duty Mode: This setting is meant for more challenging cleaning jobs. It is especially effective on stubborn stains and high-traffic areas that require a more intense cleaning effort.
- Quick Clean Mode: For those moments when time is of the essence, this option allows for a faster cleaning process, offering convenience without compromising on cleanliness.
- Deep Clean Mode: This mode is crafted for thorough, deep-cleaning tasks. It targets embedded dirt and grime, making it perfect for restoring the freshness of heavily soiled carpets or upholstery.
Understanding these modes will help you select the most appropriate setting based on your cleaning needs, ensuring effective results and maintaining the longevity of your equipment.