
Welcome to the world of sewing, where creativity meets functionality. Whether you’re a seasoned seamstress or just starting out, understanding the intricacies of your sewing machine is essential for bringing your fabric visions to life. This guide will walk you through everything you need to know to get the most out of your device, ensuring that you feel confident and prepared for any project that comes your way.
From threading the needle to mastering different stitch types, our guide covers all the foundational aspects of using your machine efficiently. We’ll explore the various settings and adjustments available, offering detailed explanations and tips to help you navigate through them with ease. With the right knowledge at your fingertips, you’ll be ready to tackle any sewing challenge with precision and skill.
Additionally, we’ll provide troubleshooting advice for common issues, ensuring that minor setbacks don’t derail your sewing adventures. By familiarizing yourself with these essential techniques and solutions, you’ll not only improve your sewing experience but also extend the life of your machine. Dive into this guide to unlock the full potential of your sewing machine and elevate your craftsmanship to new heights.
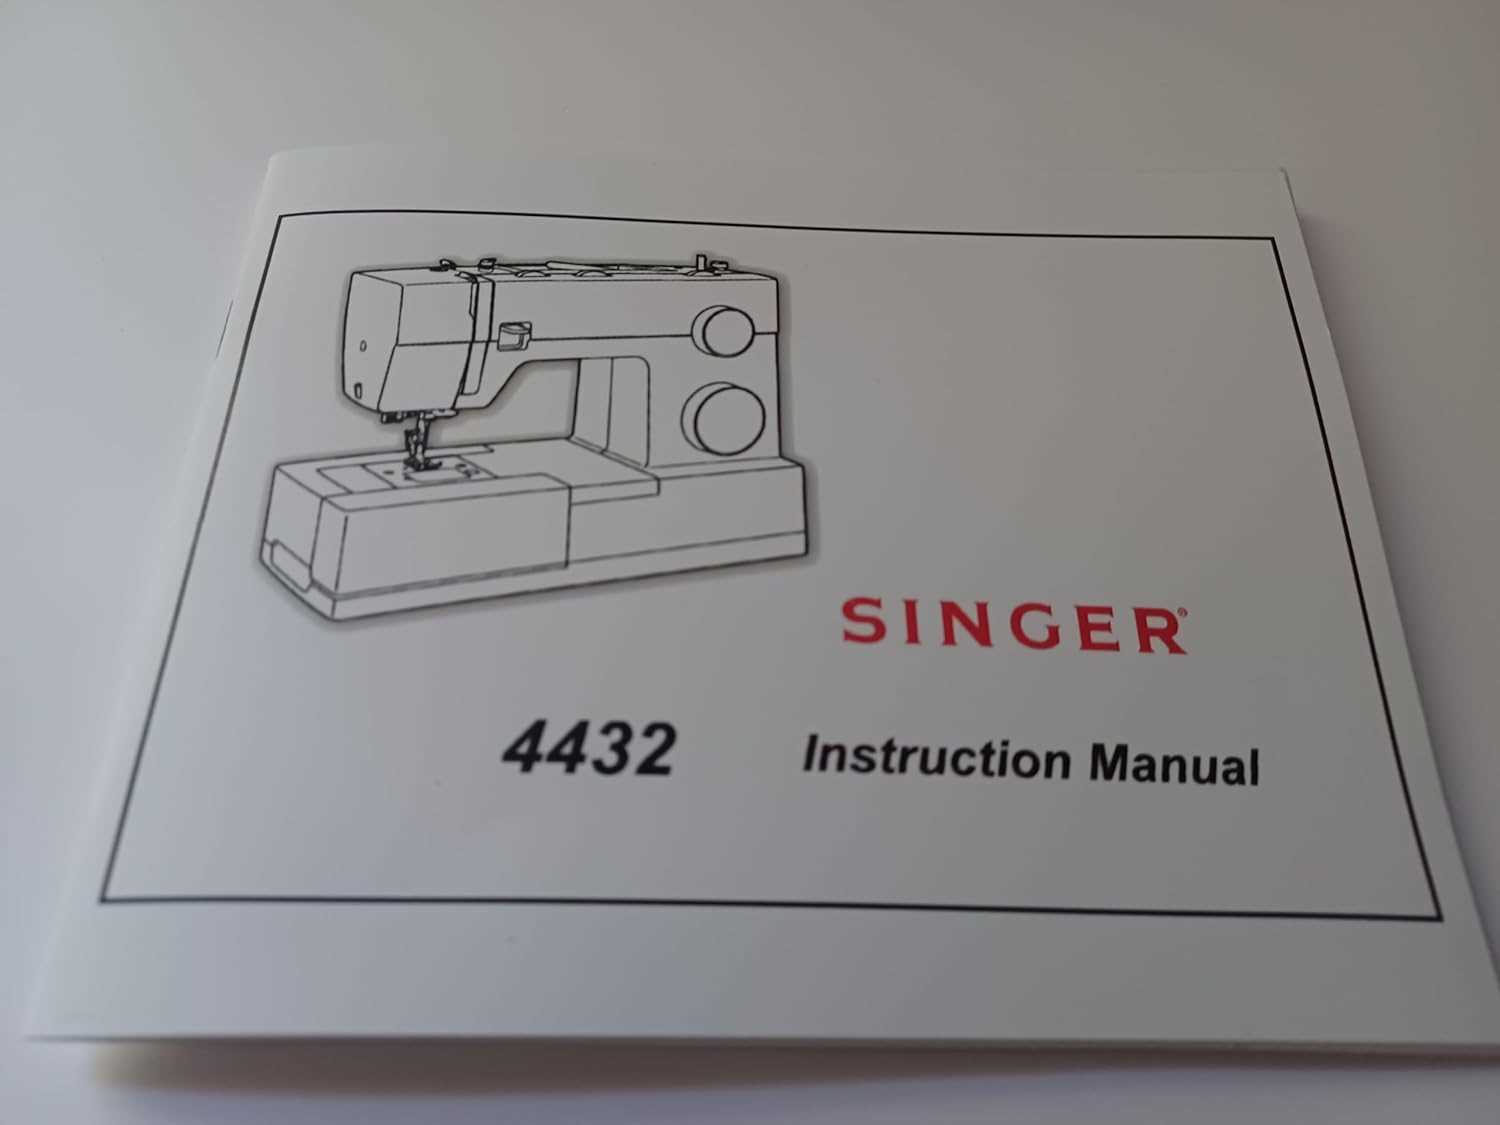
Overview of Singer Heavy Duty 4432 Features
This sewing machine is designed for those who need a reliable and versatile tool for a wide range of sewing tasks. Whether you are a beginner or an experienced sewer, this model offers a robust set of features that make it a great choice for any sewing project, from simple repairs to more complex creations.
- Powerful Motor: Equipped with a high-performance motor, this machine can handle thicker fabrics and more layers with ease, ensuring smooth operation and consistent stitching quality.
- Variety of Stitches: With a diverse range of built-in stitches, including basic, stretch, decorative, and buttonhole options, users have the flexibility to tackle various types of sewing tasks. This variety allows for creative expression and precise tailoring.
- Adjustable Stitch Length and Width: The adjustable settings for stitch length and width offer greater control over the final look of the sewing project, allowing users to customize their stitches according to the fabric type and desired outcome.
- Durable Build: Constructed with a metal frame, this sewing machine is built to last. Its sturdy construction ensures stability and reduces the risk of skipped stitches, even at high speeds.
- Automatic Needle Threader: This feature simplifies the threading process, saving time and reducing eye strain. The automatic needle threader is especially helpful for those who sew frequently or for extended periods.
- High Sewing Speed: Capable of sewing up to 1,100 stitches per minute, this machine allows for quick completion of projects, making it ideal for both home use and professional settings.
- Easy-to-Use Controls: With intuitive dials and clearly marked settings, adjusting the machine for different sewing tasks is straightforward, making it accessible for users of all skill levels.
Overall, this sewing machine provides a comprehensive set of features that cater to various sewing needs, offering both durability and flexibility to accommodate a wide array of projects.
Setting Up Your Sewing Machine for the First Time
Before you start creating beautiful garments or home projects, it is essential to properly set up your sewing machine. This guide will walk you through the basic steps to ensure that your machine is ready to use, helping you avoid common mistakes and achieve the best results right from the start.
Unpacking and Inspecting Your Machine
Begin by carefully removing the sewing machine from its packaging. Check to ensure all parts and accessories are included, such as the foot pedal, power cord, various presser feet, bobbins, needles, and any other tools. Inspect the machine for any visible damage that may have occurred during shipping. If everything appears intact, place the machine on a sturdy, flat surface near a power outlet.
Threading the Machine
Proper threading is crucial for smooth operation. Follow these steps to thread your machine:
- Place a spool of thread on the spool pin, ensuring it spins freely.
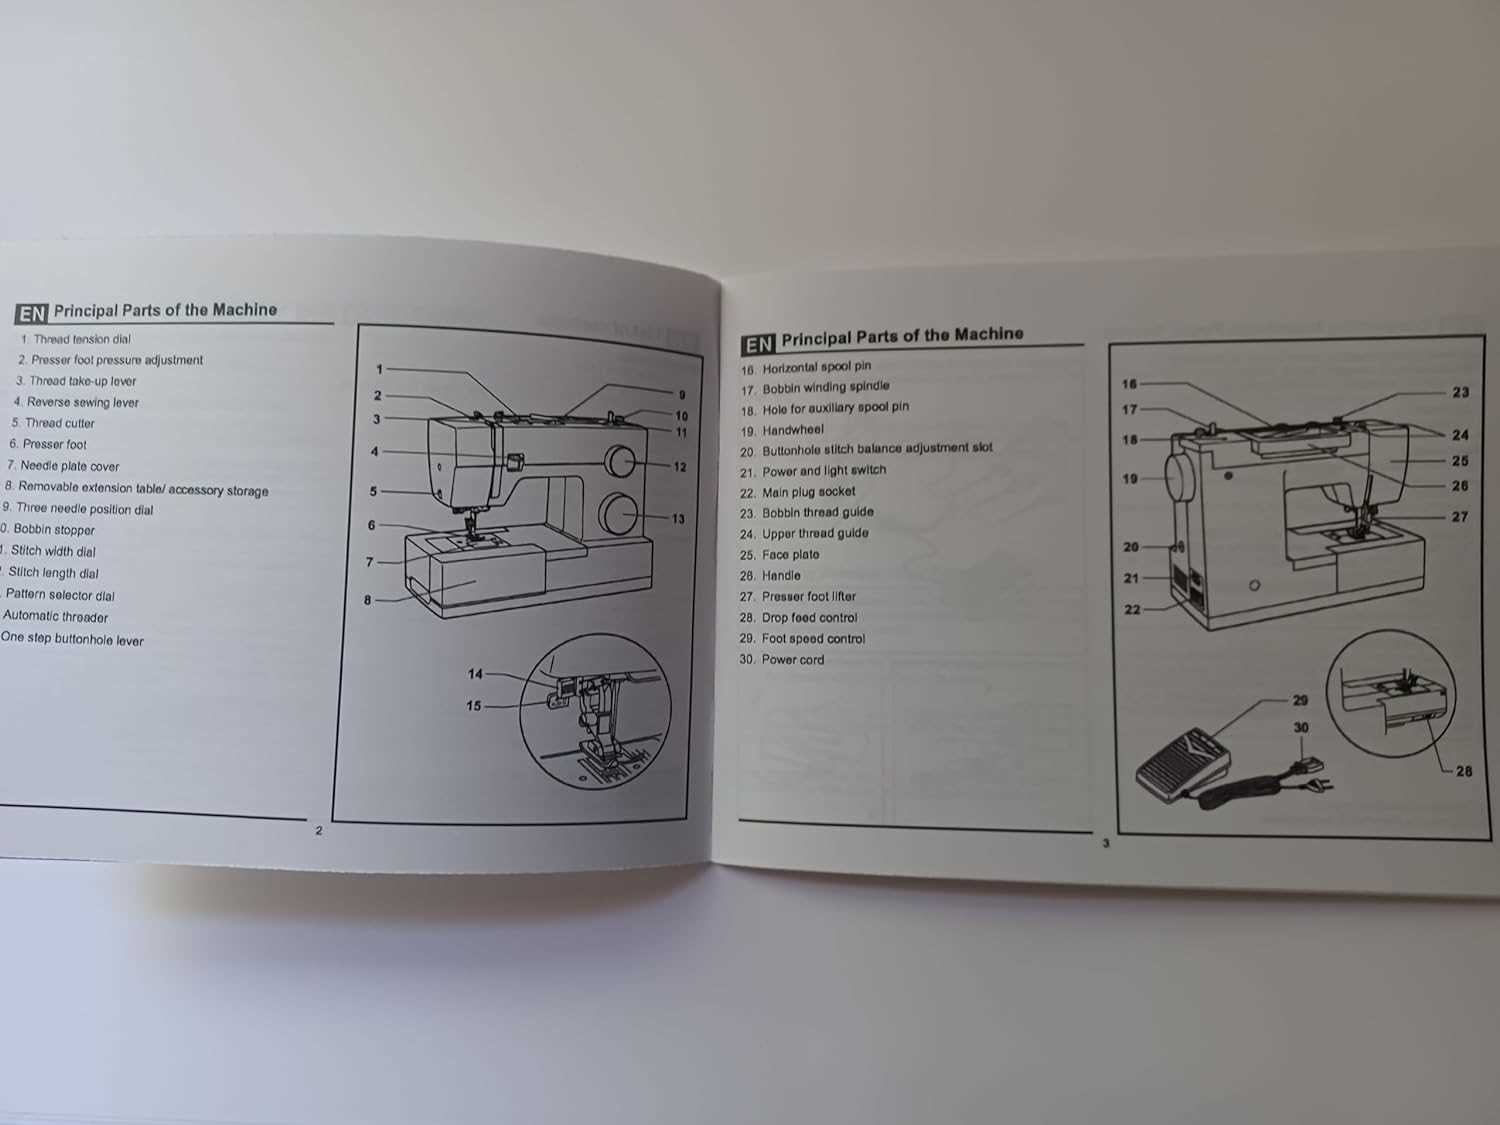
- Guide the thread through the upper thread guide, following the arrows or numbers on your machine.
- Pull the thread down and around the tension discs, ensuring it seats properly.
- Thread the take-up lever by pulling the thread up and through the slot.
- Continue threading through the remaining guides until you reach the needle.
- Thread the needle from front to back, using the built-in needle threader if available.
After threading the upper part, it’s time to load the bobbin.
| Step | Description |
|---|---|
| 1 | Open the bobbin case cover and insert the wound bobbin, ensuring the thread unwinds in the correct direction. |
| 2 | Pull the thread through the bobbin case slit and guide it under the tension spring. |
| 3 | Close the bobbin case cover and gently pull the upper thread to draw up the bobbin thread. |
Now that your machine is threaded and ready, test the stitching on a piece of scrap fabric to ensure everything is functioning smoothly. Make any necessary adjustments to the tension or stitch length according to your fabric and project needs.
Step-by-Step Guide to Threading the Machine
Properly threading your sewing machine is essential for smooth and efficient stitching. In this guide, we will walk you through the steps to ensure that your machine is set up correctly, allowing you to create flawless seams and avoid common sewing issues.
Step 1: Prepare the Spool of Thread
Begin by placing your chosen spool of thread onto the spool pin, ensuring it sits securely. If your model has a spool cap, slide it in place to prevent the thread from slipping as you sew.
Step 2: Guide the Thread Through the Thread Guide
Pull the thread from the spool and pass it through the first thread guide, usually located at the top of the machine. This guide helps maintain the correct tension and positioning of the thread.
Step 3: Navigate Through the Tension Mechanism
Continue to draw the thread down towards the tension discs. These discs control the tightness of the thread, which is crucial for balanced stitching. Make sure the thread snaps securely into place between the discs.
Step 4: Hook the Thread Through the Take-Up Lever
Next, pull the thread upwards and hook it into the take-up lever. This lever moves up and down with each stitch and ensures the thread is fed evenly through the needle.
Step 5: Pass Through Additional Guides
Depending on your machine model, there may be additional guides that the thread must pass through. Follow the designated path, ensuring the thread is taut but not overly tight.
Step 6: Thread the Needle
With the needle at its highest position, pass the thread through the eye of the needle from front to back. This step requires a steady hand, so take your time to ensure the thread is correctly positioned.
Step 7: Draw Up the Bobbin Thread
Hold the top thread lightly and turn the handwheel towards you to lower and then raise the needle. This motion will catch the bobbin thread. Pull both threads to the back of the machine, ensuring they are positioned under the presser foot.
By following these steps, your machine will be correctly threaded and ready for use. Proper threading not only ensures smooth operation but also enhances the quality of your sewing projects.
Understanding the Stitch Selection and Settings

Mastering the art of stitch selection and configuration is essential for achieving optimal results in sewing projects. This aspect of sewing machine operation allows users to tailor their stitch choices and adjust settings to match various fabric types and project requirements. Whether you are working on a simple repair or a complex garment, understanding how to effectively use these features can significantly enhance your sewing experience.
Choosing the Right Stitch
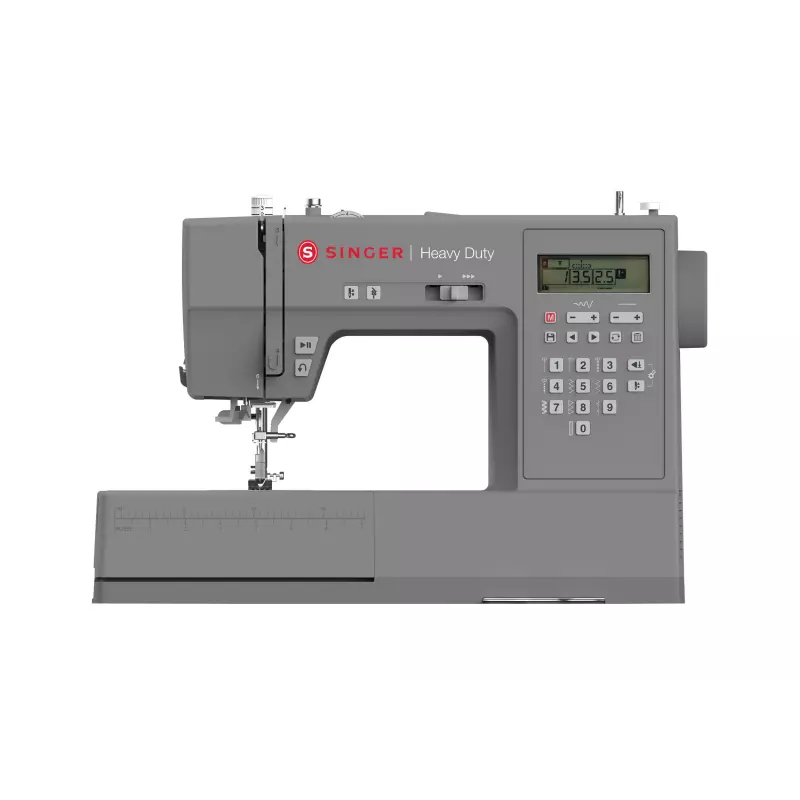
Each sewing machine offers a variety of stitch options designed for different purposes. Common stitches include straight stitches for basic seams, zigzag stitches for stretch fabrics, and decorative stitches for adding embellishments. Familiarize yourself with the available stitches and their uses to ensure you select the most appropriate one for your project. Each stitch type is suited to specific fabric weights and types, so understanding their functions will help you achieve the desired outcome.
Adjusting Stitch Settings
Once you have selected a stitch, adjusting the settings is crucial for fine-tuning your results. Most machines allow you to modify stitch length, width, and tension. For instance, increasing the stitch length can provide stronger seams, while adjusting the width is useful for changing the appearance of decorative stitches. Properly setting the tension ensures that the thread forms balanced stitches on both sides of the fabric. Experimenting with these settings will help you find the perfect balance for your sewing needs.
Maintenance Tips for Your Sewing Machine
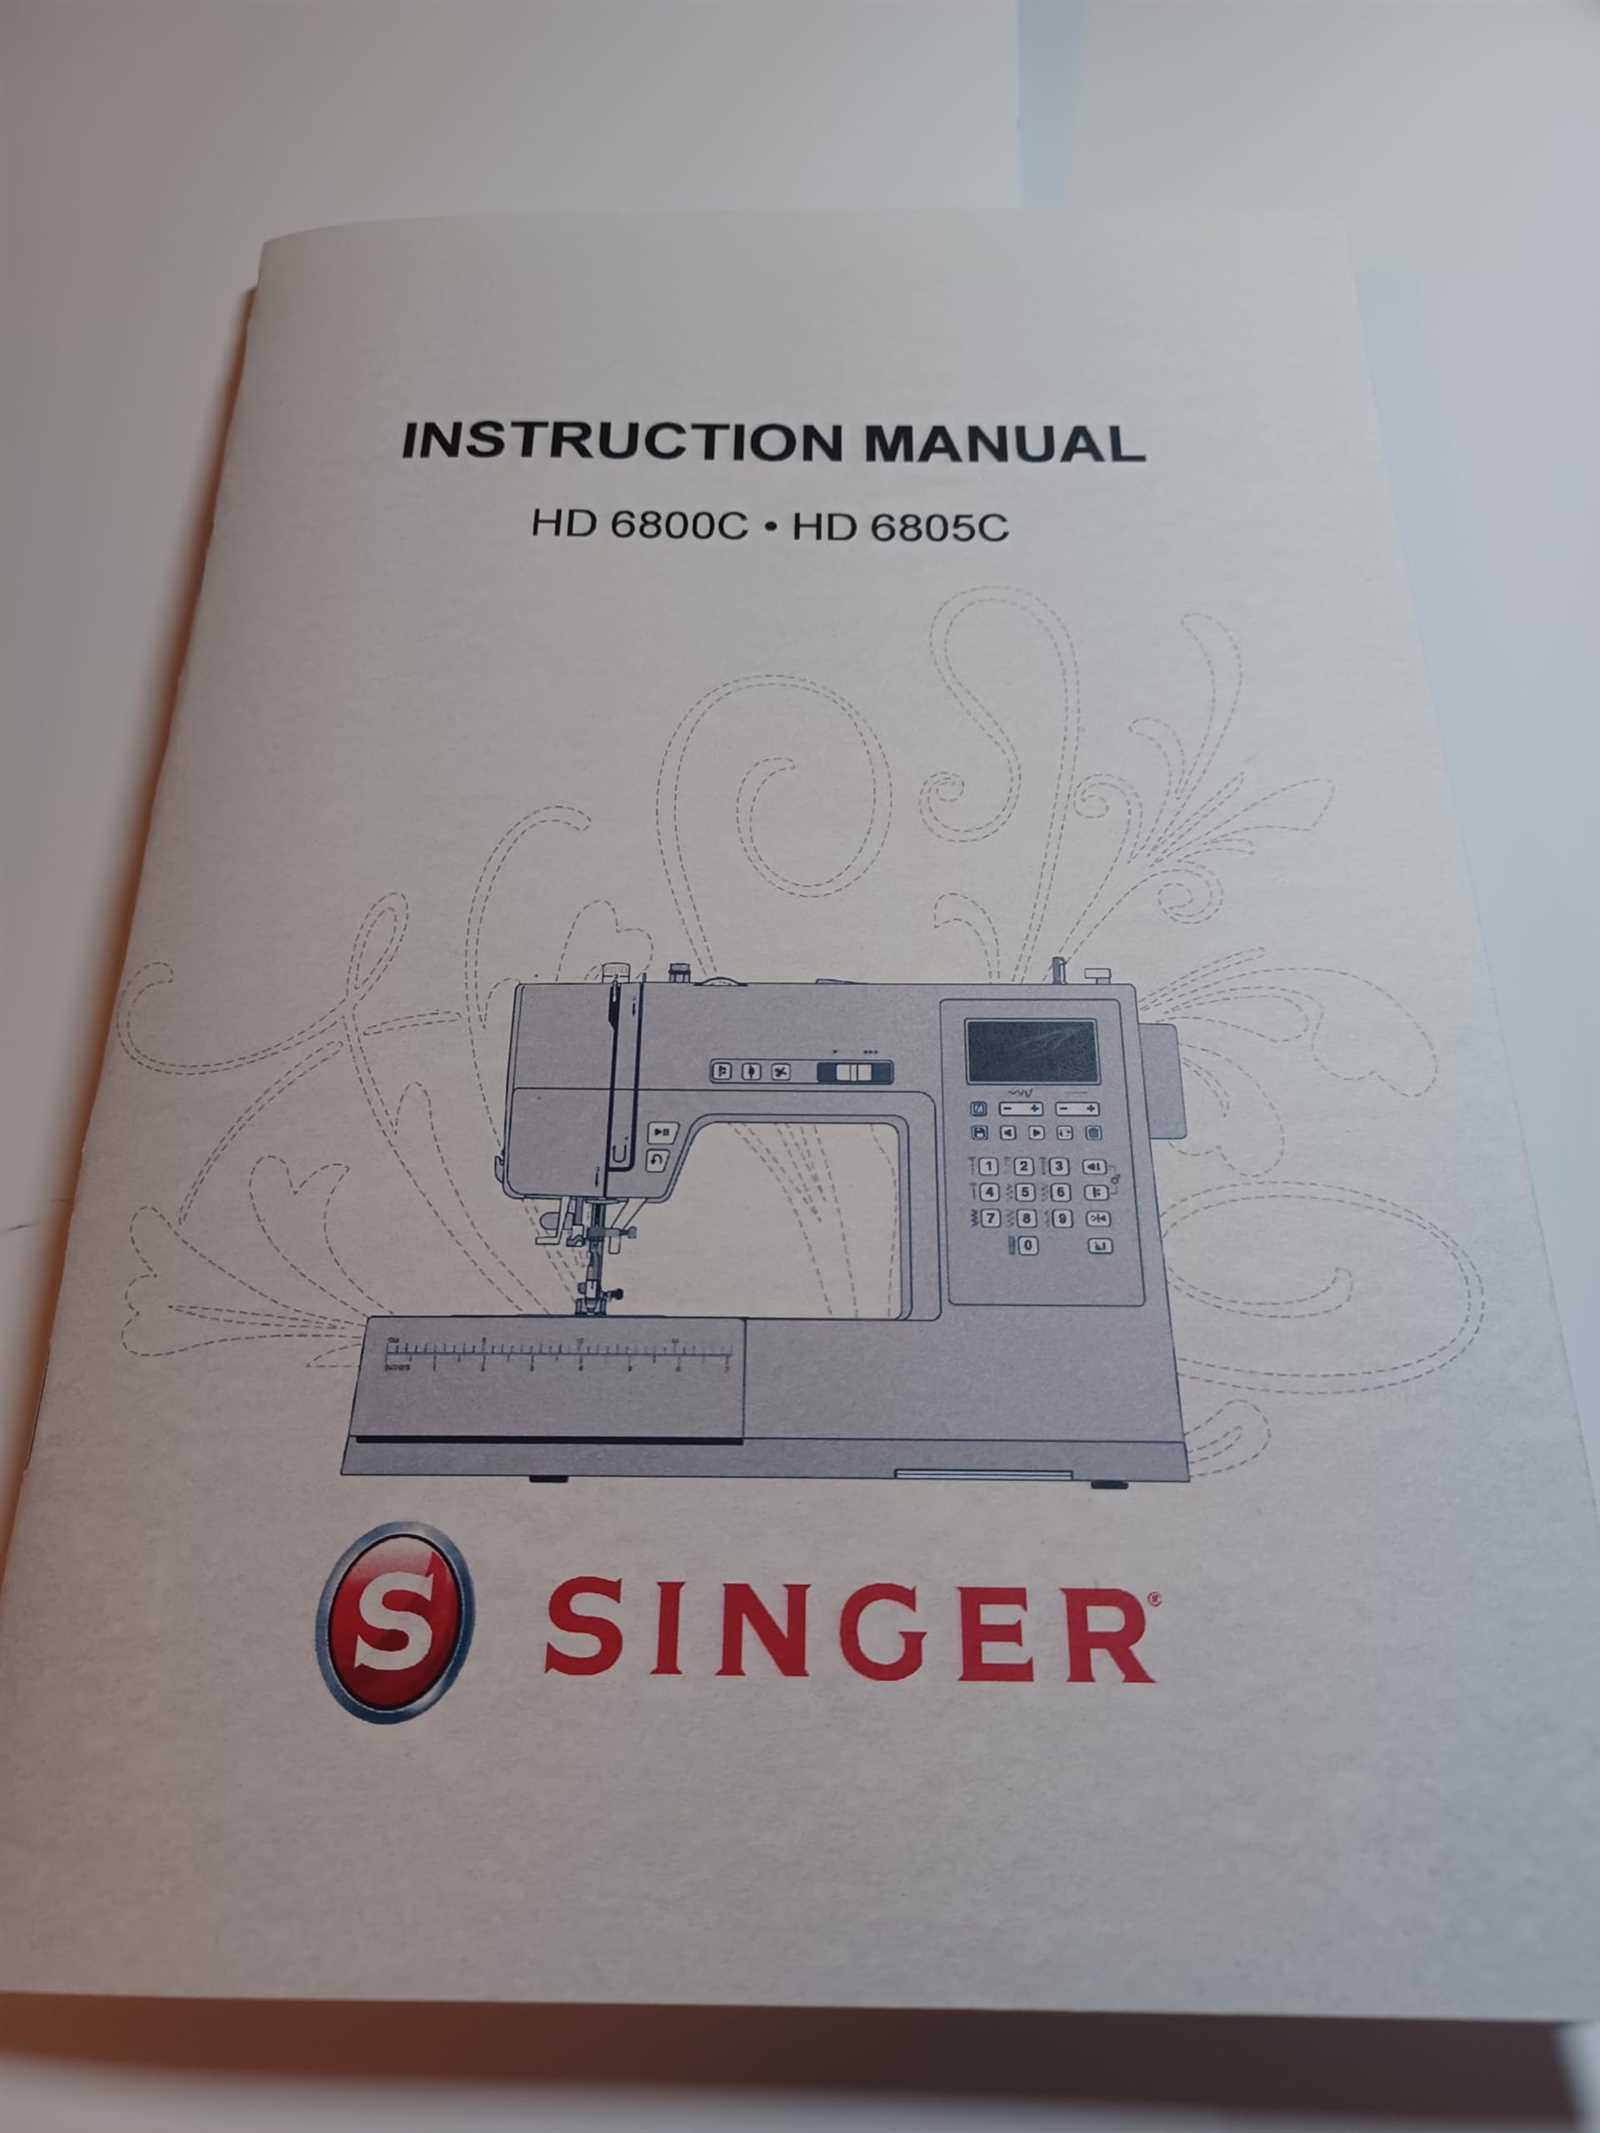
Proper upkeep is essential to ensure the longevity and optimal performance of your sewing machine. Regular maintenance not only helps in avoiding common issues but also ensures smooth operation and consistent stitch quality. Here are some practical tips to help you keep your machine in top shape.
Regular Cleaning
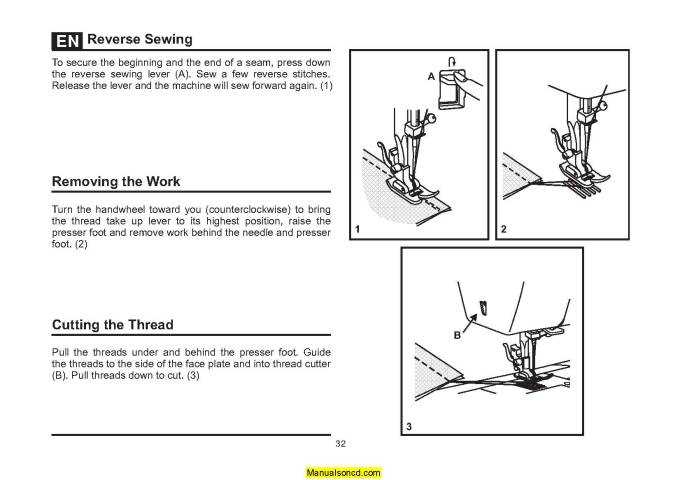
- Remove lint and dust: Frequently clean the area around the needle and feed dogs to prevent lint build-up. Use a small brush to clear out any debris from these areas.
- Clean the bobbin case: After every few uses, take out the bobbin case and brush away any dust or lint that may have accumulated.
- Wipe the machine: Use a soft, dry cloth to wipe down the exterior of the machine. Avoid using harsh chemicals or abrasive materials.
Lubrication
- Apply oil sparingly: Follow the manufacturer’s recommendations on where and how much oil to apply. Over-oiling can attract more dust and lead to other issues.
- Use appropriate oil: Ensure you use sewing machine oil or a recommended substitute. Avoid using household oils or lubricants.
By adhering to these simple maintenance practices, you can extend the lifespan of your sewing machine and keep it running smoothly. Regular attention and care will ensure that your sewing experience remains enjoyable and trouble-free.
Common Troubleshooting Tips and Solutions
Every sewing machine may encounter occasional issues that can disrupt your sewing projects. Addressing these common problems promptly can help you maintain smooth operation and extend the life of your equipment. Here are some typical issues and practical solutions to keep your machine running efficiently.
Threading Problems

If you experience inconsistent stitching or thread bunching, the threading may be incorrect. First, ensure the upper thread is correctly threaded through the tension discs and the needle. Check that the bobbin is inserted properly and that the thread path is clear of tangles. Re-thread the machine and try a test stitch to confirm that the problem is resolved.
Skipping Stitches
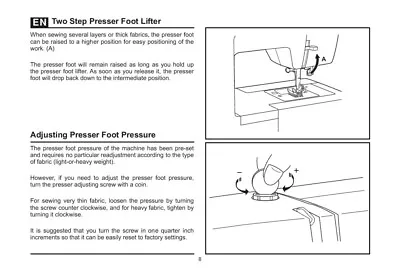
Skipping stitches can be caused by a variety of factors. Verify that the needle is properly installed and not damaged. Using the wrong type of needle for your fabric can also lead to issues. Make sure to use the correct needle size and type for your material. Additionally, check that the presser foot is correctly set and that the needle and bobbin are in good condition. Adjusting the thread tension might also help address this problem.