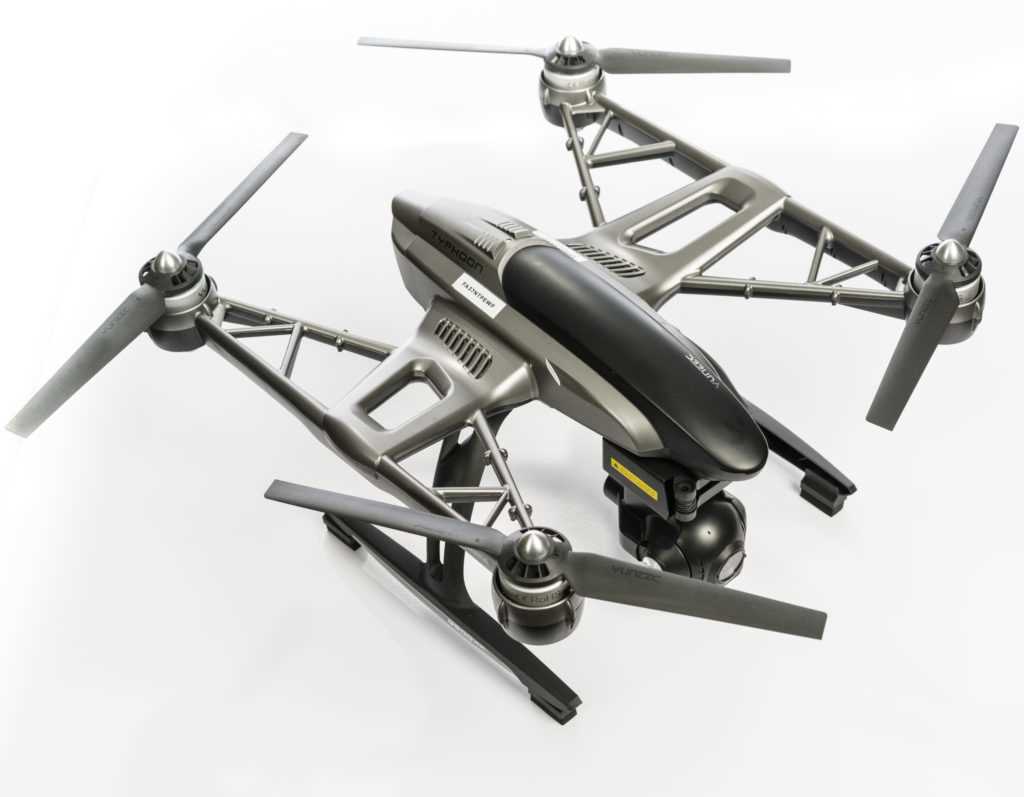
In the rapidly evolving world of drone technology, mastering the use of your new aerial device is essential for both enthusiasts and professionals. Whether you’re capturing stunning aerial footage or simply enjoying the thrill of piloting, understanding the key features and controls of your device will significantly enhance your experience.
This guide provides clear, step-by-step instructions for setting up, calibrating, and safely operating your advanced flying machine. With detailed explanations of each component and function, you will be able to navigate through all the complexities with ease, ensuring your flights are both safe and enjoyable.
From the initial assembly to advanced flight techniques, this resource is designed to help you get the most out of your drone. It covers everything from basic startup procedures to troubleshooting common issues, ensuring you have the knowledge you need to fly with confidence.
Setting Up Your Yuneec Q500
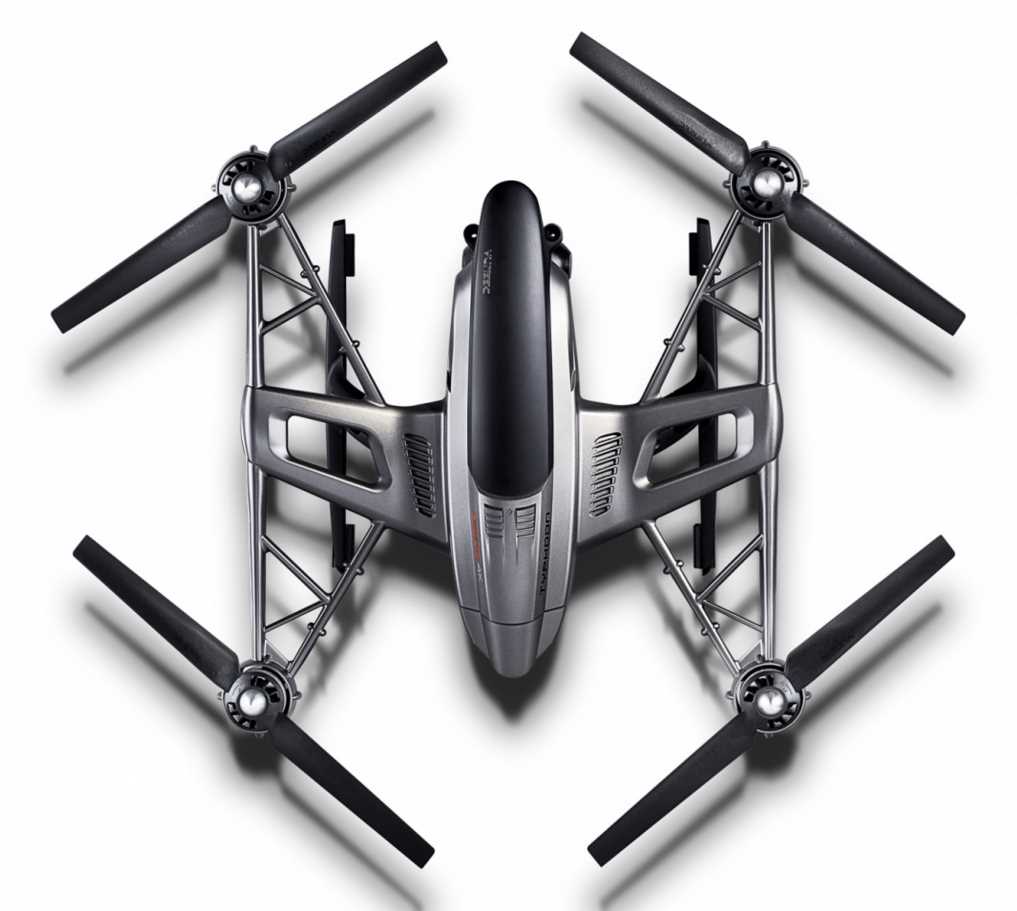
Properly configuring your aerial device ensures a smooth and successful flight experience. Follow these steps to assemble, calibrate, and prepare your equipment for its first launch, ensuring that all components are correctly aligned and functioning.
- Begin by carefully attaching the propellers to the corresponding motors, ensuring that each propeller is securely fastened.
- Install the battery into its compartment, making sure it clicks into place and is fully charged before use.
- Power on the remote control and then the aircraft to establish a connection. Wait until both devices have paired successfully.
Calibrating the Compass

- Place the aircraft on a level surface in an open area, away from metal objects and magnetic interference.
- Follow the on-screen instructions on the remote to start the calibration process. Rotate the aircraft as directed to ensure accurate compass alignment.
- Once calibration is complete, the indicator lights should confirm a successful alignment.
After completing these steps, perform a pre-flight check to verify that all systems are functioning as expected. This includes checking the GPS signal, testing the controls, and ensuring the camera is properly connected. By following this setup process, you can confidently proceed to your first flight.
Pre-Flight Checklist and Safety Guidelines
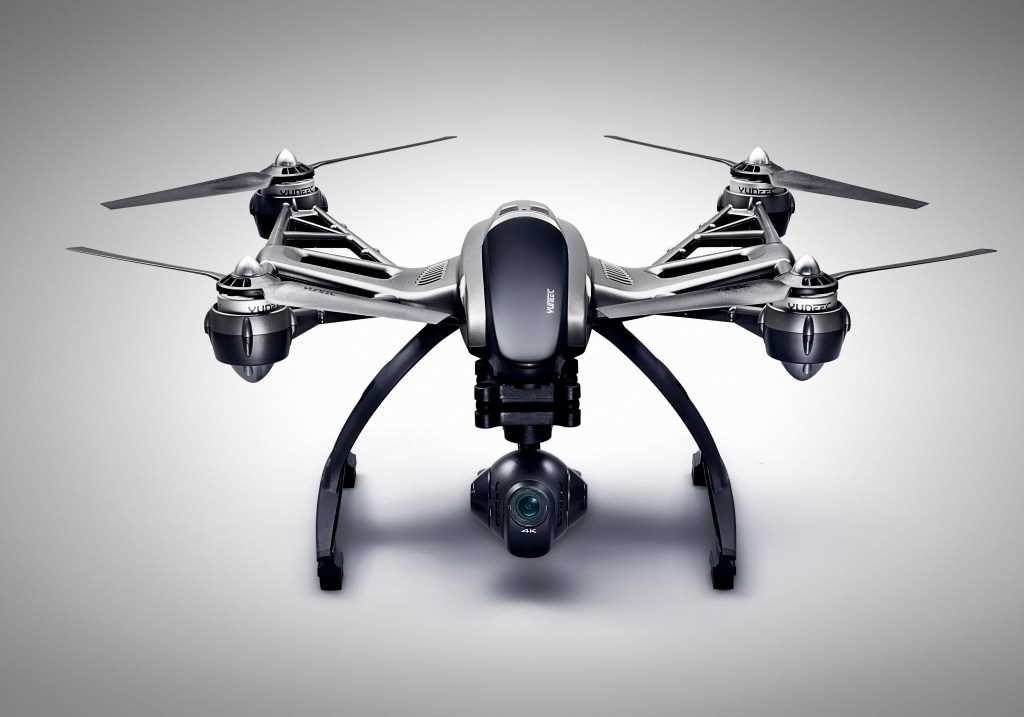
Before launching your aircraft, it’s crucial to ensure that every component is functioning correctly and that all necessary precautions have been taken. This process not only guarantees a safe and successful flight but also helps prevent accidents and potential damage. Below is a comprehensive pre-flight checklist along with essential safety guidelines that should be followed every time you prepare for takeoff.
1. Battery Check: Verify that the batteries in both the aircraft and the remote control are fully charged. Inspect for any signs of damage or wear. Low battery levels can lead to an abrupt loss of power, resulting in a crash.
2. Propeller Inspection: Examine the propellers for any cracks, chips, or deformities. Ensure that they are securely fastened and rotate freely. Damaged or loose propellers can cause instability during flight.
3. Calibration: Calibrate the compass and gyroscope before each flight. Proper calibration ensures accurate navigation and stability, reducing the risk of erratic movements or loss of control.
4. Environment Assessment: Assess the flight area for obstacles, such as trees, power lines, or buildings. Check weather conditions, including wind speed and direction, to ensure they are within safe operating limits. Avoid flying near people, animals, or restricted zones.
5. Control Signal Test: Test the communication between the remote control and the aircraft. Ensure that the signal is strong and that all controls respond accurately. A weak or disrupted signal can result in a loss of control.
6. Emergency Plan: Always have an emergency landing plan in place. Identify a safe area where the aircraft can land in case of an emergency. Familiarize yourself with the procedures for activating emergency functions, such as return-to-home.
7. Pilot Readiness: Ensure that you, as the pilot, are fully aware of the controls and features. Being familiar with the operational procedures minimizes the likelihood of user errors during flight.
By following this checklist and adhering to safety guidelines, you significantly increase the chances of a safe and enjoyable flight experience.
Basic Controls and Navigation Tips
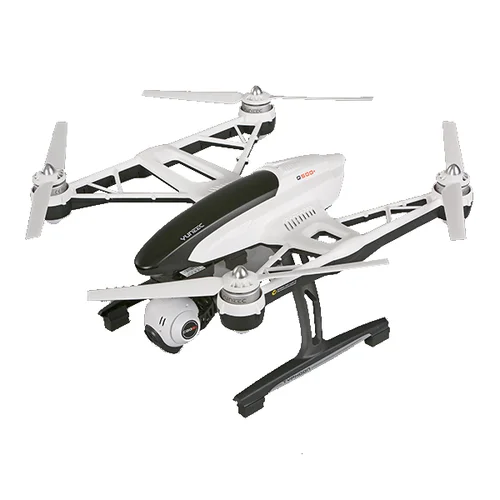
Understanding the essential controls and navigation methods is crucial for safe and efficient operation. This section provides a concise overview of the key functions, helping you confidently manage and maneuver your aircraft. By familiarizing yourself with these controls, you will be better equipped to handle various flying conditions and ensure a smooth flight experience.
| Control | Function | Tips |
|---|---|---|
| Throttle | Adjusts altitude | Increase to ascend; decrease to descend smoothly. |
| Yaw | Rotates the aircraft | Use gently to adjust the heading without abrupt movements. |
| Pitch | Tilts forward or backward | Pitch forward to move ahead; backward to reverse. |
| Roll | Banks left or right | Apply to change direction laterally while maintaining altitude. |
| Return to Home | Automatically flies back to the start point | Activate in emergencies for safe recovery. |
Incorporating these navigation tips into your routine will help enhance your piloting skills. Always perform pre-flight checks to ensure all controls respond as expected. Practice each function in open spaces to gain confidence and refine your technique. Consistency in using these controls will lead to more precise and enjoyable flying experiences.
Camera Operation and Settings Overview
The following section provides a comprehensive guide to effectively manage and customize your camera’s functionalities. Understanding how to adjust the various settings allows for optimized image capture and video recording, ensuring that you achieve the desired results in different environments and conditions.
Basic Camera Functions
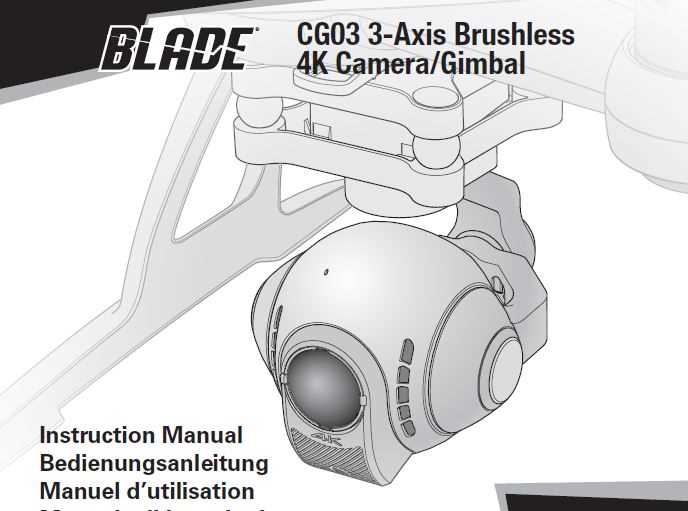
Operating the camera involves several core actions, including powering on, capturing images, and recording videos. These actions are essential for everyday use and serve as the foundation for more advanced operations. Ensuring familiarity with these basic functions will enhance your ability to utilize the camera effectively.
Customizing Camera Settings
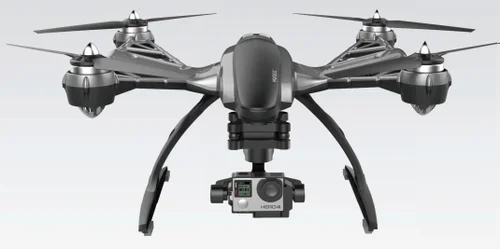
Adjusting the camera settings allows for greater control over the quality and style of the captured media. You can modify parameters such as resolution, white balance, and exposure to suit specific shooting conditions. Mastery of these settings is key to achieving professional-grade results.
| Setting | Description | Options |
|---|---|---|
| Resolution | Defines the detail level of the captured images and videos. | 1080p, 4K |
| White Balance | Adjusts the color temperature to match lighting conditions. | Auto, Daylight, Cloudy, Tungsten |
| Exposure | Controls the brightness of the captured media. | -2.0 to +2.0 EV |
| ISO | Sets the camera’s sensitivity to light, affecting noise and clarity. | 100, 200, 400, 800 |
Troubleshooting Common Issues
When operating advanced aerial equipment, it’s essential to understand how to address and resolve common challenges that may arise. This section provides guidance on diagnosing and fixing frequent problems, ensuring your device performs optimally during every flight.
Signal Loss or Interference
Experiencing signal disruptions can significantly impact your device’s performance. If the connection is lost or weak, first check for potential sources of interference, such as other electronic devices or physical obstructions. Ensure the controller and the drone have a clear line of sight, and try re-syncing the connection. If the issue persists, inspect the antennas for any damage or misalignment.
Stability and Control Issues
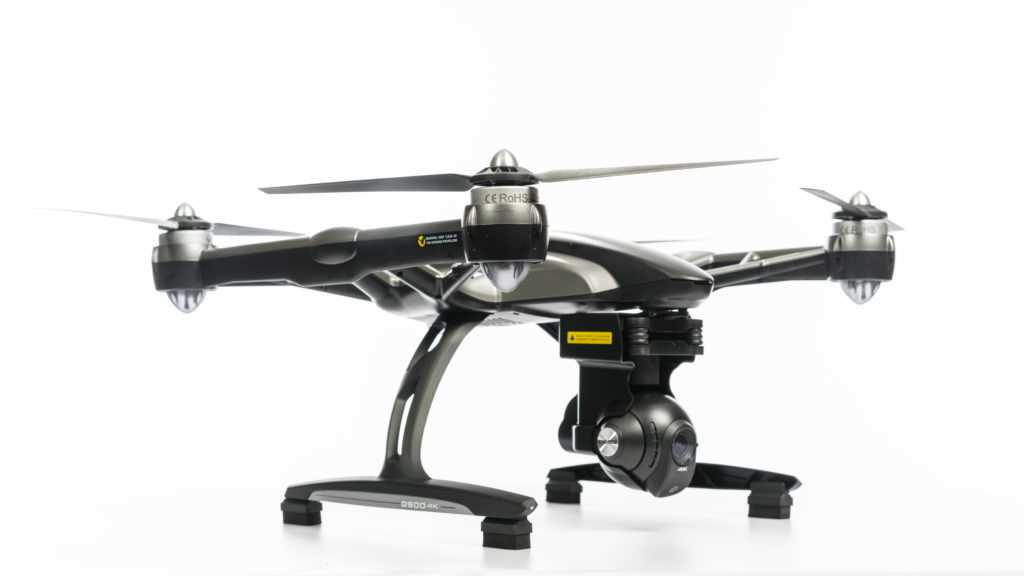
If the drone exhibits unstable flight or responds unpredictably to commands, start by recalibrating the compass and accelerometer. Ensure that the propellers are securely attached and free from damage. Additionally, verify that the software is up to date, as outdated firmware can lead to control inconsistencies. Regular maintenance and pre-flight checks are crucial to preventing these problems.