Crafting enthusiasts often seek tools that can bring their creative visions to life with precision and ease. A reliable die-cutting machine is a powerful ally in this endeavor, enabling users to transform simple materials into intricate designs. Whether you are new to the world of crafting or a seasoned expert, understanding how to operate your machine is key to achieving the best results.
This guide aims to provide detailed insights into the operation of your crafting tool, ensuring you can make the most of its capabilities. From setting up the device to mastering various techniques, every aspect is covered to help you create beautiful, professional-quality projects. Let’s delve into the features and functions that will elevate your crafting experience to the next level.
By following the step-by-step instructions provided, you’ll gain confidence in using your machine, exploring its full potential. Whether you’re cutting paper, fabric, or other materials, this guide will be your go-to resource, offering tips and tricks to enhance your crafting skills.
Unpacking and Assembling the Big Kick
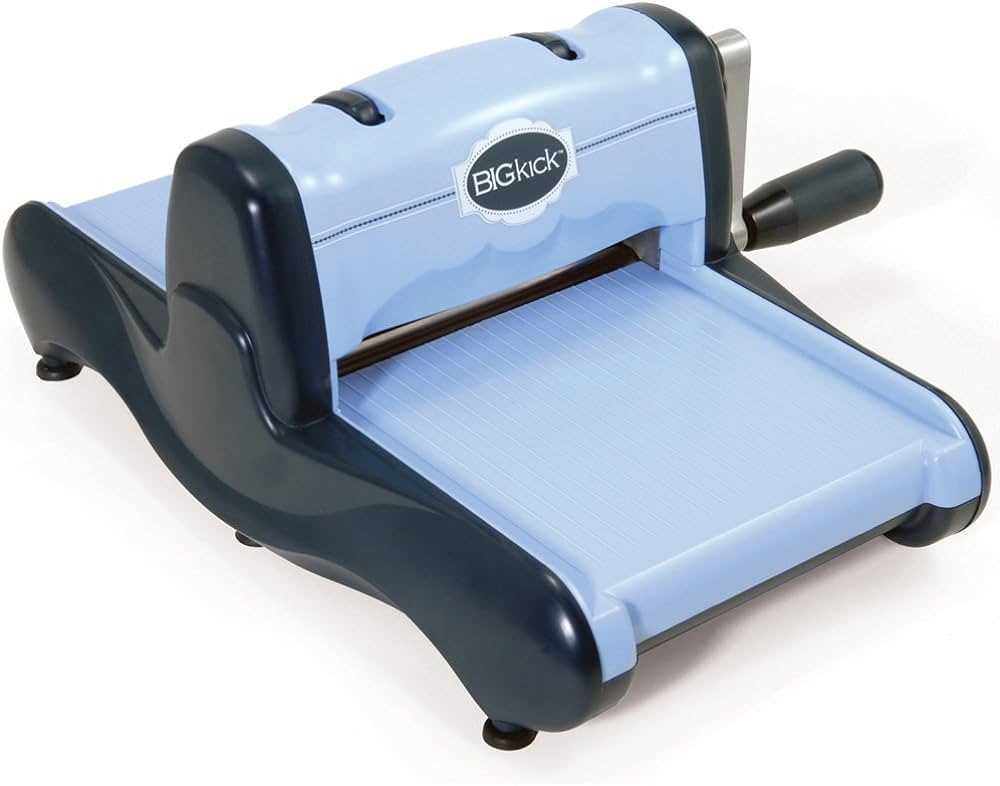
Setting up your new crafting machine is an exciting first step towards unlocking its creative potential. This section will guide you through the process of carefully unboxing and putting together your device to ensure it is ready for your crafting projects.
Unpacking Your Crafting Machine
Begin by placing the package on a stable surface. Carefully open the box and remove all components. Make sure to locate the main unit, platforms, and any included accessories. Before proceeding, check that all parts are accounted for and free of visible damage.
Assembling the Device

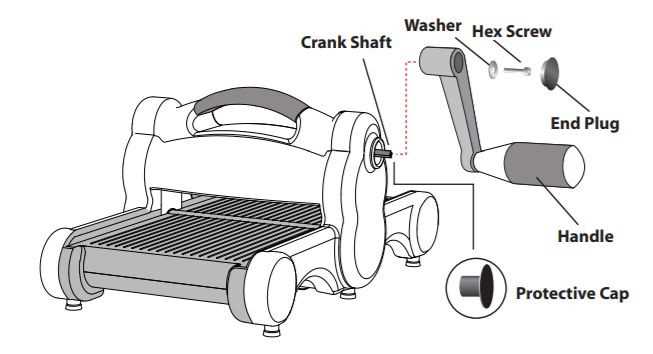
Start by attaching the handle to the side of the machine. Align the handle with the designated spot and secure it using the provided screws. Once the handle is firmly in place, you can position the platforms on the base. These platforms act as the foundation for your cutting and embossing tasks. Ensure everything is securely assembled before using the machine.
How to Use Cutting Pads Effectively
Understanding the correct usage of cutting pads is essential for achieving precise and clean results in your crafting projects. Proper alignment, consistent pressure, and correct layering will help you extend the life of your tools and materials while ensuring professional-quality outcomes.
Layering Your Materials
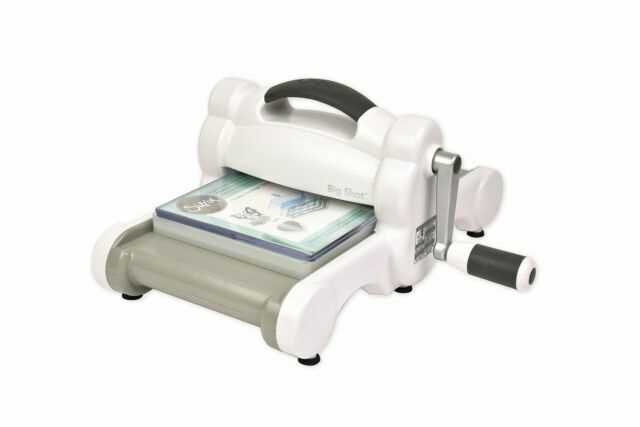
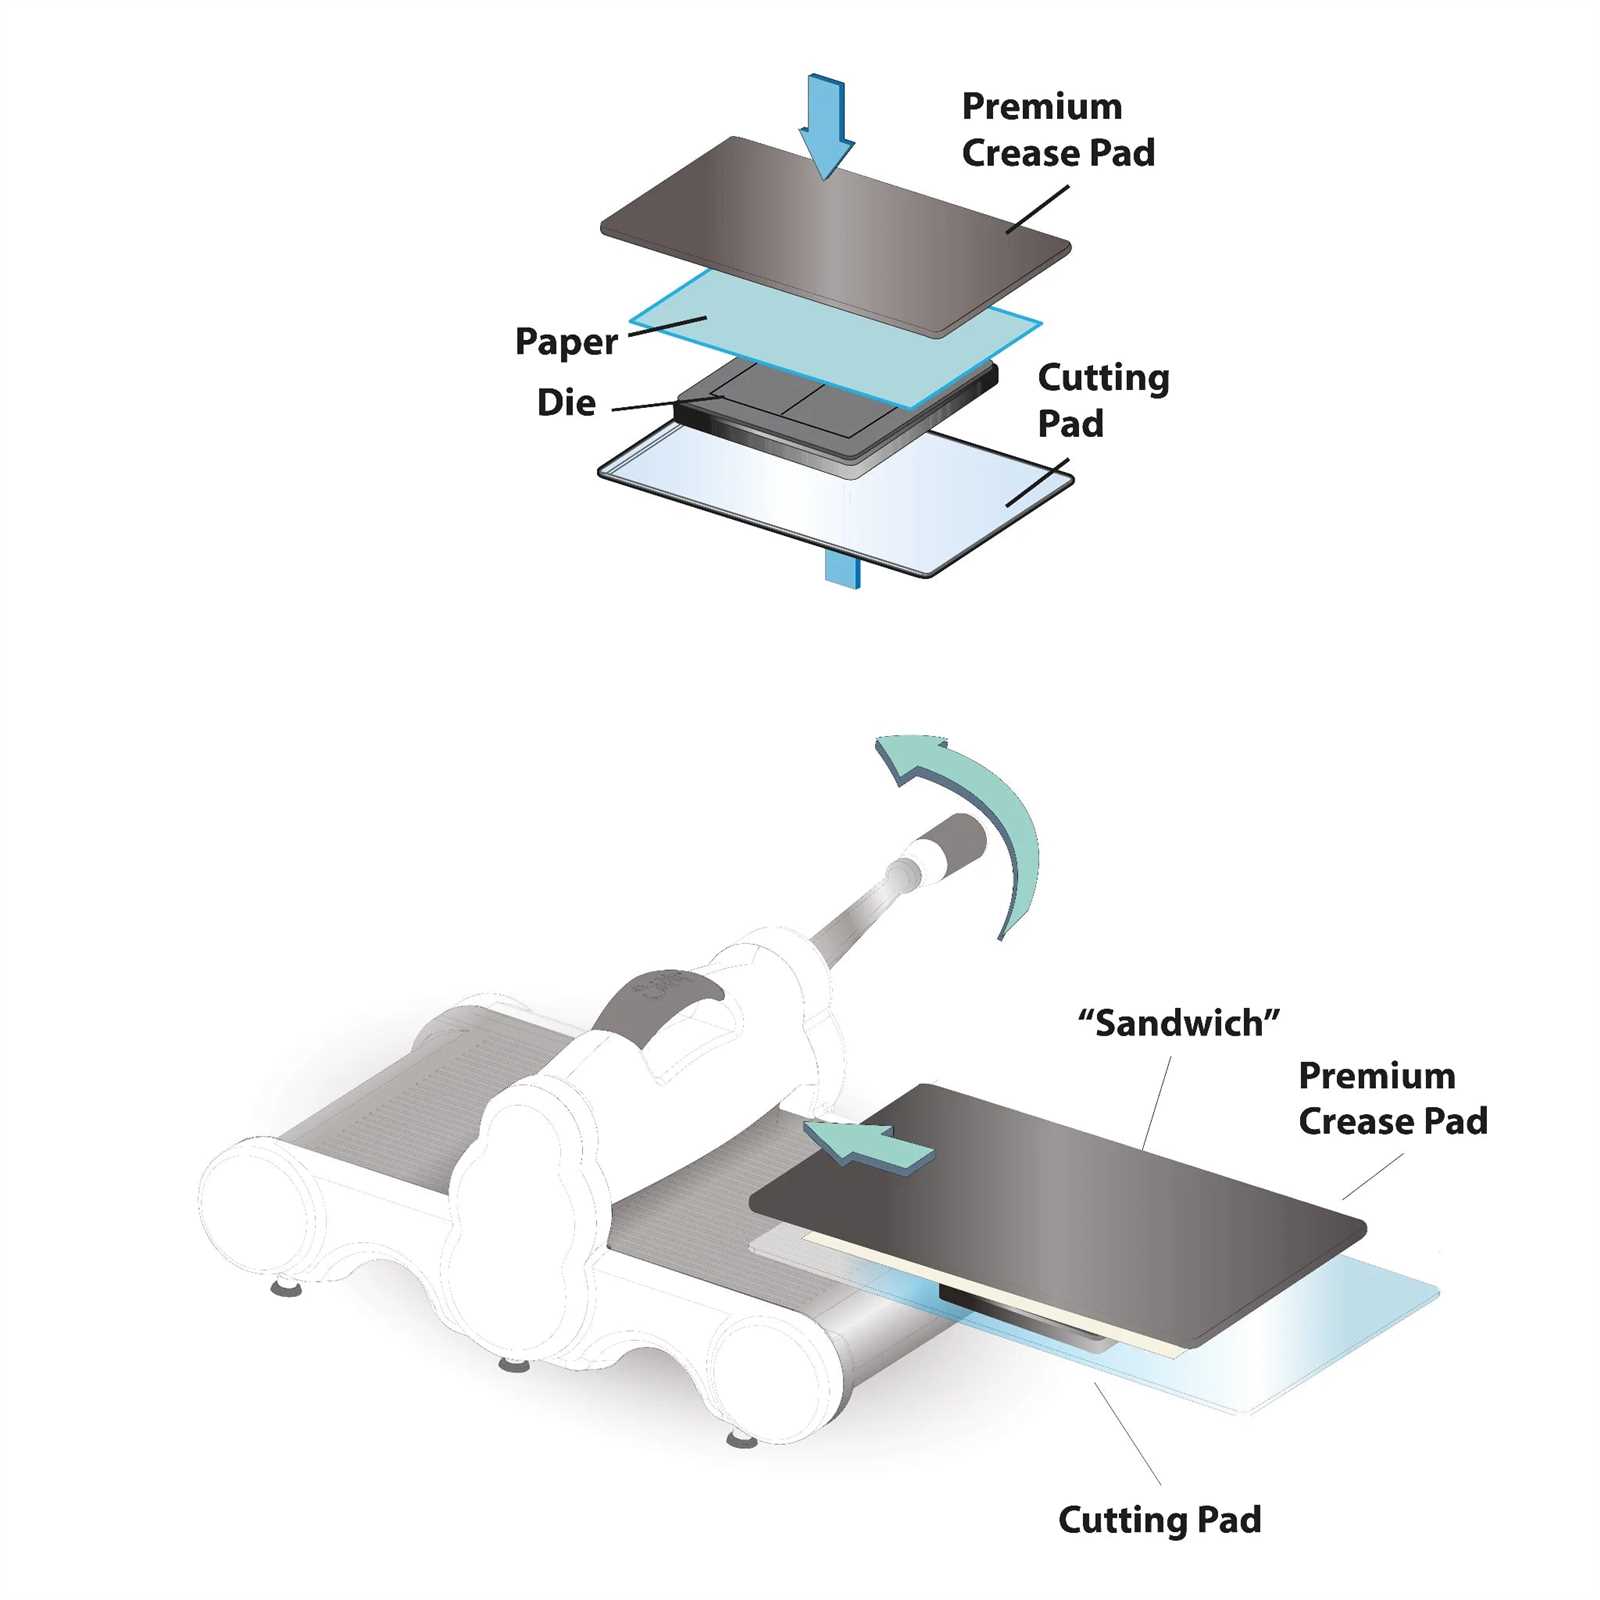
Layering your materials properly is key to effective use of cutting pads. Always place your cutting material between two cutting pads, creating a “sandwich.” This ensures even pressure across the material.
- Place your die with the cutting side facing the material.
- Make sure the cutting pads are aligned to prevent shifting during the cutting process.
- Use the correct thickness of pads to avoid damaging your materials or tools.
Maintaining Cutting Pads
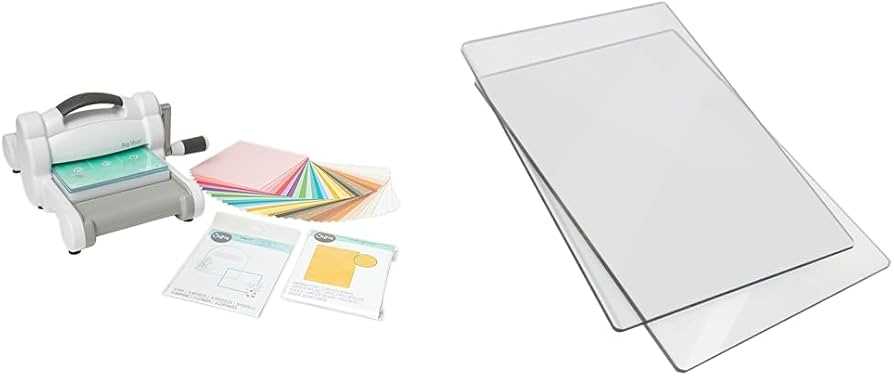
Proper maintenance of cutting pads can greatly extend their lifespan. Rotating and flipping your pads regularly will prevent warping and ensure even wear. This practice also helps maintain the clarity of your cuts over time.
- After each use, inspect the pads for any deep cuts or cracks.
- Rotate the pads every few uses to distribute pressure evenly.
- Replace pads when they become too worn to maintain cutting efficiency.
Maintaining and Cleaning Your Sizzix Machine
Regular upkeep and proper cleaning are crucial to ensuring that your crafting machine continues to operate smoothly and effectively. By dedicating time to maintenance, you extend the life of your equipment and maintain the quality of your projects.
General Maintenance Tips
To keep your machine in optimal condition, periodically check all moving parts and components for any signs of wear or damage. Ensure that all screws and bolts are tightened, and apply a small amount of lubricant to the gears if they appear dry. Store your machine in a dry, dust-free environment when not in use to prevent buildup and corrosion.
Cleaning Instructions
Cleaning your machine involves both routine and deep cleaning processes. For routine cleaning, use a soft, dry cloth to wipe down the exterior and any visible surfaces. For more thorough cleaning, you may need to disassemble certain parts. Refer to the table below for specific cleaning tasks and recommended frequencies.
| Component | Cleaning Frequency | Method |
|---|---|---|
| Rollers | Monthly | Wipe with a damp cloth; avoid harsh chemicals. |
| Cutting Pads | After every use | Clean with warm, soapy water; dry thoroughly before storing. |
| Base Platform | Quarterly | Dust with a soft brush; wipe with a dry cloth. |
Troubleshooting Common Issues with Big Kick
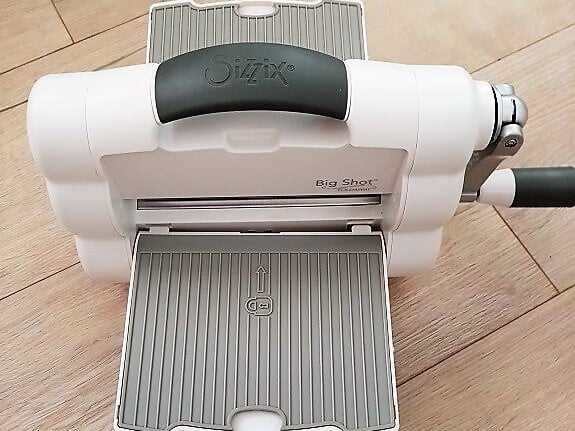
Working with crafting tools can sometimes present challenges, but with a little guidance, many common problems can be resolved quickly. Below are some typical issues you might encounter and simple solutions to keep your crafting experience smooth and enjoyable.
Difficulty Turning the Handle
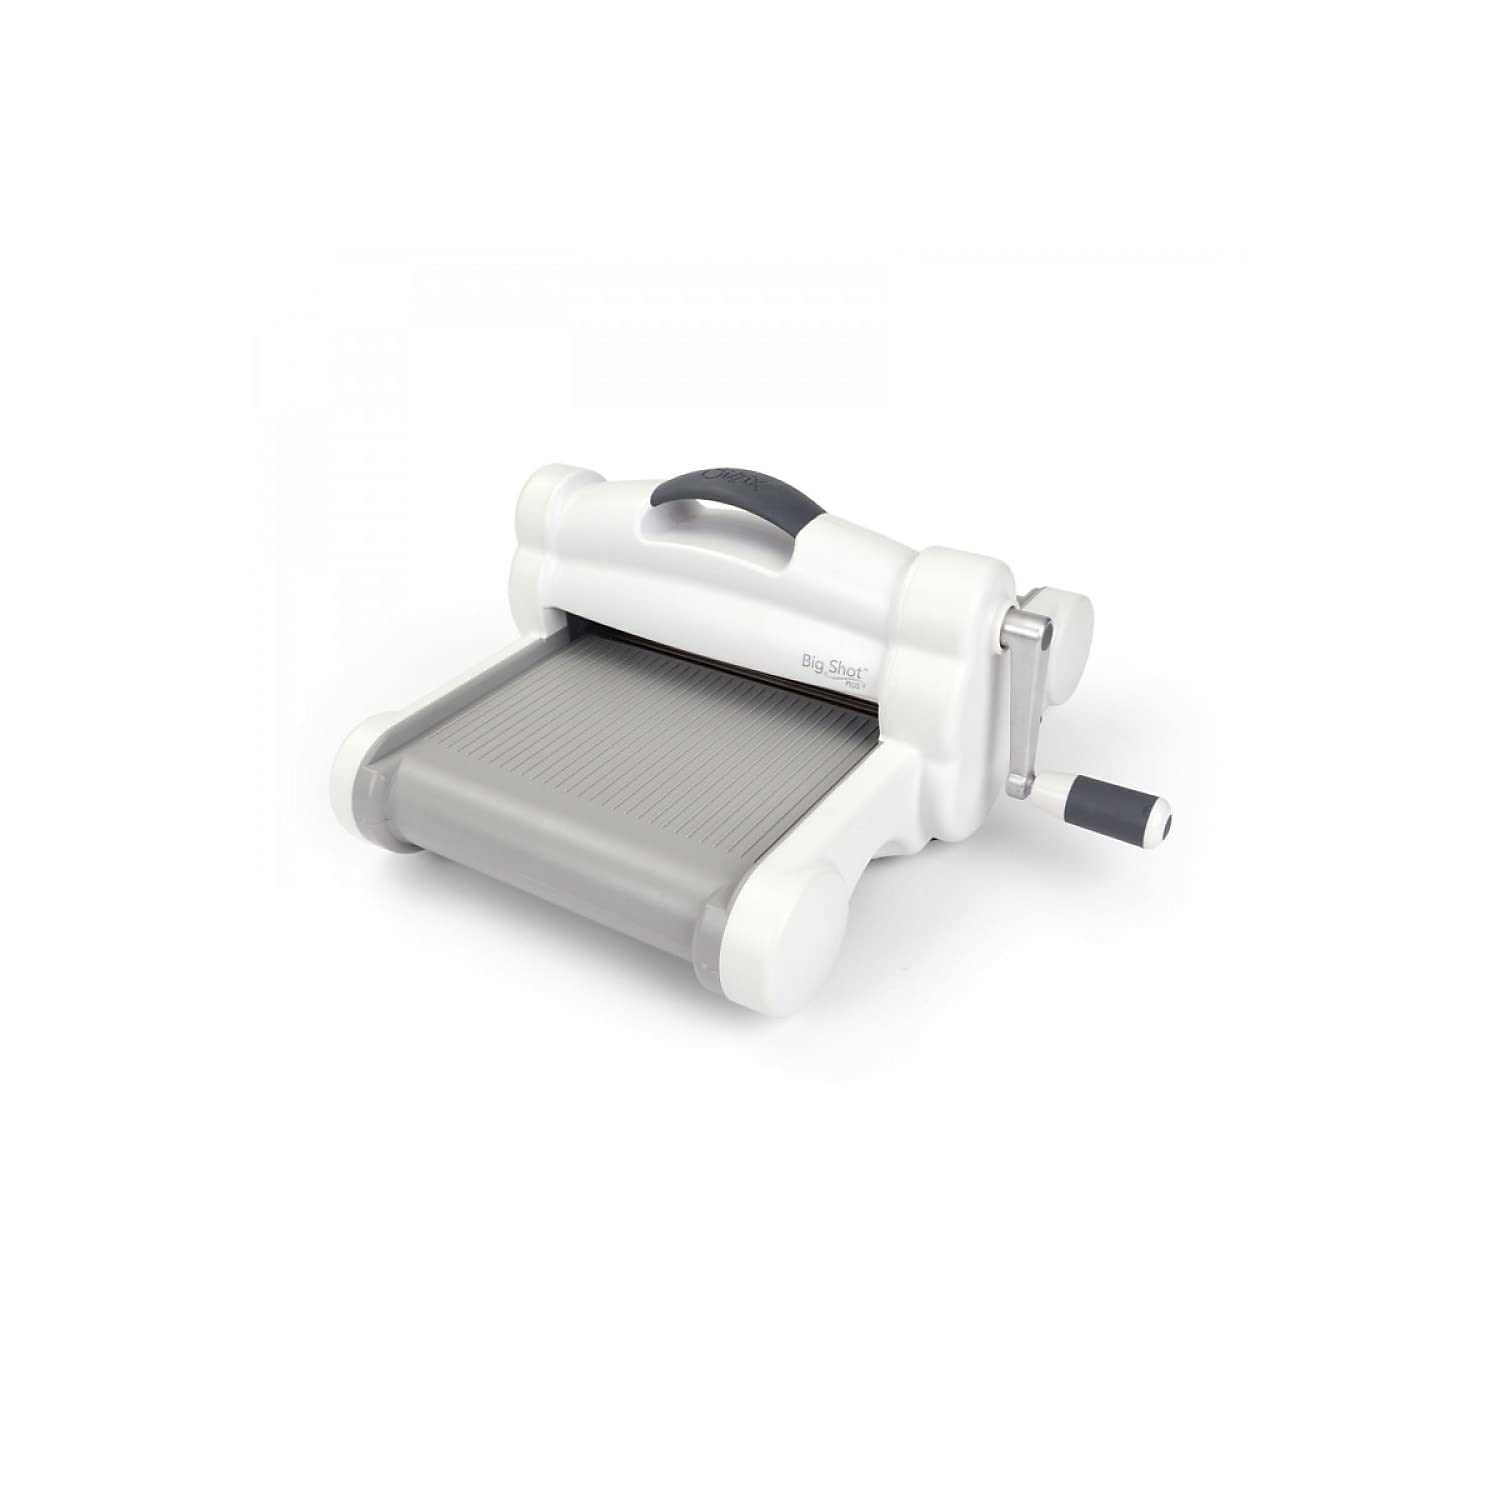
If you find that the handle is difficult to turn, it may be due to incorrect positioning of the plates or material thickness. Ensuring proper alignment and using the correct stack combination will often resolve this issue.
- Double-check that the plates and materials are not too thick.
- Ensure that all items are correctly aligned before beginning.
- Use the correct sandwich configuration according to the material being processed.
Poor Cutting or Embossing Results
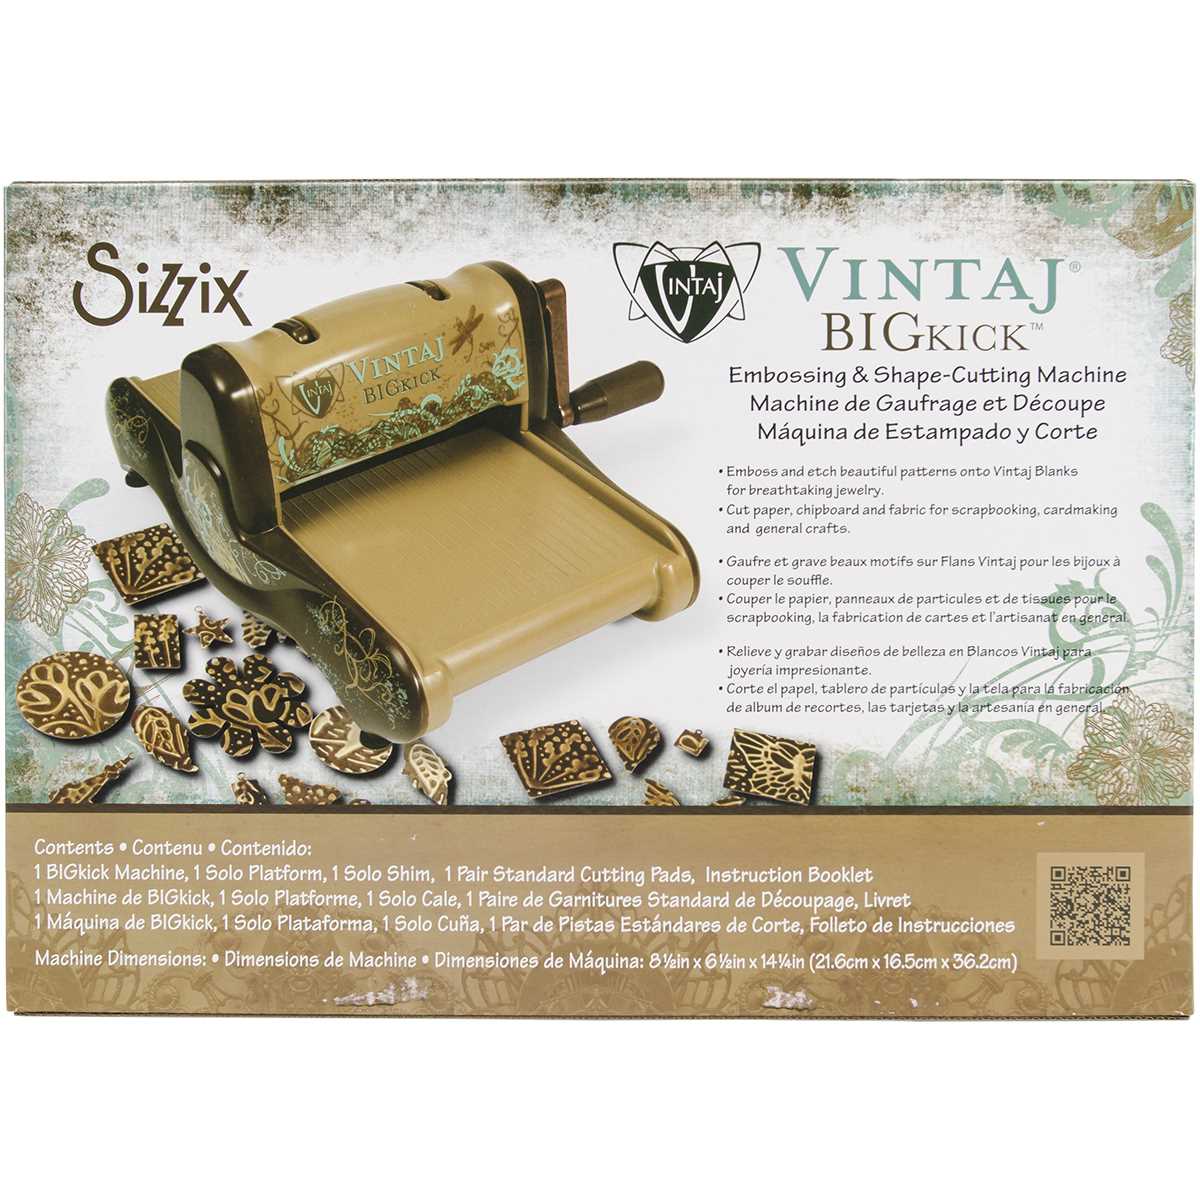
If your designs are not cutting or embossing as expected, it may be related to plate wear or material type. Adjustments can often improve the results.
- Inspect the plates for signs of wear or damage and replace if necessary.
- Use shims or additional paper layers if the material is not cutting through cleanly.
- Test different material types and thicknesses to find the best combination.
By following these tips, many common issues can be quickly resolved, ensuring that your creative projects continue without interruption.
Exploring Creative Projects with Sizzix
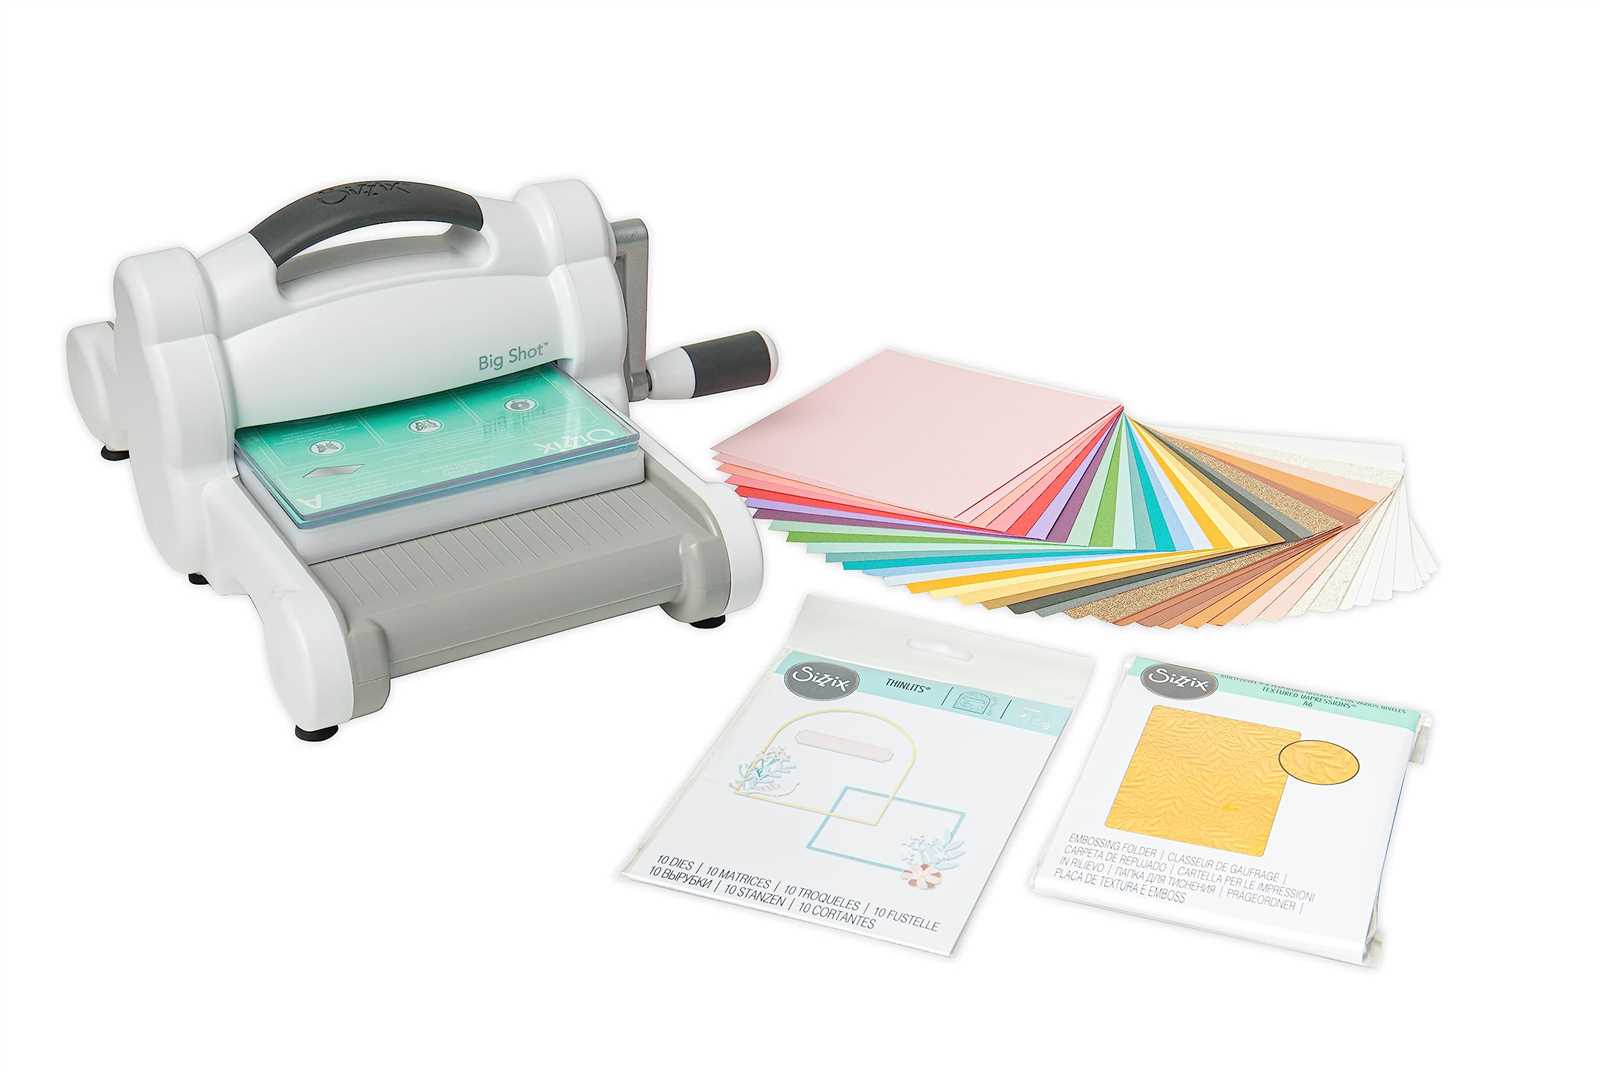
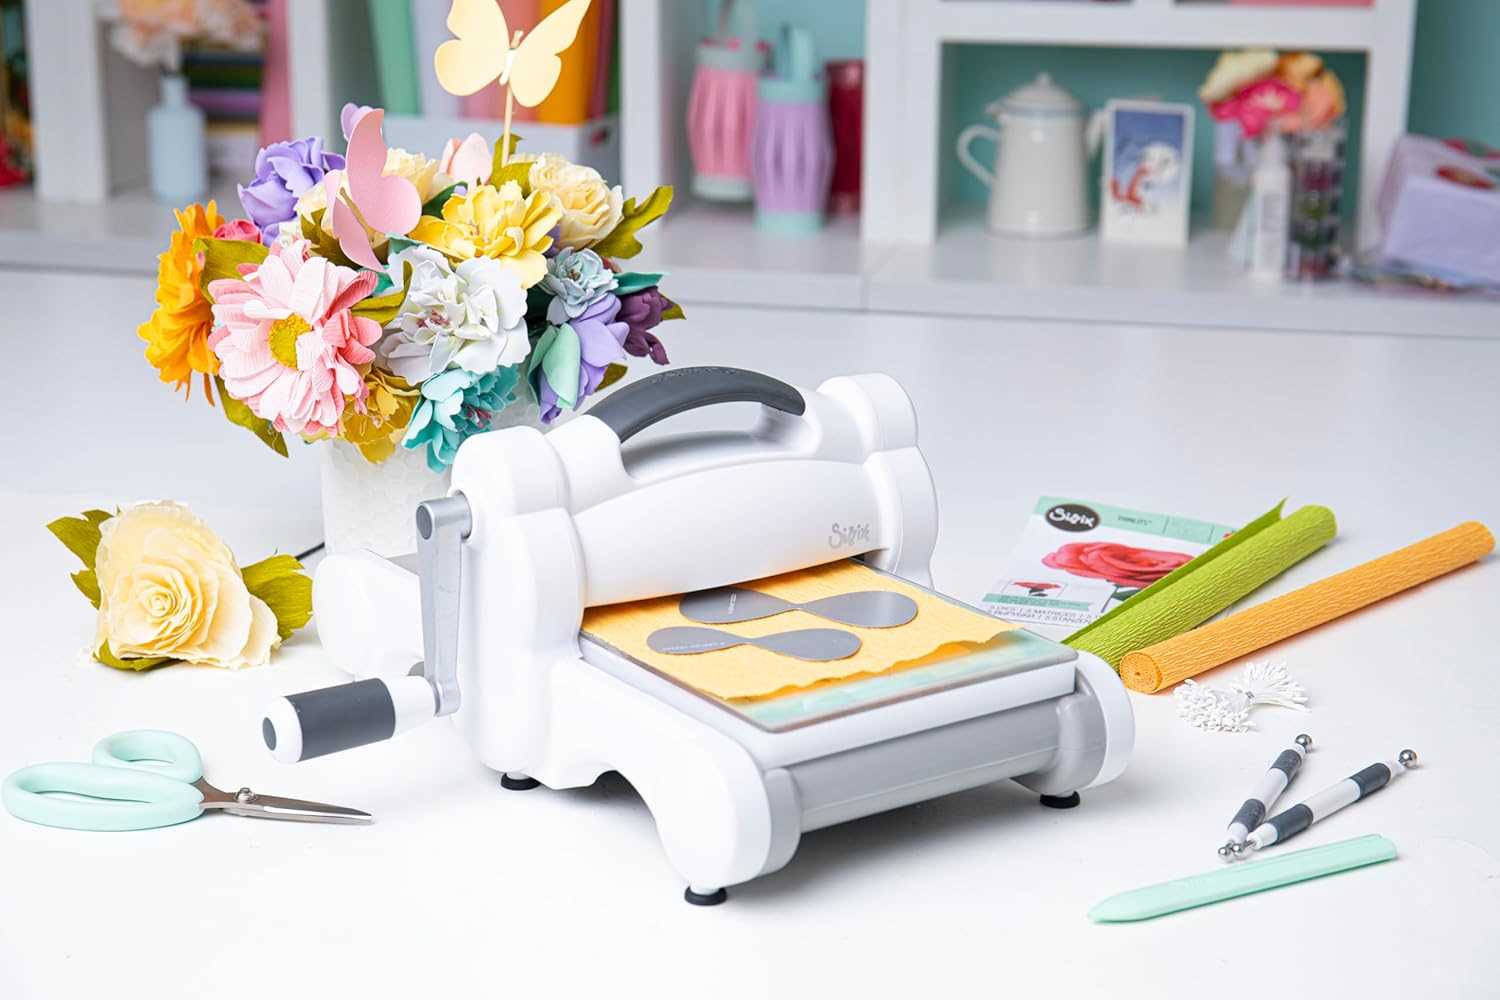
Unleash your imagination by delving into a world of artistic possibilities. With the right tools, creating intricate designs and unique crafts becomes an engaging experience for both beginners and seasoned crafters. The following section will provide inspiration and practical examples to help you explore the full range of your creative potential.
Whether you’re looking to craft personalized greeting cards, decorative home accents, or custom gifts, the possibilities are endless. Here’s a glimpse of some popular projects that can be brought to life:
| Project Type | Description | Difficulty Level |
|---|---|---|
| Greeting Cards | Create custom cards with intricate patterns and layers that add a personal touch to any occasion. | Beginner |
| Home Decor | Design and assemble unique wall art, photo frames, or holiday decorations that reflect your style. | Intermediate |
| Scrapbooking | Enhance your memory albums with detailed embellishments and themed cutouts for each page. | Intermediate |
| Gift Tags & Wraps | Elevate your gift-giving by creating custom tags and wraps that make presents truly special. | Beginner |
| Party Decorations | Craft banners, confetti, and other festive decorations to add flair to any celebration. | Advanced |
These projects are just the beginning of what you can achieve. By experimenting with different materials, colors, and techniques, you can tailor each project to suit your unique creative vision.